Graduation Season

Hey guys,

Today I’m going to share photo that I don’t usually share since they don’t really fit my “style”. I personally enjoy getting creative with poses, shadow play, and composition, but the truth of the matter is, what I enjoy creating doesn’t really pay the bills.

This month has definitely been my most successful since starting my own business as a photographer in Seattle, and I have Graduation Season to thank for that! My weeks have been filled with eager graduates ready to capture these moments before either going to college, or entering the work force, and after having conversations with them, it seems like most of them are scared of what the future holds.

As you can imagine, they don’t really want any crazy photos using cool shadows for their graduation photos, so I’ve been keeping things rather normal, but still try to find my own style to add to the editing. You also have to keep in mind that these people are not models, and don’t practice posing, so being in front of the camera for the first time can be a bit intimidating. This really challenged me as a photographer, since I’m so used to working with models, and people that know their angles.

Anyway, here are some photos I’ve taken this month! Hope you enjoy.

Until next time,

Tristan


My Shoot with Liana Haugaard

Hey guys,

Today, instead of going in detail about how I captured some of these shots, I’m just going to share them with you. It’s almost been a month since I’ve given up on posting on my Instagram page, and I must say, it’s been liberating! I’ve done so many photoshoots and I have so much content for my blog, and not having to worry about posting on Instagram has really helped me mentally. I’m enjoying photography more, and stepping out of my comfort zone when it comes to my own “style”. I also find myself using more props, which I find really adds to a photo.

I DM’d Liana asking to shoot, and she was surprisingly optimistic! It takes a lot for me to REALLY look forward to a shoot, but she brought so much to the table that I couldn’t help myself. She brought her own ideas, and even more props than I did to the shoot, and I was really able to feed off of her creative energy.

We shot at Discovery Park, one of my favorite locations here in Seattle. It offers numerous beautiful locations, and has the absolute best afternoon light! I’ve been shooting in soft light for so long that I really try to shoot in as much hard light as possible, and the golden hour light we got on this day in particular was absolutely magical!

The photos you’re about to say may just have been my favorite photos I’ve ever taken, really capturing emotion and telling a story through not only the poses, but through Liana’s eyes. I’m honored to have been able to work with her, and I hope you enjoy the photos as much as I’ve enjoyed taking them!


Shooting in Different Lighting Situations

Hey guys!

I know, I know, it’s been a while (6 months to be exact), but here I am again, promising to write more blog posts! The only thing is, this time I’m serious (I swear). I’ve decided to partially give up Instagram and only post on there maybe once or twice a month. The engagement I get on Instagram is laughable, and I want to focus more on my website, so if you’re reading this, I thank you from the bottom of my heart!

Today I’m going to be talking about shooting in different lighting situations, and I’m going to be using photos from one of my most memorable shooting experiences to date! What makes this day so special to me is that I got to shoot in all kinds of different lighting situations all in one day, and with the same model no less! Angela was a great model, bringing her own sense of creativity to the table, not disappointing at all! I rarely have time for creative shoots since I’ve started doing photography full time, which means I usually have to be very picky about who I choose to spend my time with. I actually just shot her a DM on Instagram and to my surprise, she was just as eager to work with me as I was to work with her!

Interestingly enough, we had planned a shoot in the morning at Lincoln Park, and we were going to do a levitation/wonderland style shoot, but after having a conversation on location, we realized that she had schedule to have another shoot with a photographer friend of mine (Lay Renner), and I decided to tag along for that as well! This was the start of my crazy day!

At Lincoln Park, we ended up shooting in this open field to get a levitation, and it was probably around 10AM where the sun was starting to get high, but the light still wasn’t that harsh. I used this to my advantage by using some of the backlight through some trees to give my shots an “airy” feel.

DSC03608.jpg


The trick to making a shot like this feel “airy” is to keep the highlights blown out. It gives the shot a sort of “angelic” feel when the sky is completely white. One thing you have to be careful of when shooting like this is not to lose detail in the shadows. luckily, I shoot Sony, which allows me to bring up the shadows in post so that you can actually see what’s going on.

After I got this shot, I wanted to use the same light, but instead of focusing more on being backlit, and angled her in a way in which the light was actually directly on her face. I actually preferred this lighting since it gave me more freedom with color correction, so I really tried to make the dress pop in post production.

DSC03659.jpg

After we got those levitations out of the way, the sun started to get pretty high, so we found ourselves under a few trees to get some photos in the shade. I particularly like shooting in the shade because it makes the photos very soft, but sometimes it can get a little tricky to get the image in focus. We kept her in the same dress, but wanted to use some of the leaves from the trees as a prob, since it went well with the pattern on her dress. She actually wanted to put some of the leaves in her hair, so we did a few shots like that, and then I wanted to use the leaves to cast a shadow on her face. I’ve really been into shadow play recently (as you’ll see in the rest of this blog post), and this was a perfect time to do some experimenting!

As for actually shooting the photos, I shot these at f/ 1.6 at a 1/125 shutter speed. I didn’t want to shoot at 1.4 because it’s way too hard for me to get focus with my shaky hands, especially in low lighting situations. 1.6 is just a TAD easier to grab focus where you want, and it still gives that creamy bokeh (background blur) that we all love!

DSC03672.jpg
DSC03686.jpg
DSC03830.jpg

I also wanted to grab some shots of her sitting under the trees, and intended to edit them with “magical” in mind. I intentionally overexposed the shots to blow out the highlights, so I stopped down to f/ 1.4 and bumped the ISO up to 400. I didn’t think too much about the shots being out of focus since the sun was pretty high and even though we were under trees, she was very well-lit!

DSC03692.jpeg

Once we were done shooting under the trees, we hiked downhill until we made it to the beach at Lincoln Park, where we got one levitation before making our way back uphill. I really liked this levitation because we got to capture the beauty of the water, and I really like that there were pebbles instead of sand on the beach. The metallic colors of the pebbles really added to the color pop of her dress. As for lighting, the sun was pretty much directly above us, but I faced her away from the sun to give her face a soft shadow. I really like doing this to balance the amount of overexposure I’m going to get, so there’s an even amount of shadows and highlights. If I had her face the sun, the image would have been way too overexposed for me to capture any detail without having to stop down to around f3.5, and we want to keep the aperture at around 1.4 to get really blurred background.

DSC03885.jpg

For the last shot of this location, the sun was extremely high, so we found ourselves under some trees again, and we put flowers in her hair because why not?! We just kinda snapped these for fun, but we really wanted coffee so we ended up heading to a nearby cafe right after.

DSC03919.jpeg
DSC03951.jpeg

After we were done at the cafe, the real fun began! I headed over to the University of Washington where we met up with Lay, her friend and photographer Sheryl, and Angela actually brought her photographer friend, Charlie Zhuang, along as well. It was really great seeing how different photographers both direct and shoot a model in the same lighting situations. I never really shot with other photographers before moving to Seattle, but it’s always such a great experience! For our first location, we actually had her go in the middle of a bush to capture some flowers, and it was literally like an ugly location challenge because I had no idea I could capture such beautiful photos in such an odd location! It was actually around 4PM so the sun wasn’t quite high but also wasn’t quite setting. It made for some great natural lighting and I was happy with the results!

DSC04098.jpg
DSC04102.jpg
DSC04132.jpg

The next few shots are actually some of my favorite shots I’ve ever taken! We found a small outdoor hallway that had a window that let in a few shadows from the tree behind it. I had to literally climb through the bush to get the right angle, but it was worth it! As for getting the shot, I used my 100mm and shot at f/ 5.6. Most people would want to shoot with a low aperture, but because the light was directly on her face, I wanted to shoot at a higher aperture to really crush the shadows and bring out the details on her face. In post I ended up fading the blacks and adding a little grain to add some character, but I still love the effect of the light on her face! Shadow play is amazing haha!

DSC04150.jpeg
DSC04140.jpeg

After realizing that the sun was setting and we were starting to get some harsh light, I wanted to try getting a really nice and artistic backlit shot, as well as a few in direct sunlight. I had her put her back on the entrance to the hallway by the library on campus, and shot with the sun directly behind her. It made for some really artistic shots!

DSC04230.jpeg
DSC04243.jpeg

The sun was finally starting to set, but we weren’t done with it quite yet! There is a glass building that Charlie led us to, and we were able to use the last little bit of light to get a really cool reflection of the sunstar! Most of the other photographers there wanted to get some shots with her facing the sun, but I liked the way my backlit shots have been turning out, so I decided to try getting her backlit with the sunstar directly in the lens for a bright effect. It was really hard getting the lighting just right, so I cheated a bit and put the image in black and white to make it look a bit more intentional than I had planned, and it turned out great!

DSC04398.jpg

All in all, this day will definitely go down as one of my favorite creative days to date! I had such a great time shooting with Angela, and can’t wait to work with her again!

If you like posts like this, be sure to let me know in the comments, and feel free to let me know if there’s anything else you’d like me to write about! Also, if you’d like to keep up with me, you can subscribe below to get notifications every time I post a blog post. Like I said, I won’t be posting on Instagram much anymore, and I’ll actually be posting photos from whole sets on my blog while giving some insight on my thought process on both shooting and editing.

Until next time,

Tristan

Shooting Males For The First Time

Hey guys!

Just a quick blog post here to showcase something new I’ve been doing recently. I just moved to Seattle and have been working with a few agencies here, and to my surprise, they actually needed me to shoot more of their males than their females. As you probably know, I’m not one to usually shoot males, but I saw this as an opportunity to really challenge myself, and to tell you the truth, it’s actually been kind of fun!

The first male model I shot, CJ Olsen, has actually never had a photoshoot before me, so it was interesting trying to pose him and get him to feel comfortable in front of the camera. It was extremely challenging because I noticed that I can’t post males the same way I do females, so it was a great learning experience for me.

On top of shooting males, I’ve also been shooting a lot more studio shots, and I’ve completely fallen in love with it! Being able to control the light being used helps so much when it comes to capturing dramatic portraits, and it’s something I’m definitely not used to. If you’ve seen my work, you probably noticed that I like to use the environment as a huge portion of my portraits, but the problem with that is that not only can I not control the light/weather conditions, but the environment can sometimes take the focus off of the the true subject: the model.

I’ll just go ahead and share these images with you, and you can let me know what you think in the comments! Should I shoot more males?

DSC06862.jpg
DSC07080.jpg
DSC07916.jpg
DSC08033.jpg


How To Create Your Own Style

Hey guys,

I've been blogging a lot about my personal life recently, and while it's a great outlet to get my thoughts off my chest, I still have the urge to help other photographers by writing about what I've learned over the years. I've been a photographer here in Los Angeles for over 3 years now, and as you can imagine, I've done my fair share of experimenting.

That being said, one of the questions I get asked the most is how I came up with my own style. A lot of photographers come to me saying they know the basics of photography, and they're good at capturing a great photo, they just get stuck when it comes to editing and finding their own unique style.

To be completely honest, I've been in that same boat! I had the right equipment, and even more importantly, I had the right knowledge to be able to capture an extremely good photo, but I just didn't know how to make my photos stand out from the crowd. We live in a generation where literally everyone is a photographer, and are able to capture breathtaking images from their cell phone. While this is an amazing era to live in, it makes it extremely hard for people with photography as their passion to actually be inspired to create something different. Photos are constantly thrown in our faces on Instagram, and it's easy to think that you'll never be as good as that photographer, and it's discouraging.

The hardest part about this situation is that you want to be able to have your own style, but don't really know where to start when it comes to editing. Even if we (photographers) aren't aware of it, we have this urge to be remembered through our work, and a part of that stems from people being able to recognize our own unique style. We want people to look at a photo and automatically know that we took it, but that's not as easy as it sounds.

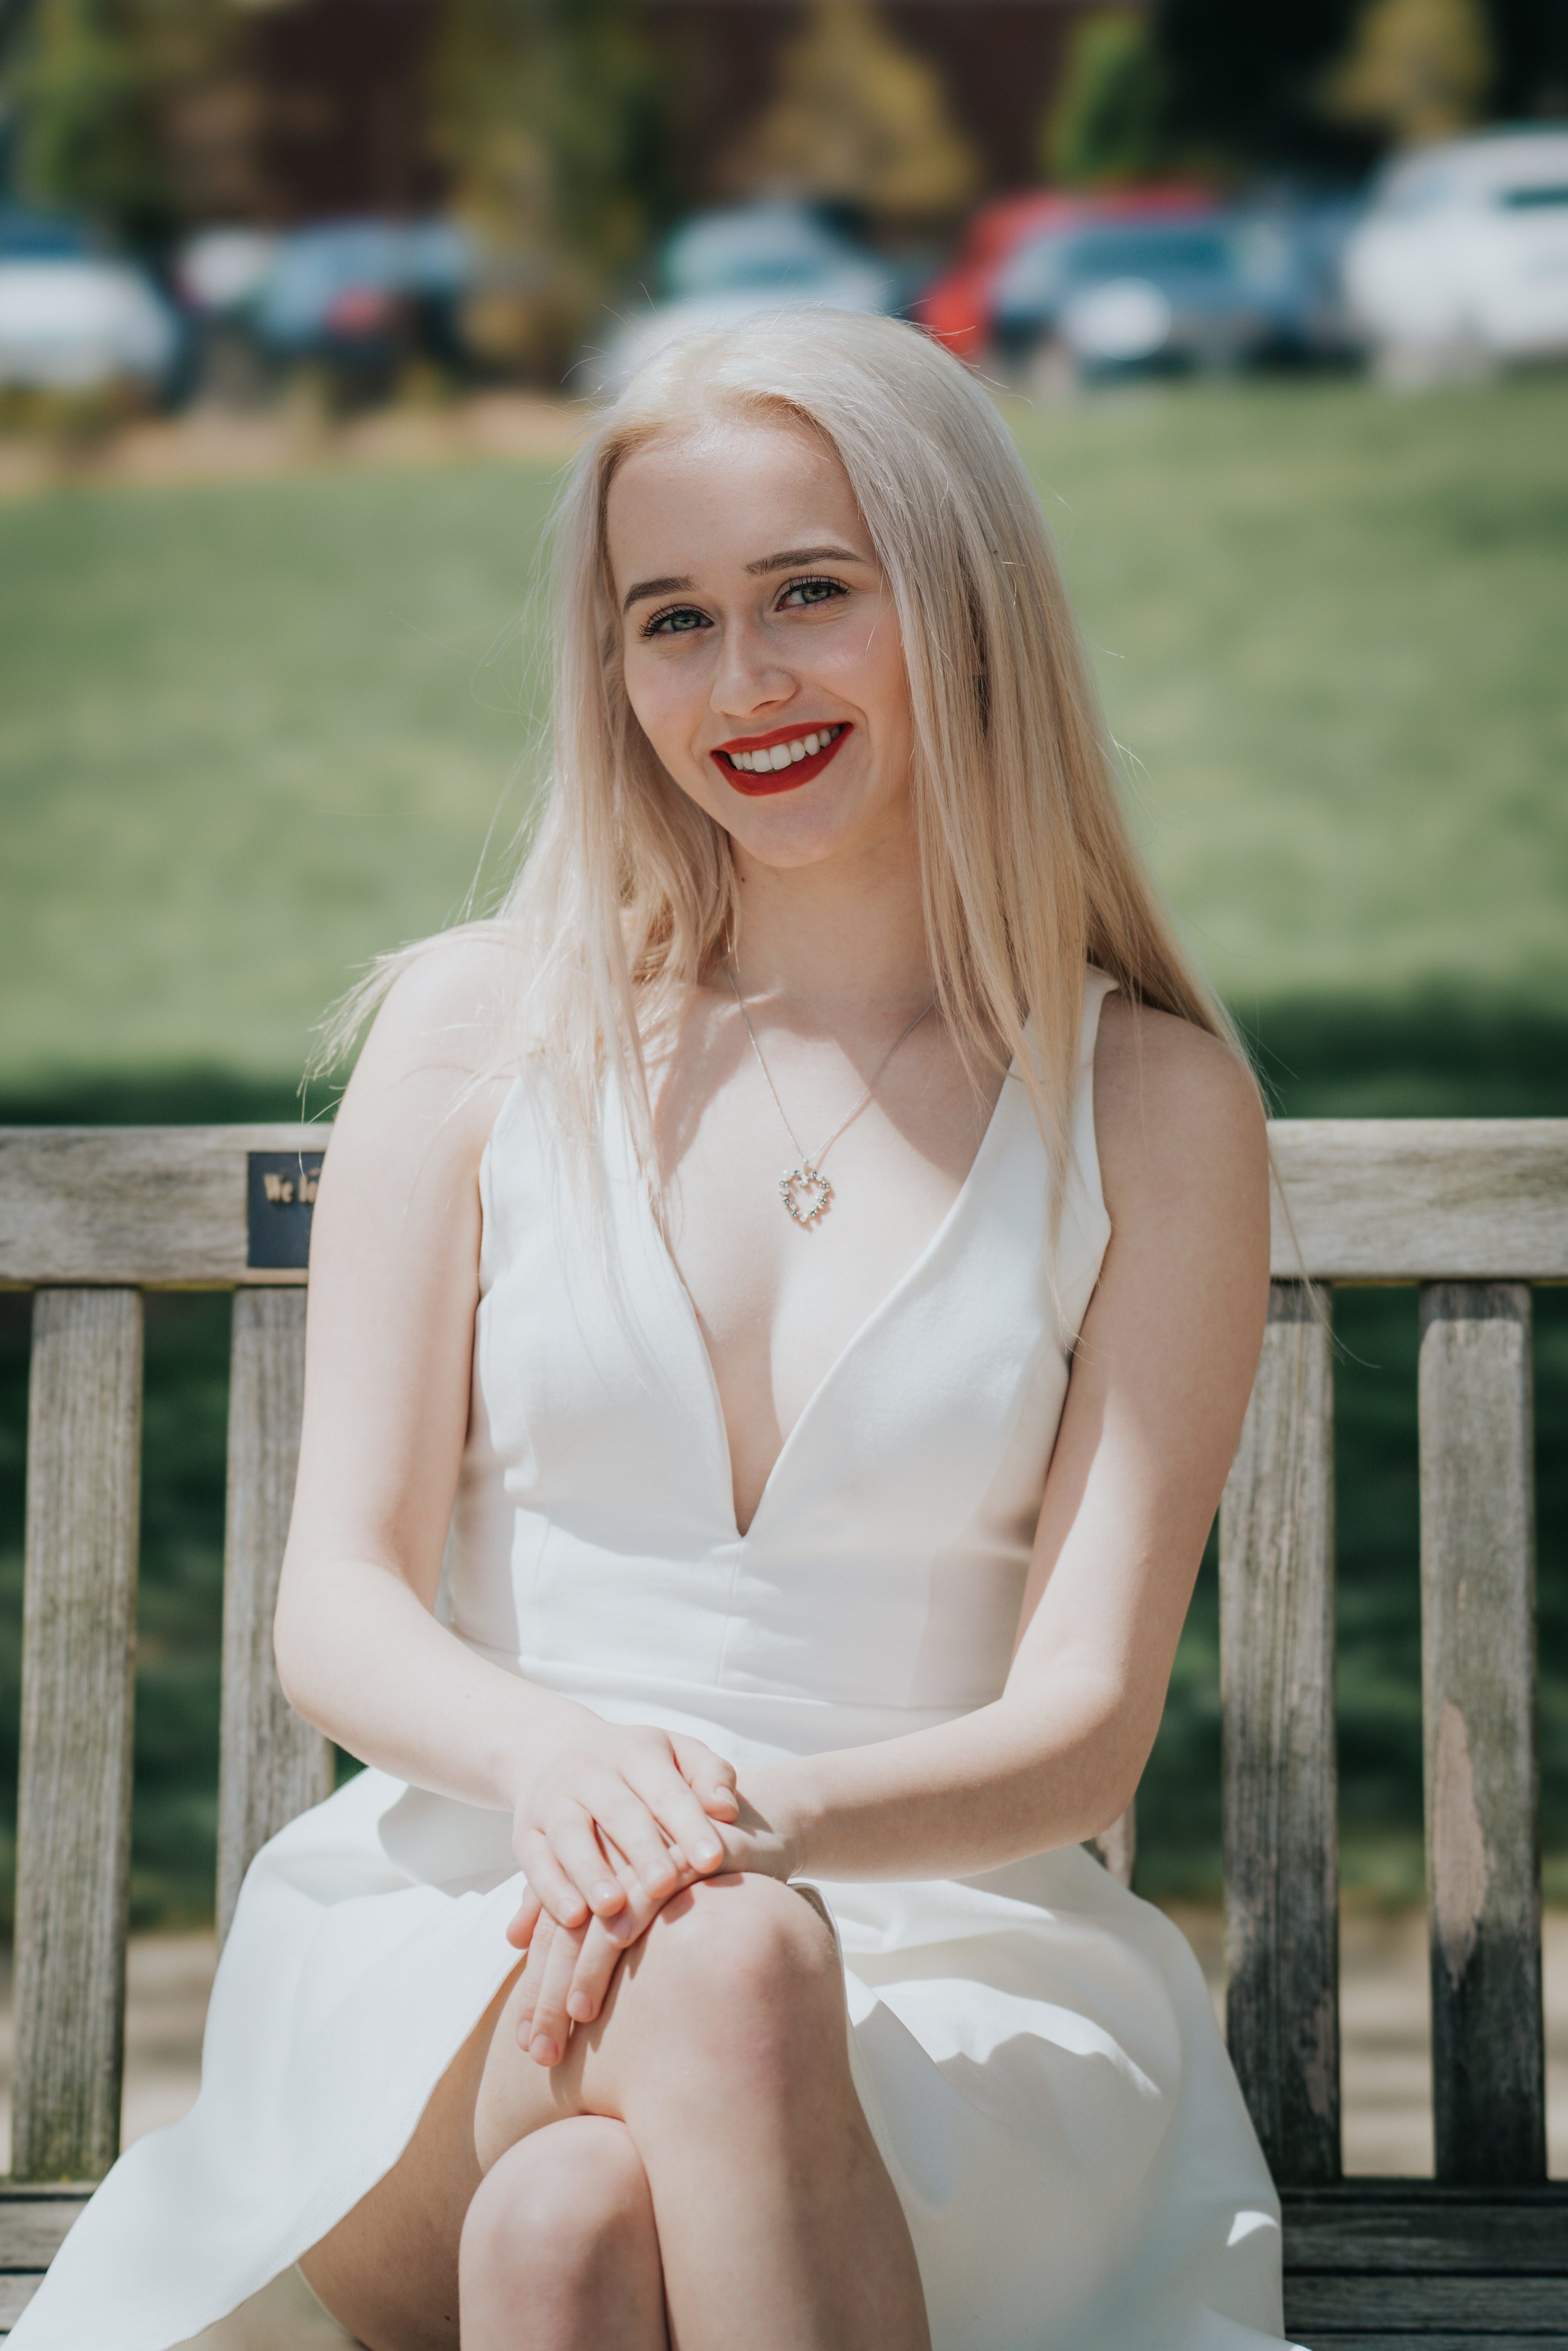
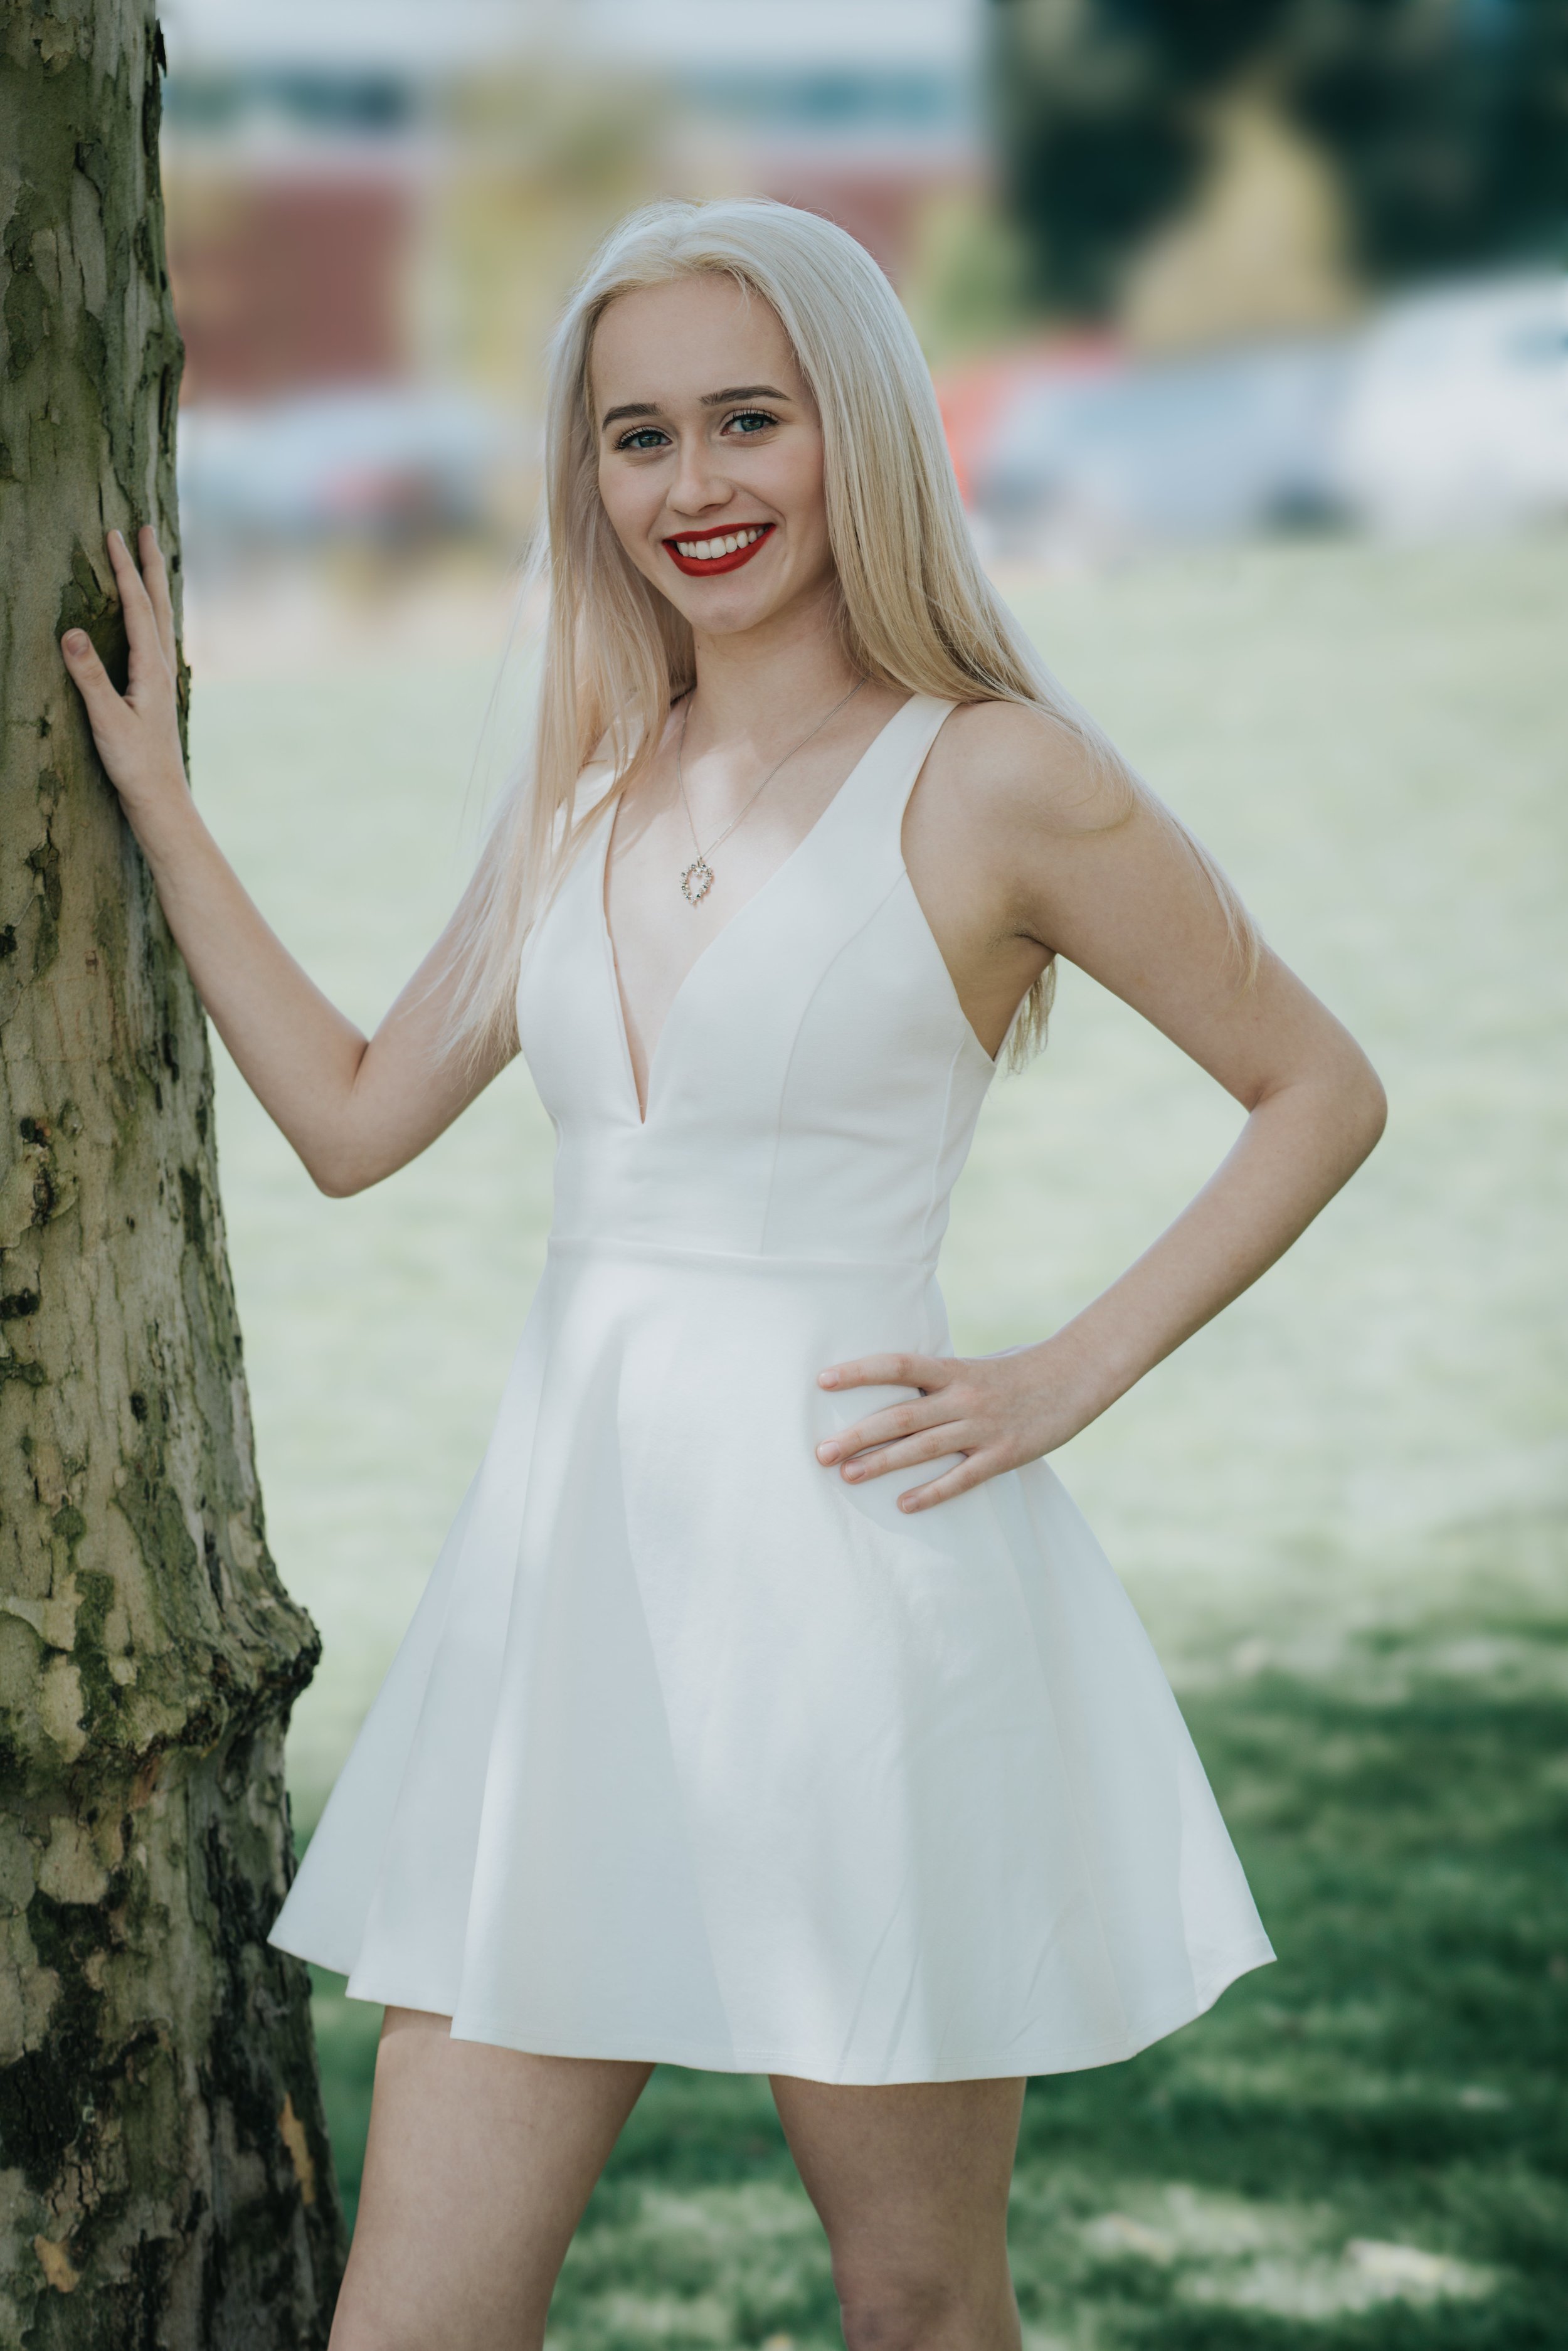
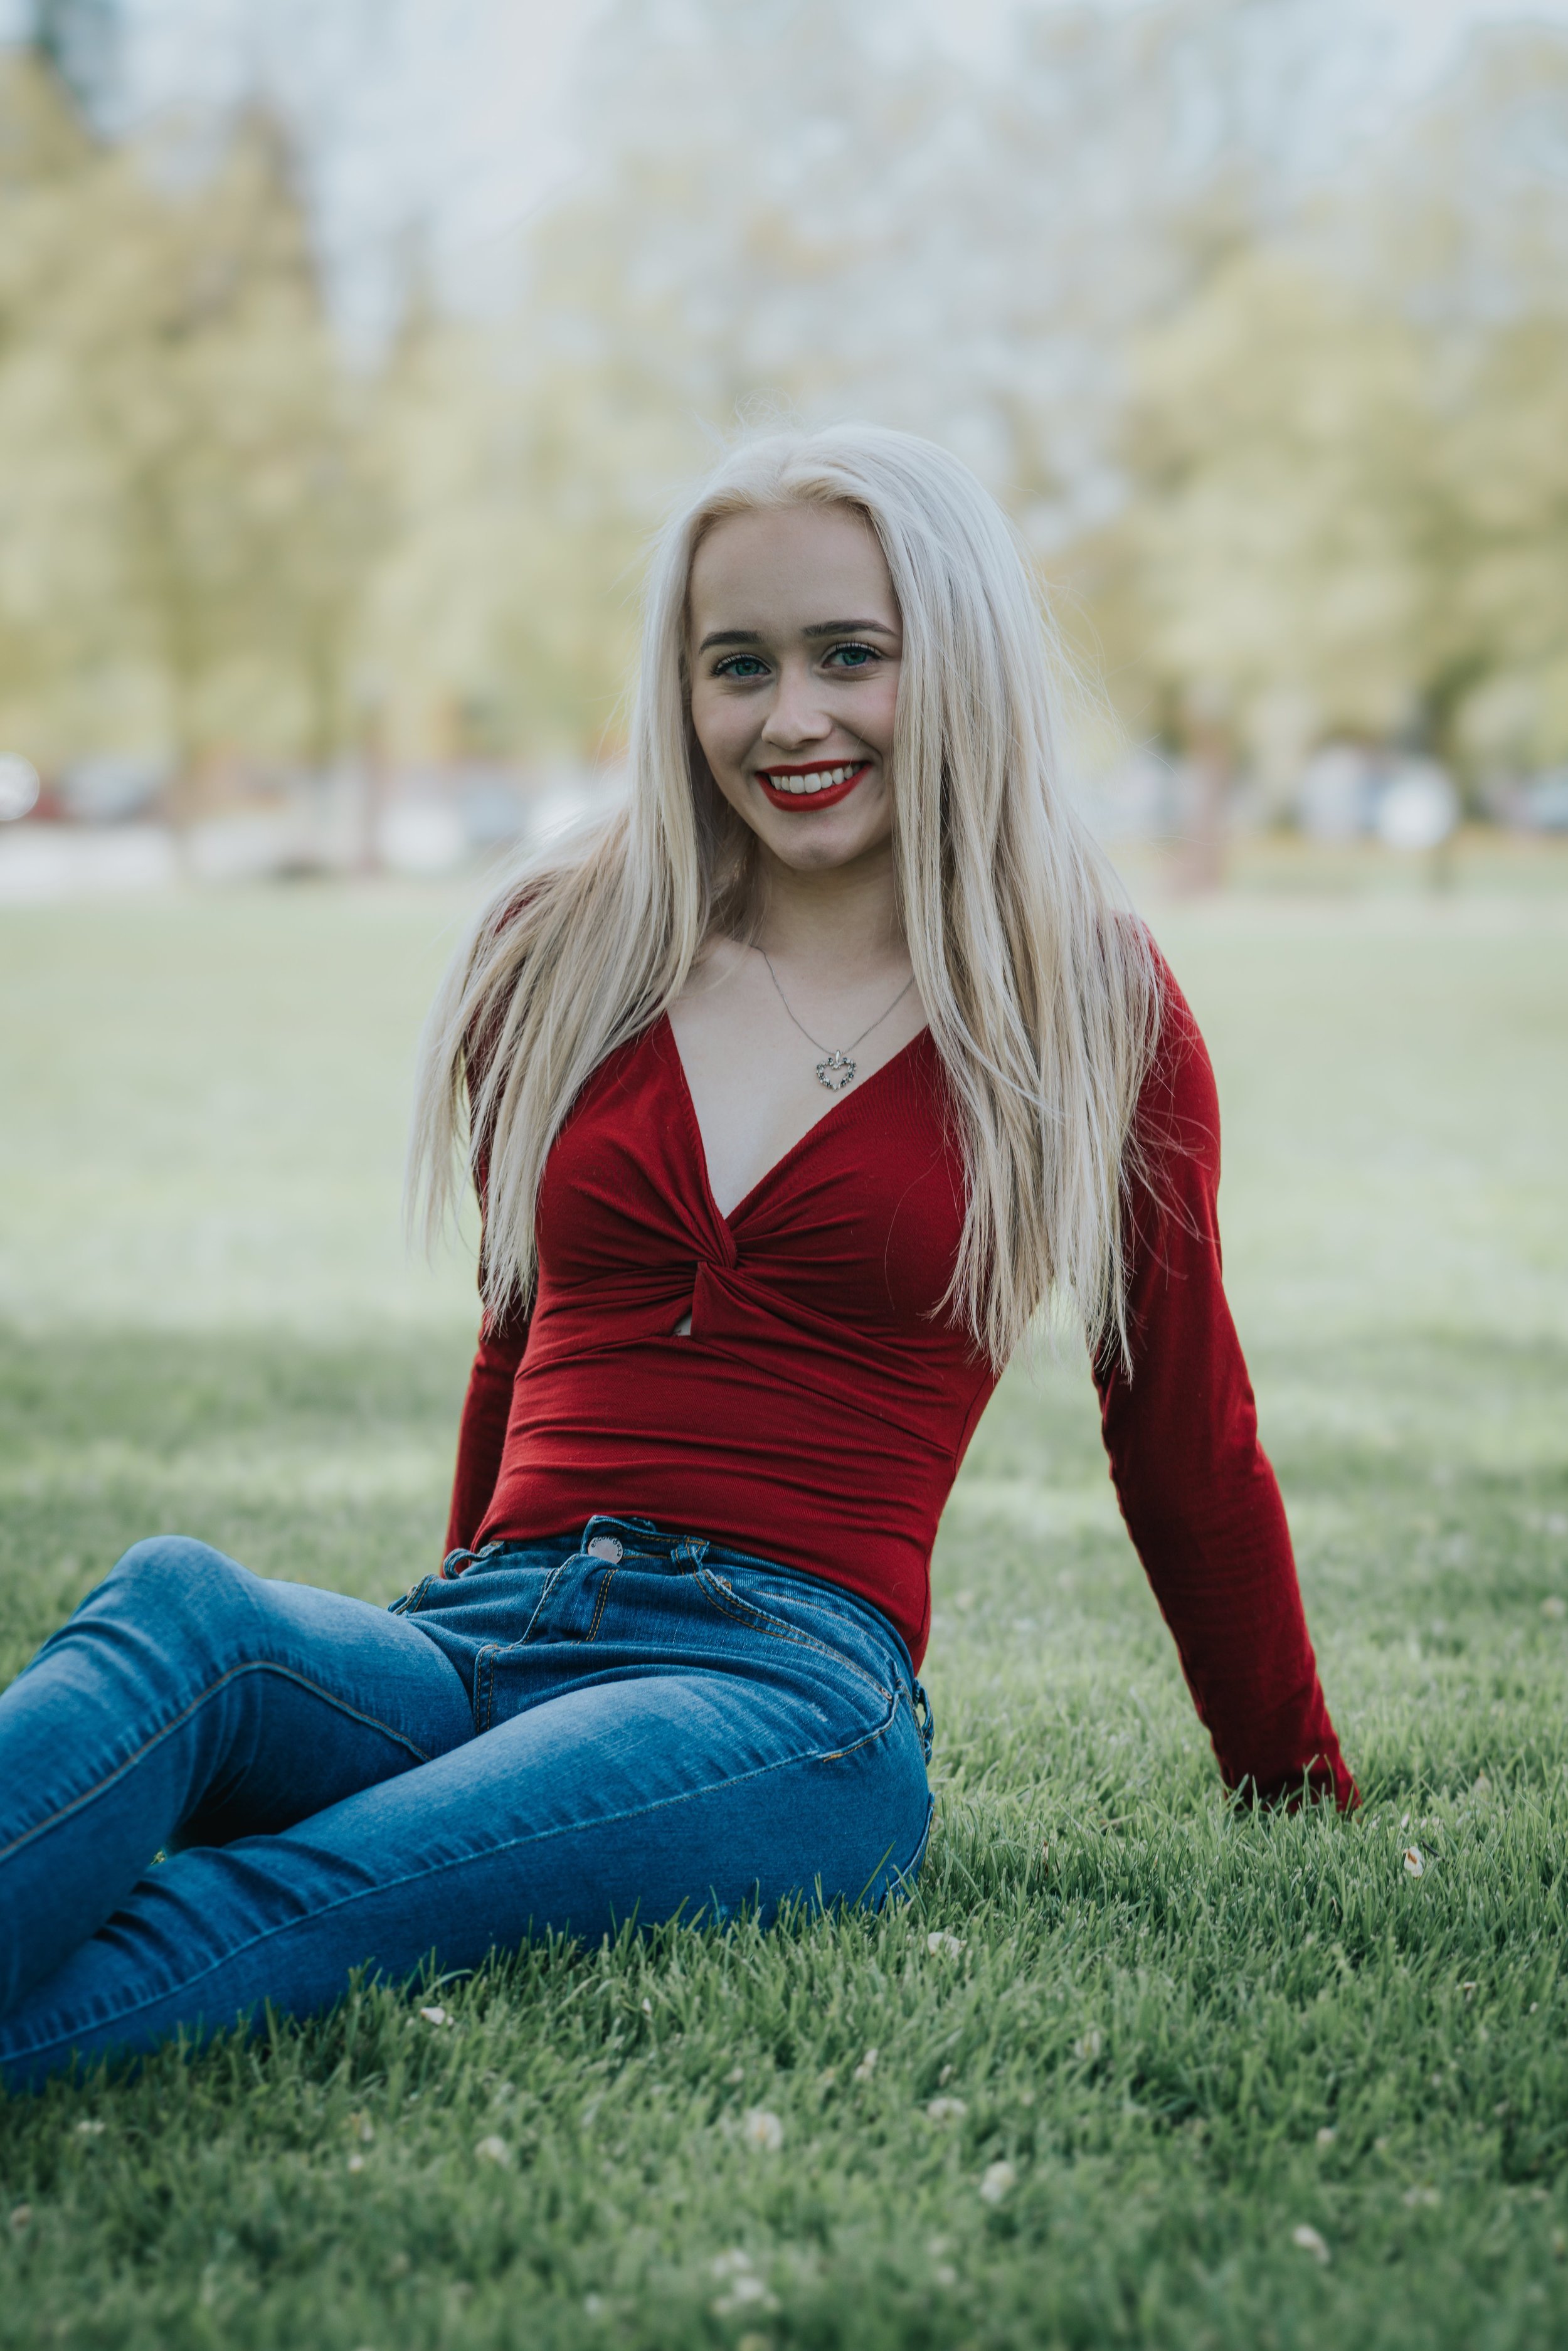
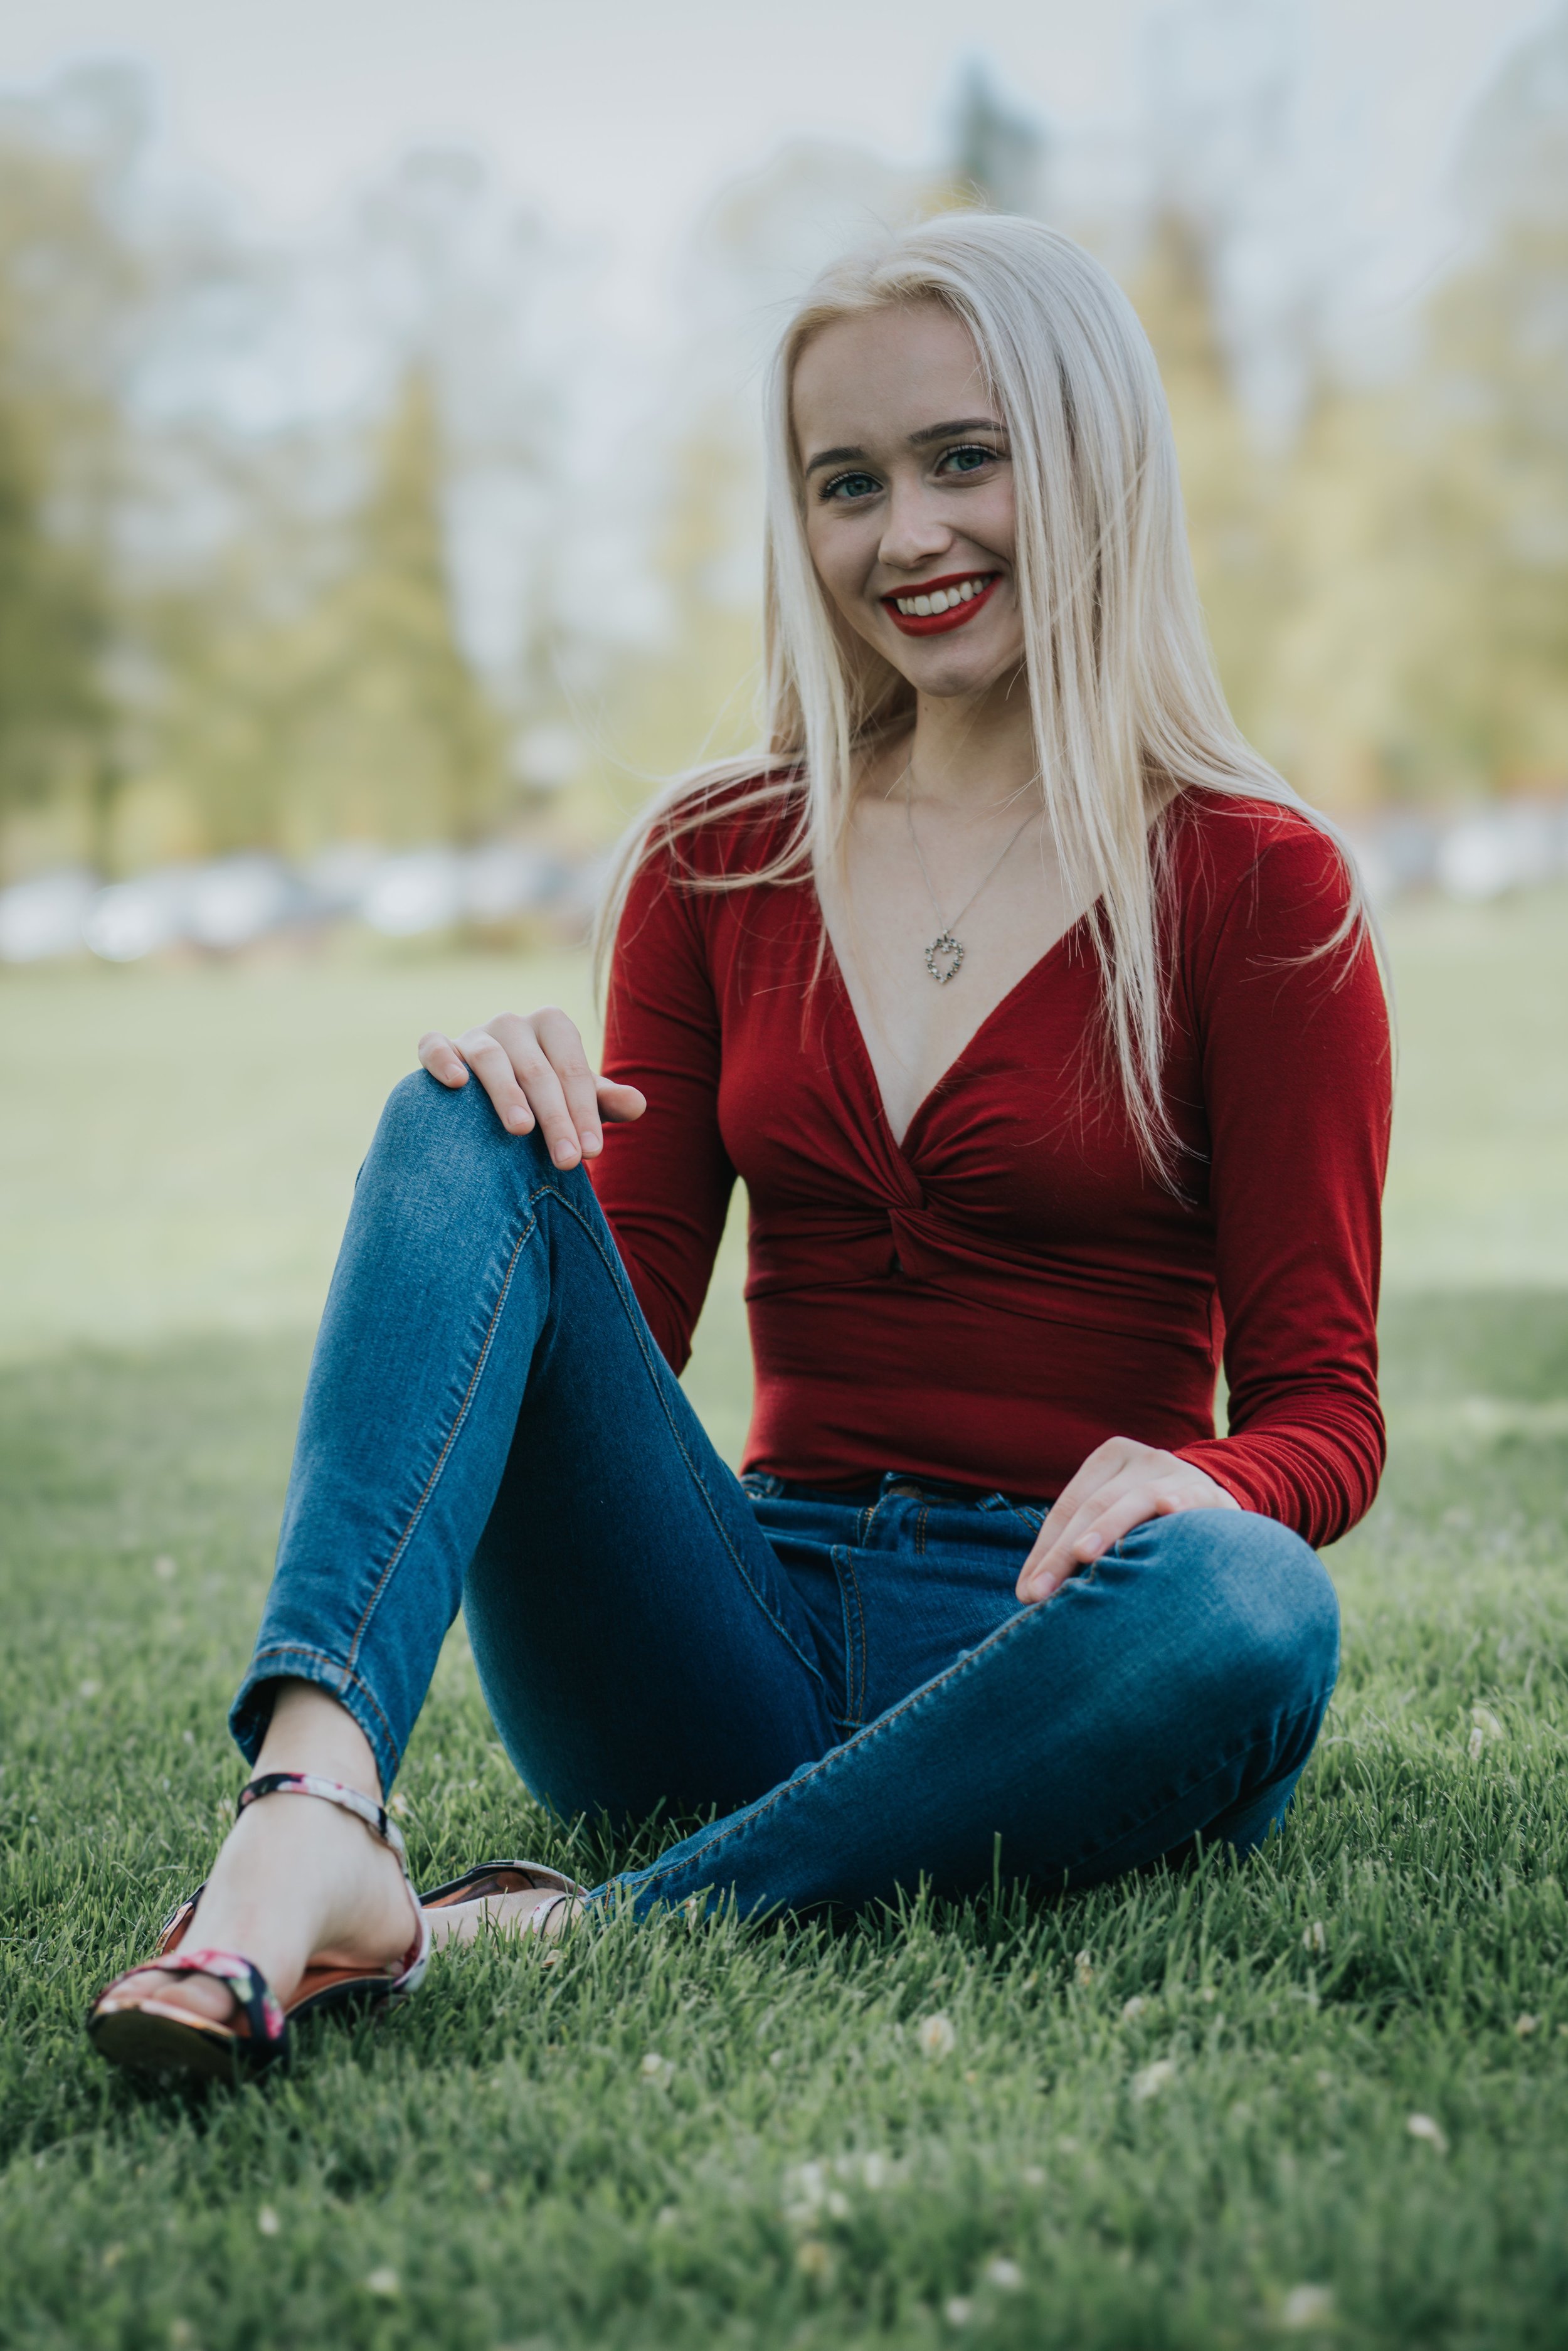
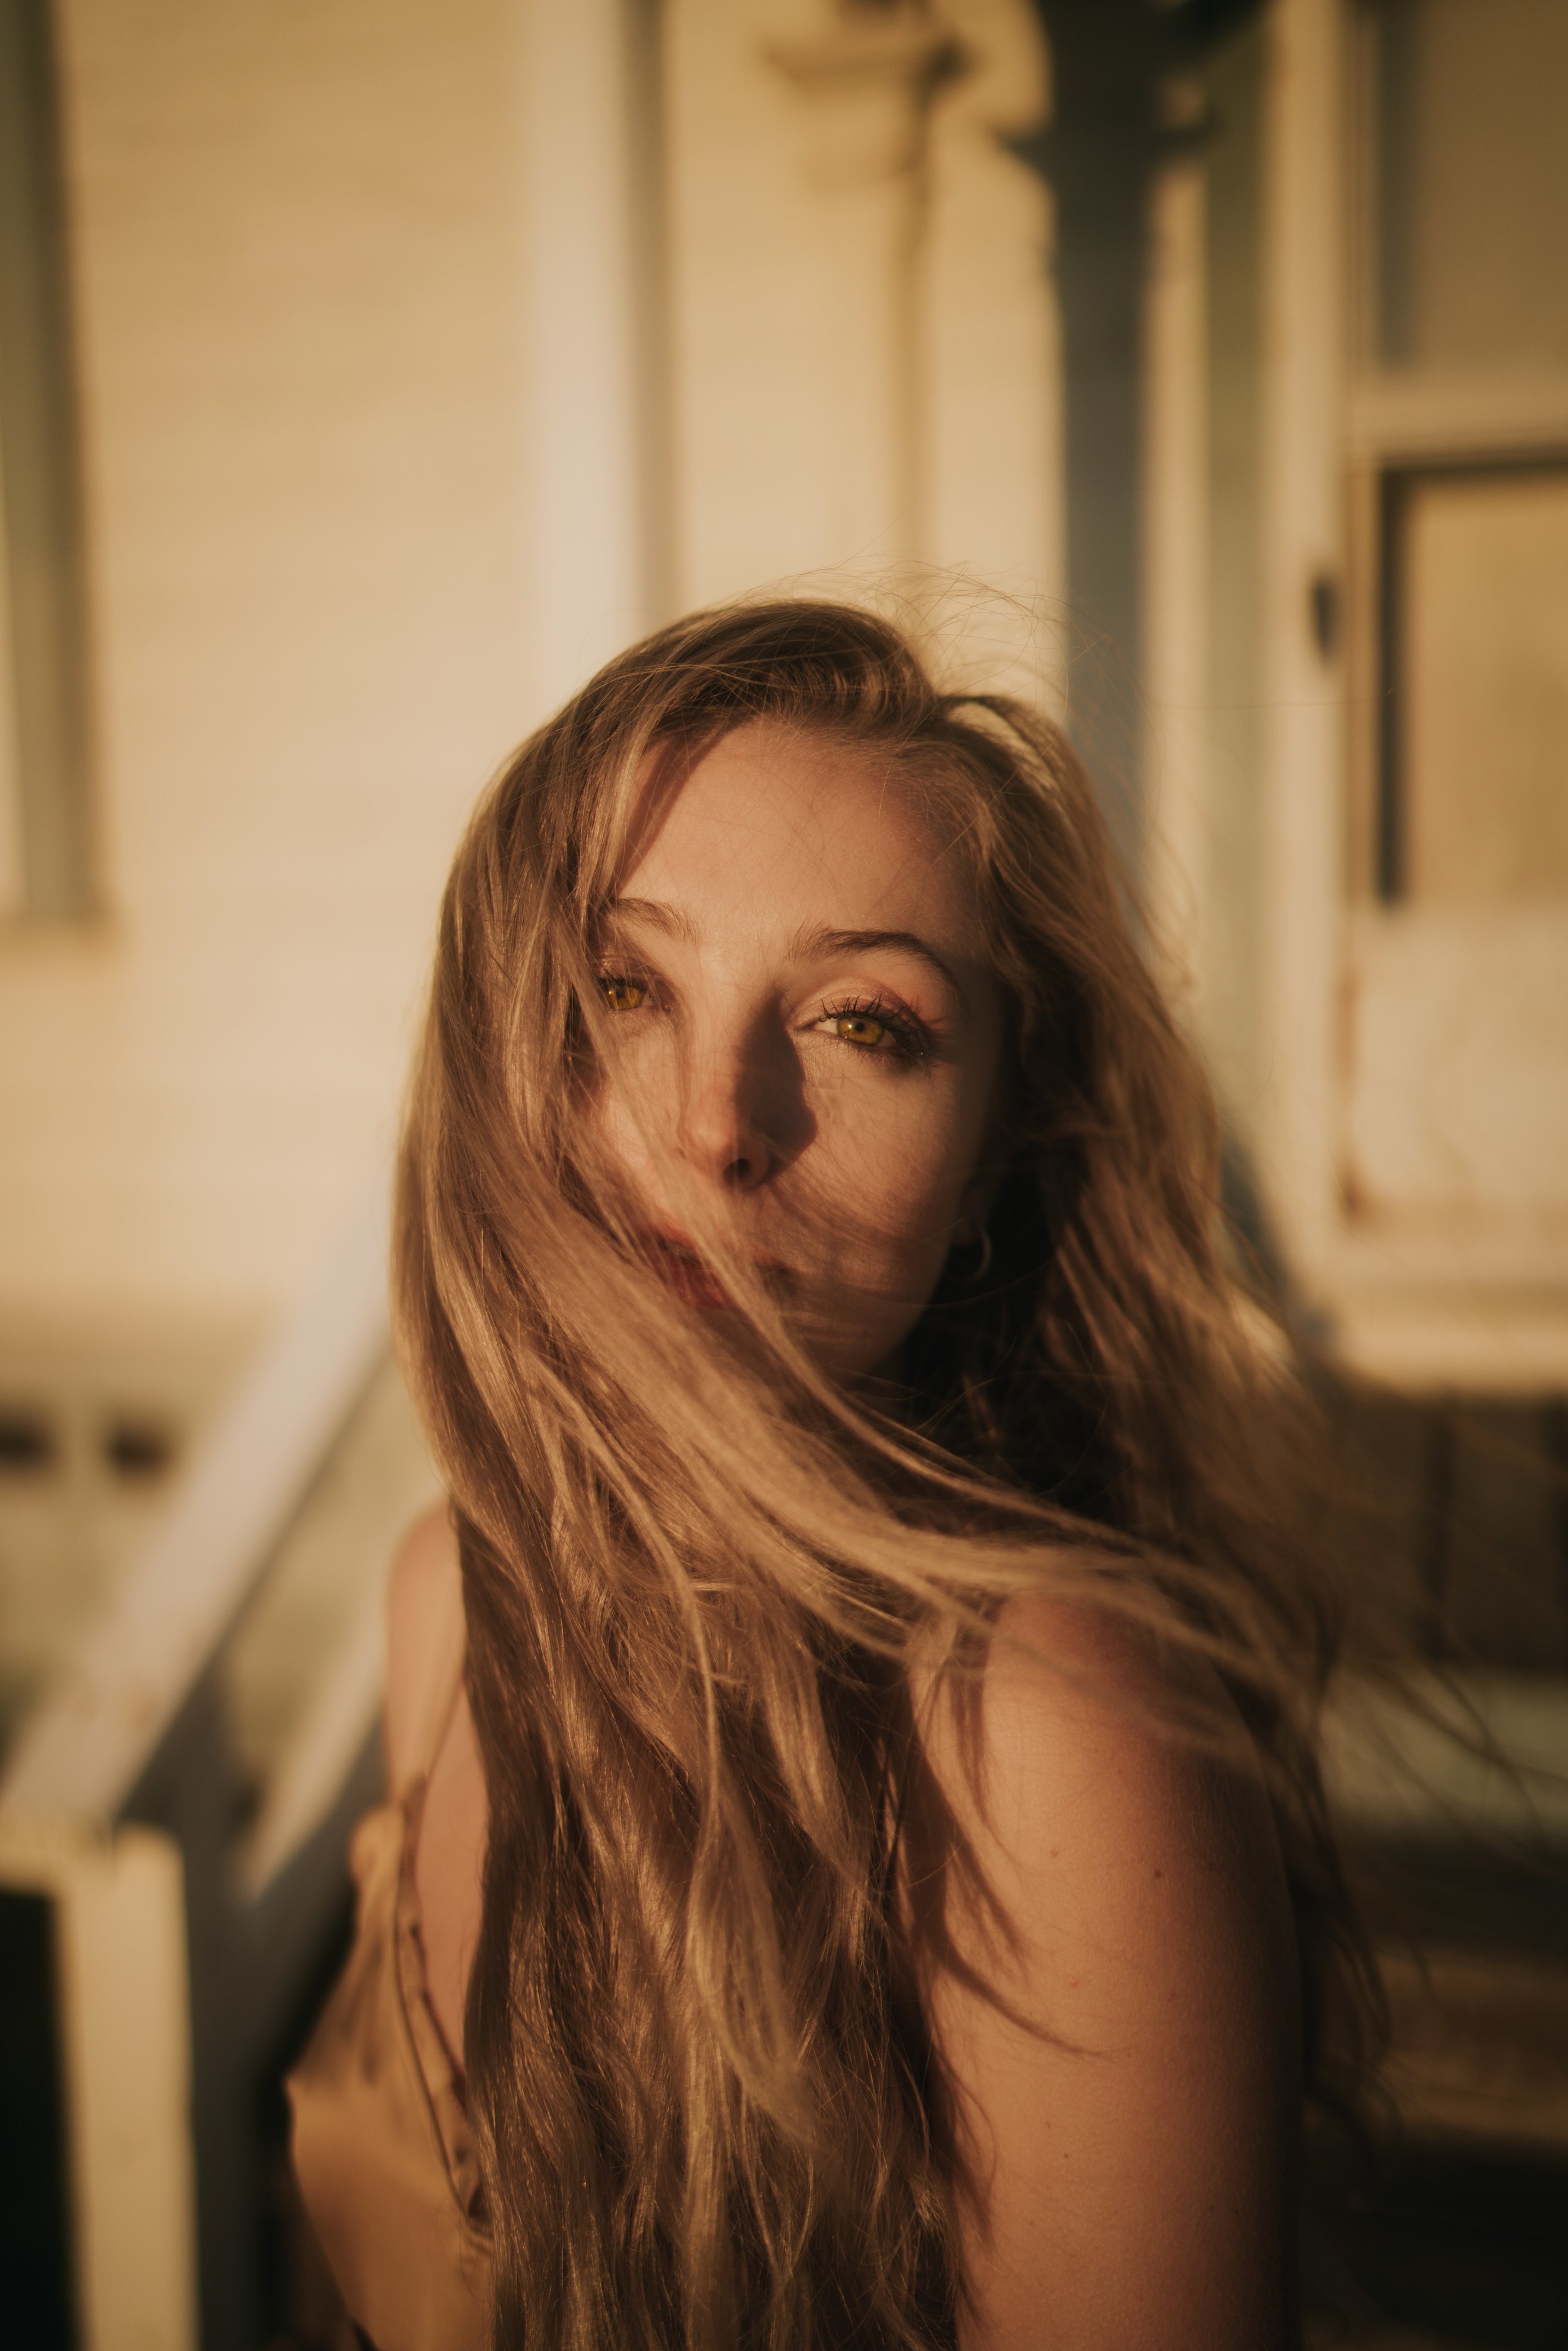
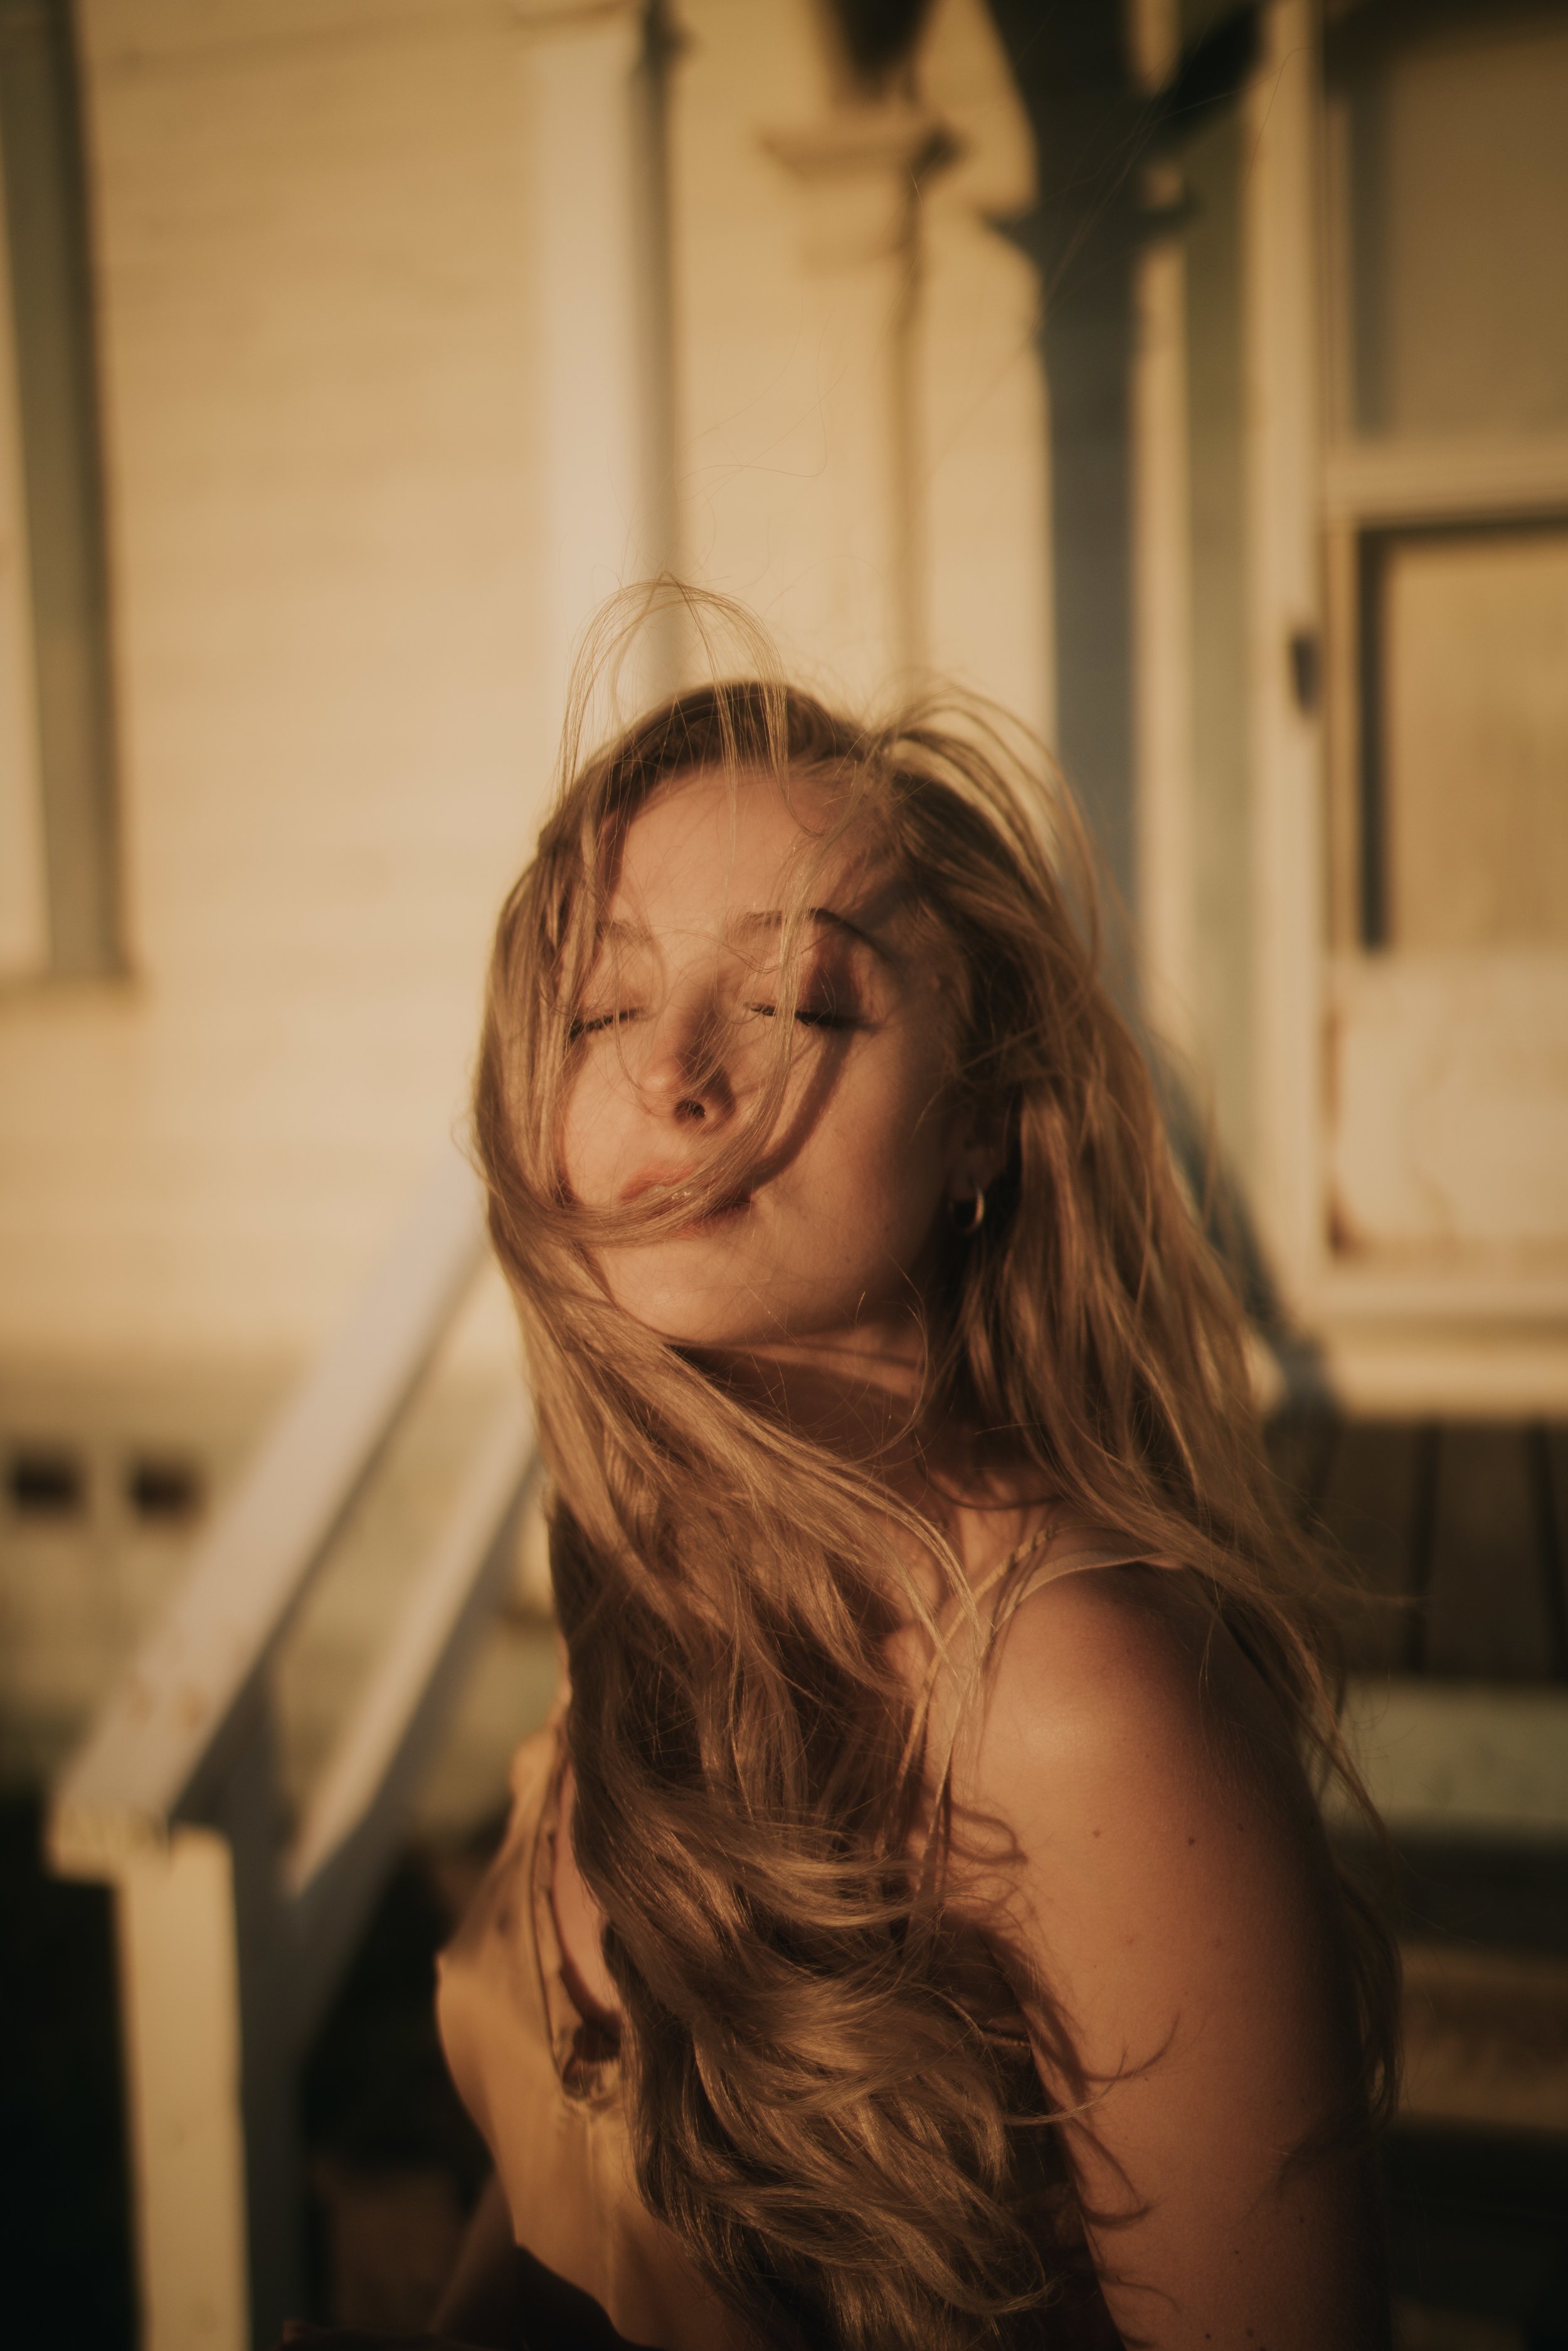
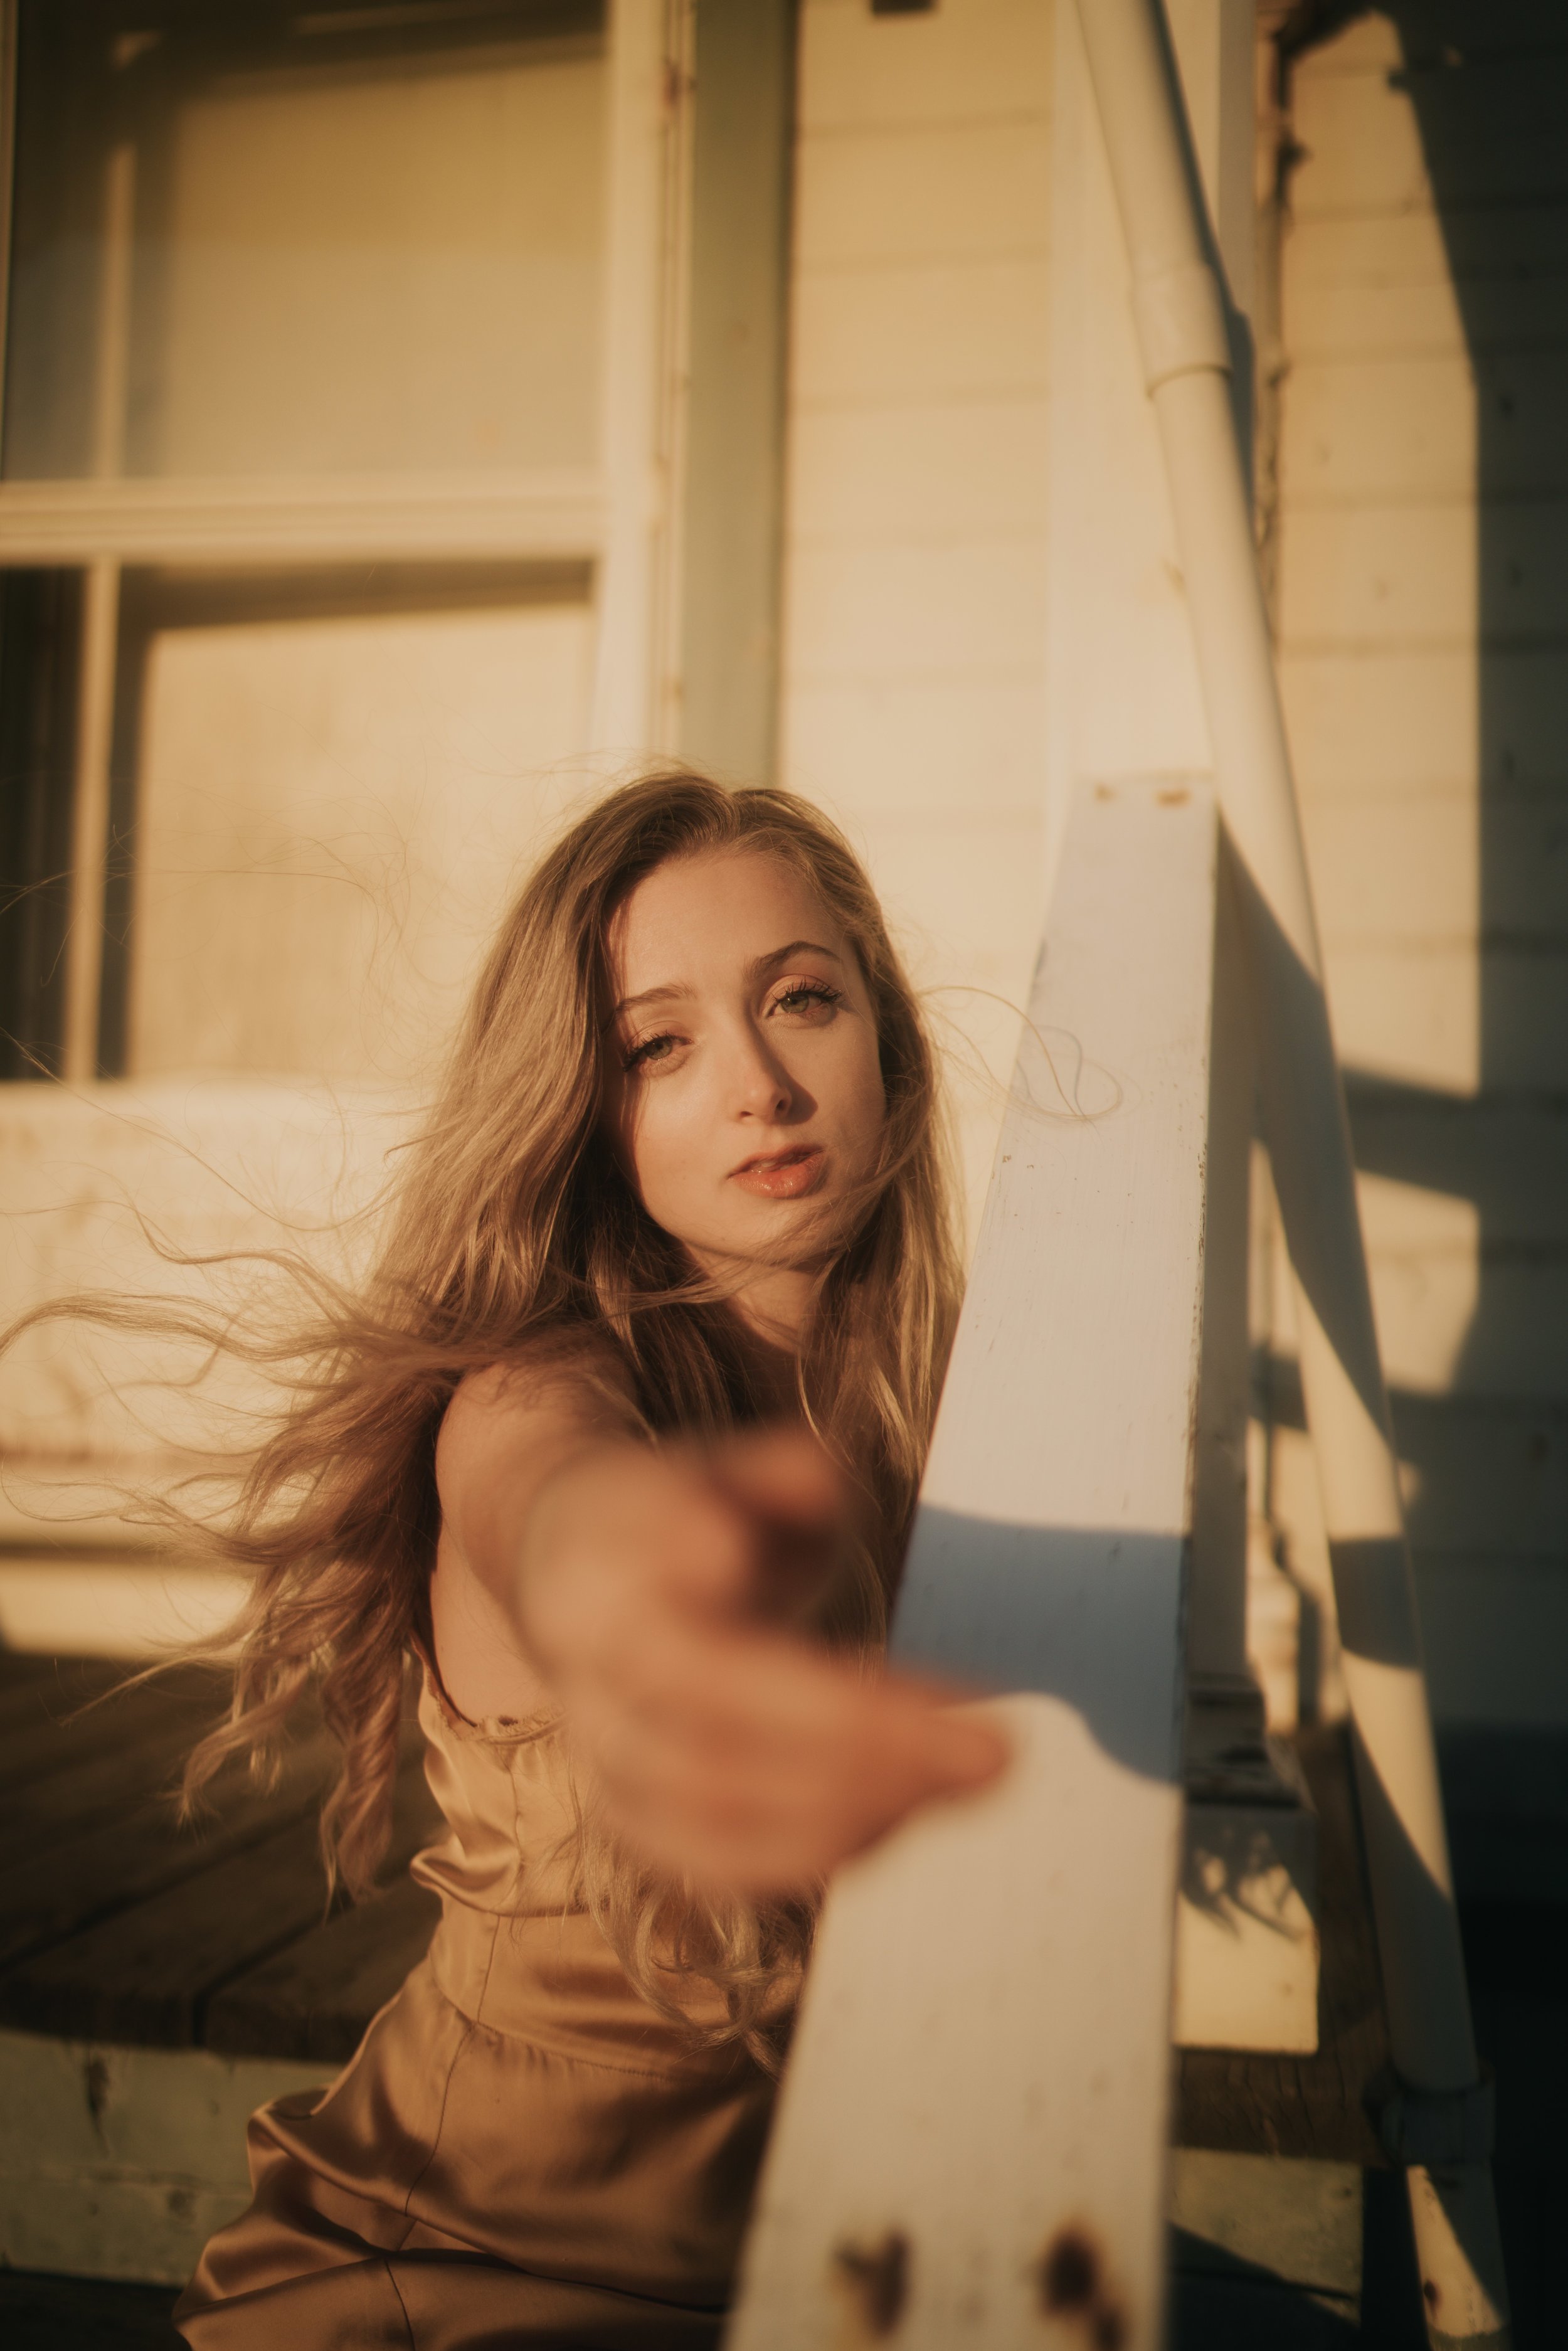
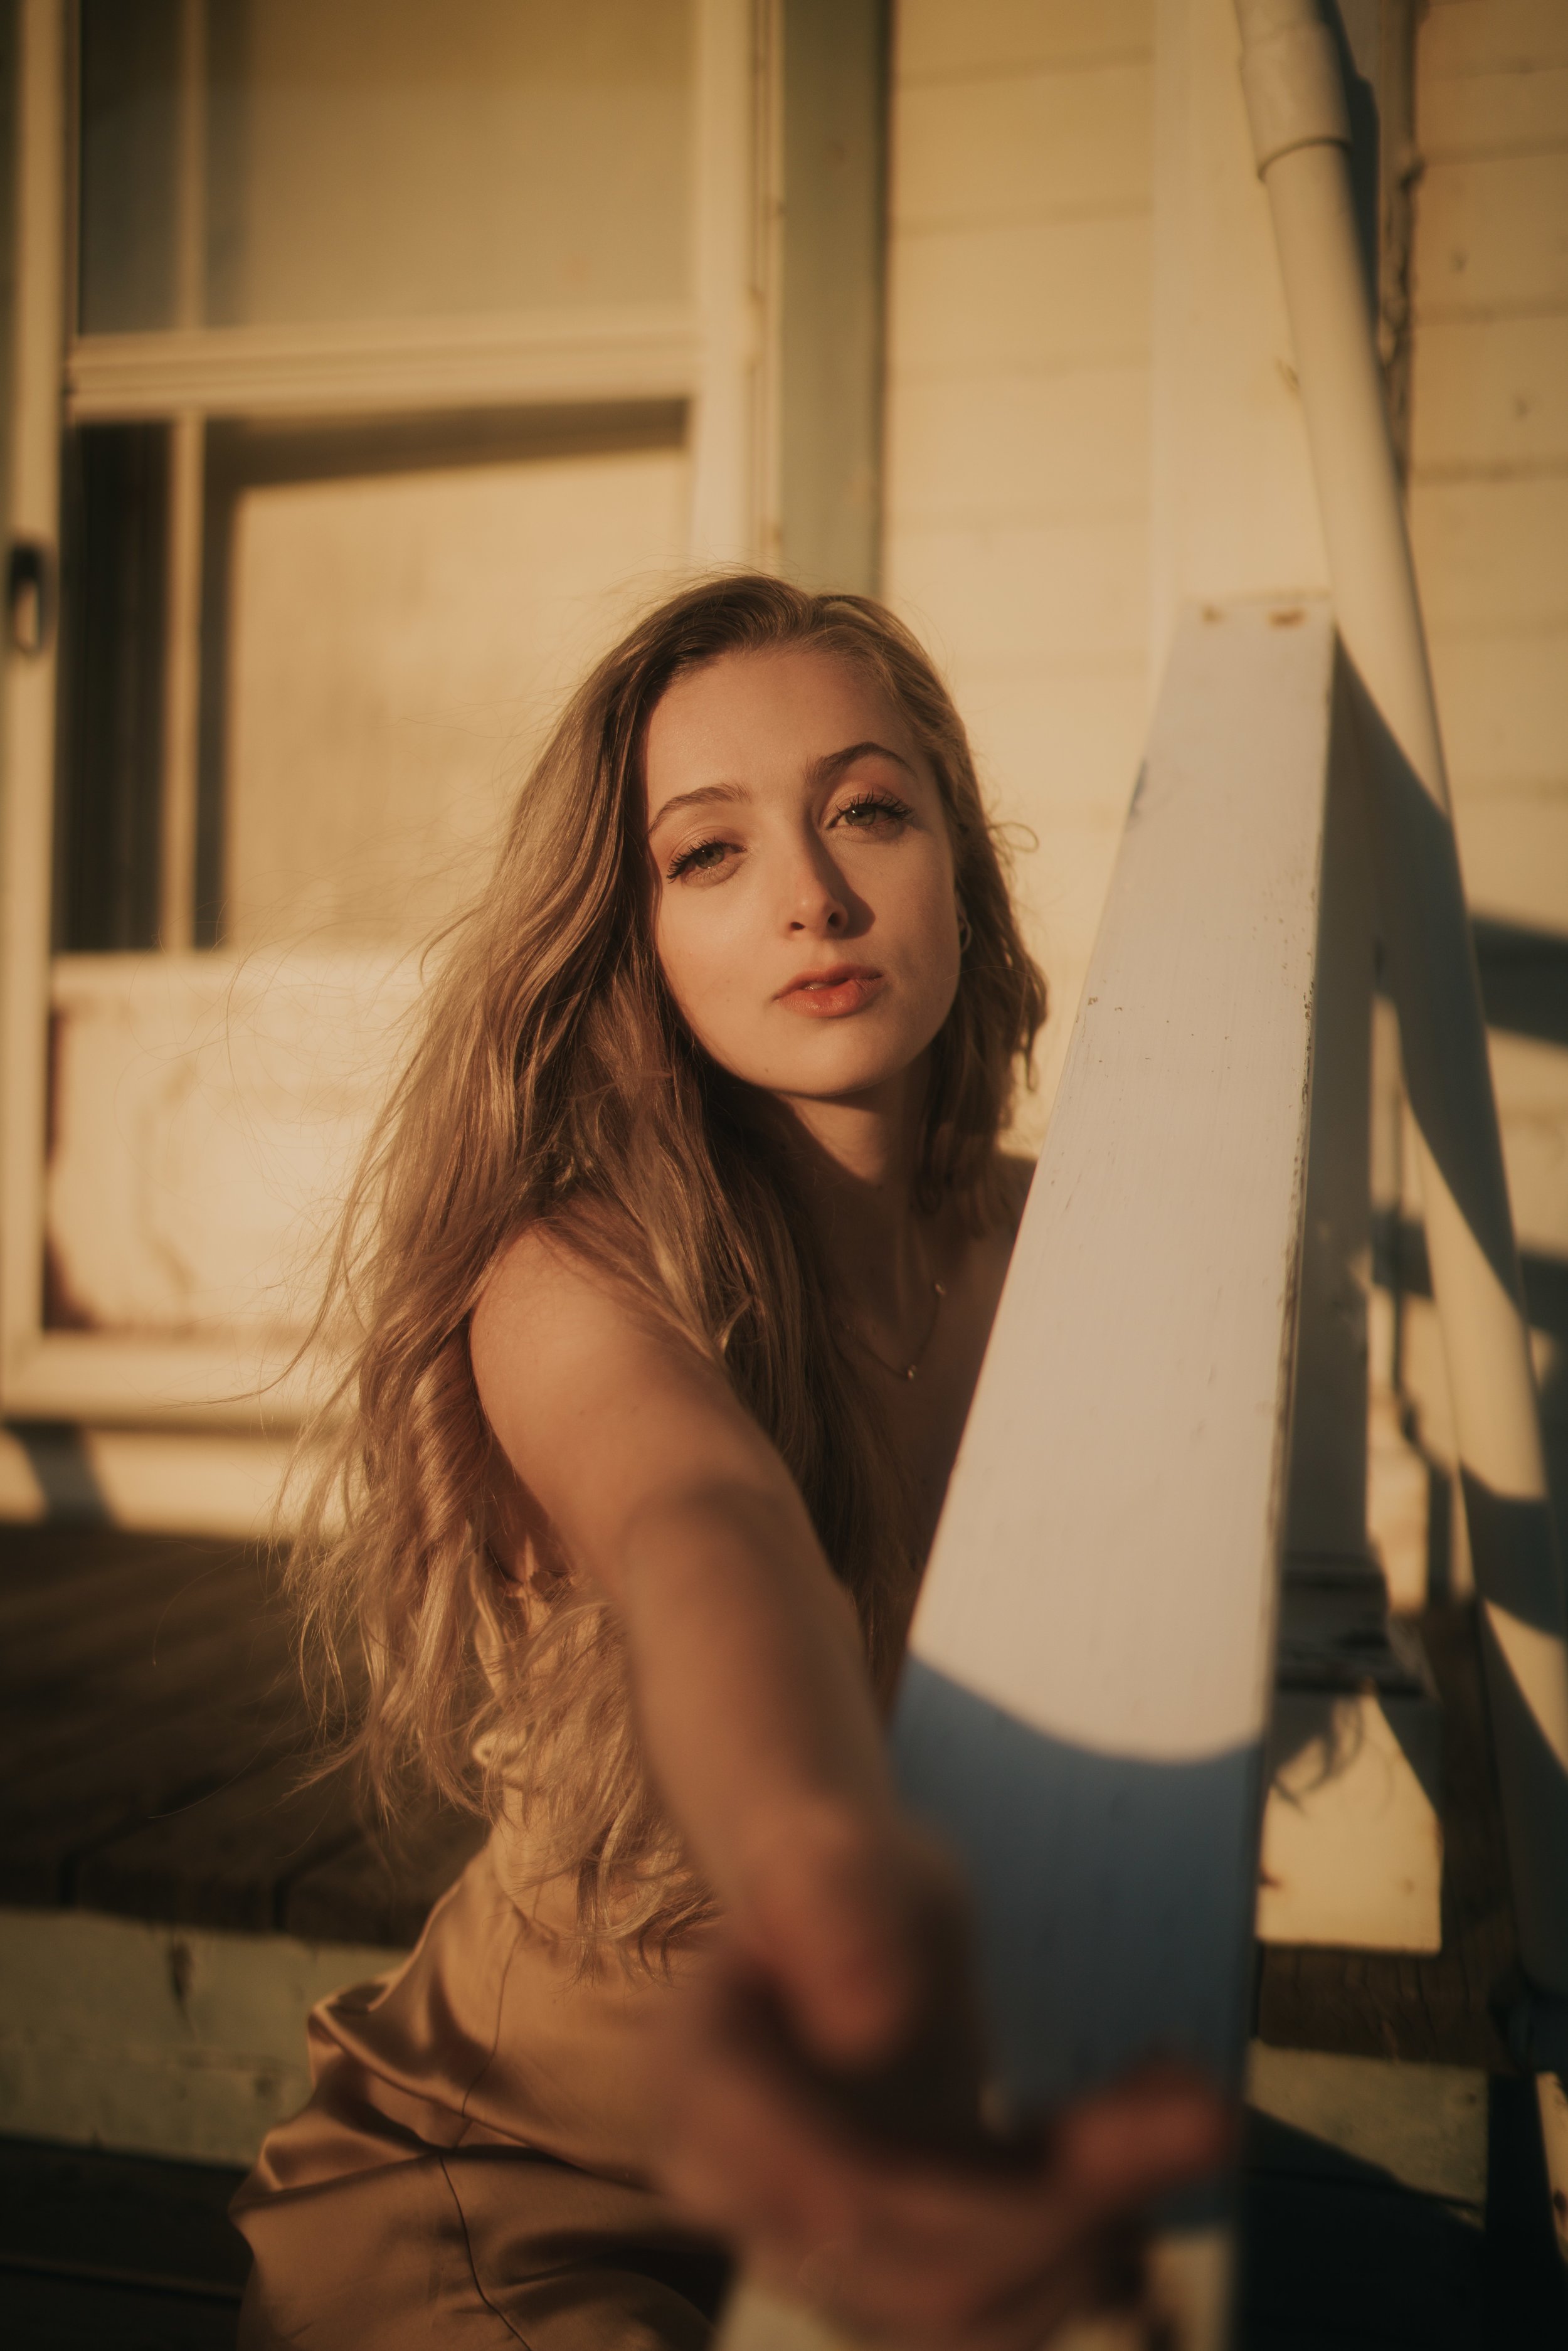
Luckily, I was able to find a rather simple solution to this! After doing some research on color theory, I came to the realization that the way you use color in your photos directly translates to your own unique style, as long as you remain consistent. The secret here actually isn't color theory itself, but actually, the magic of split toning. Well, color theory and split toning kind of go hand in hand, because you need to know which colors work well together in order to split tone in a way that's appealing to the eye.

Let's take a step back. What exactly is color theory, and what exactly is split toning? Well, color theory basically tells you how colors work together, and which colors go well together to make something appealing to the eye. This is just the absolute basics of color theory, as it goes much deeper than that, but for this explanation, we'll stick with that simple definition. Split toning on the other hand, is the colors that you choose to tint both the highlights, and the shadows in an image, highlights being the bright sections of the image, and shadows being the dark sections in the image.

A lot of people don't know that they can do this, and it's actually one of the staple pieces to my editing process. The changes can be very subtle, but they're extremely noticeable, and this can be a game changer when it comes to creating your own style, and you want to know the best part? You can use this technique on ANY photo!

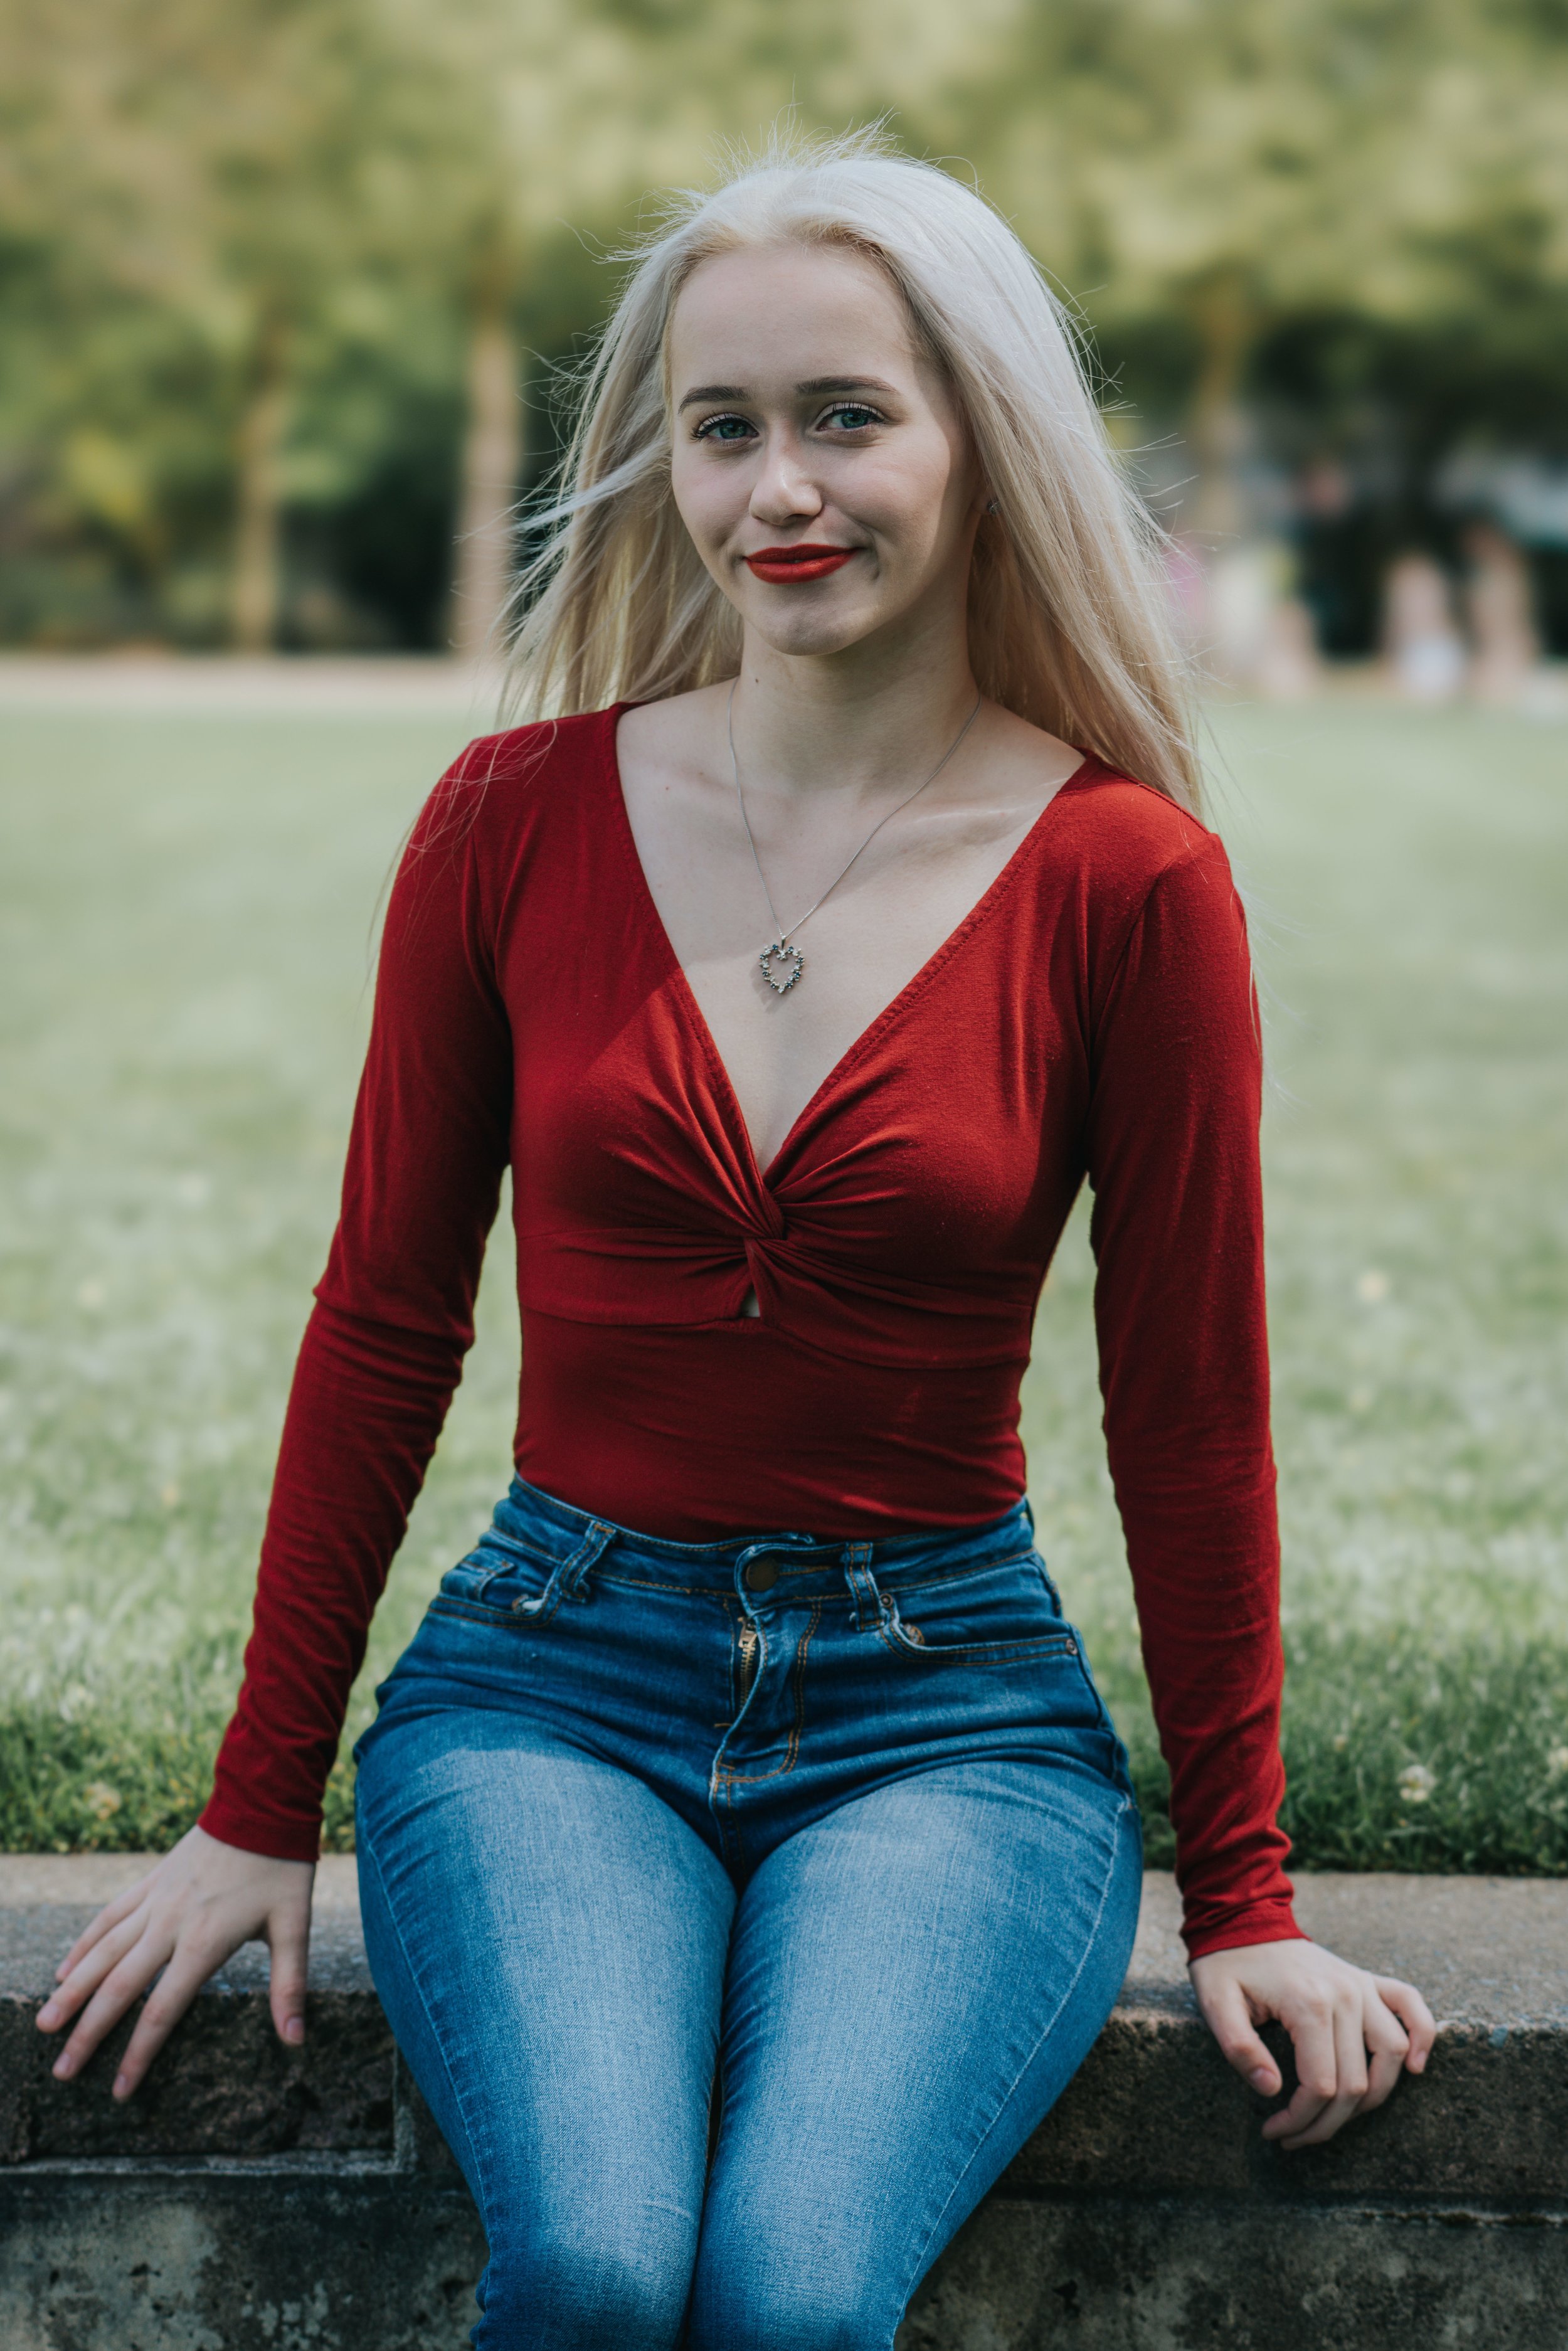
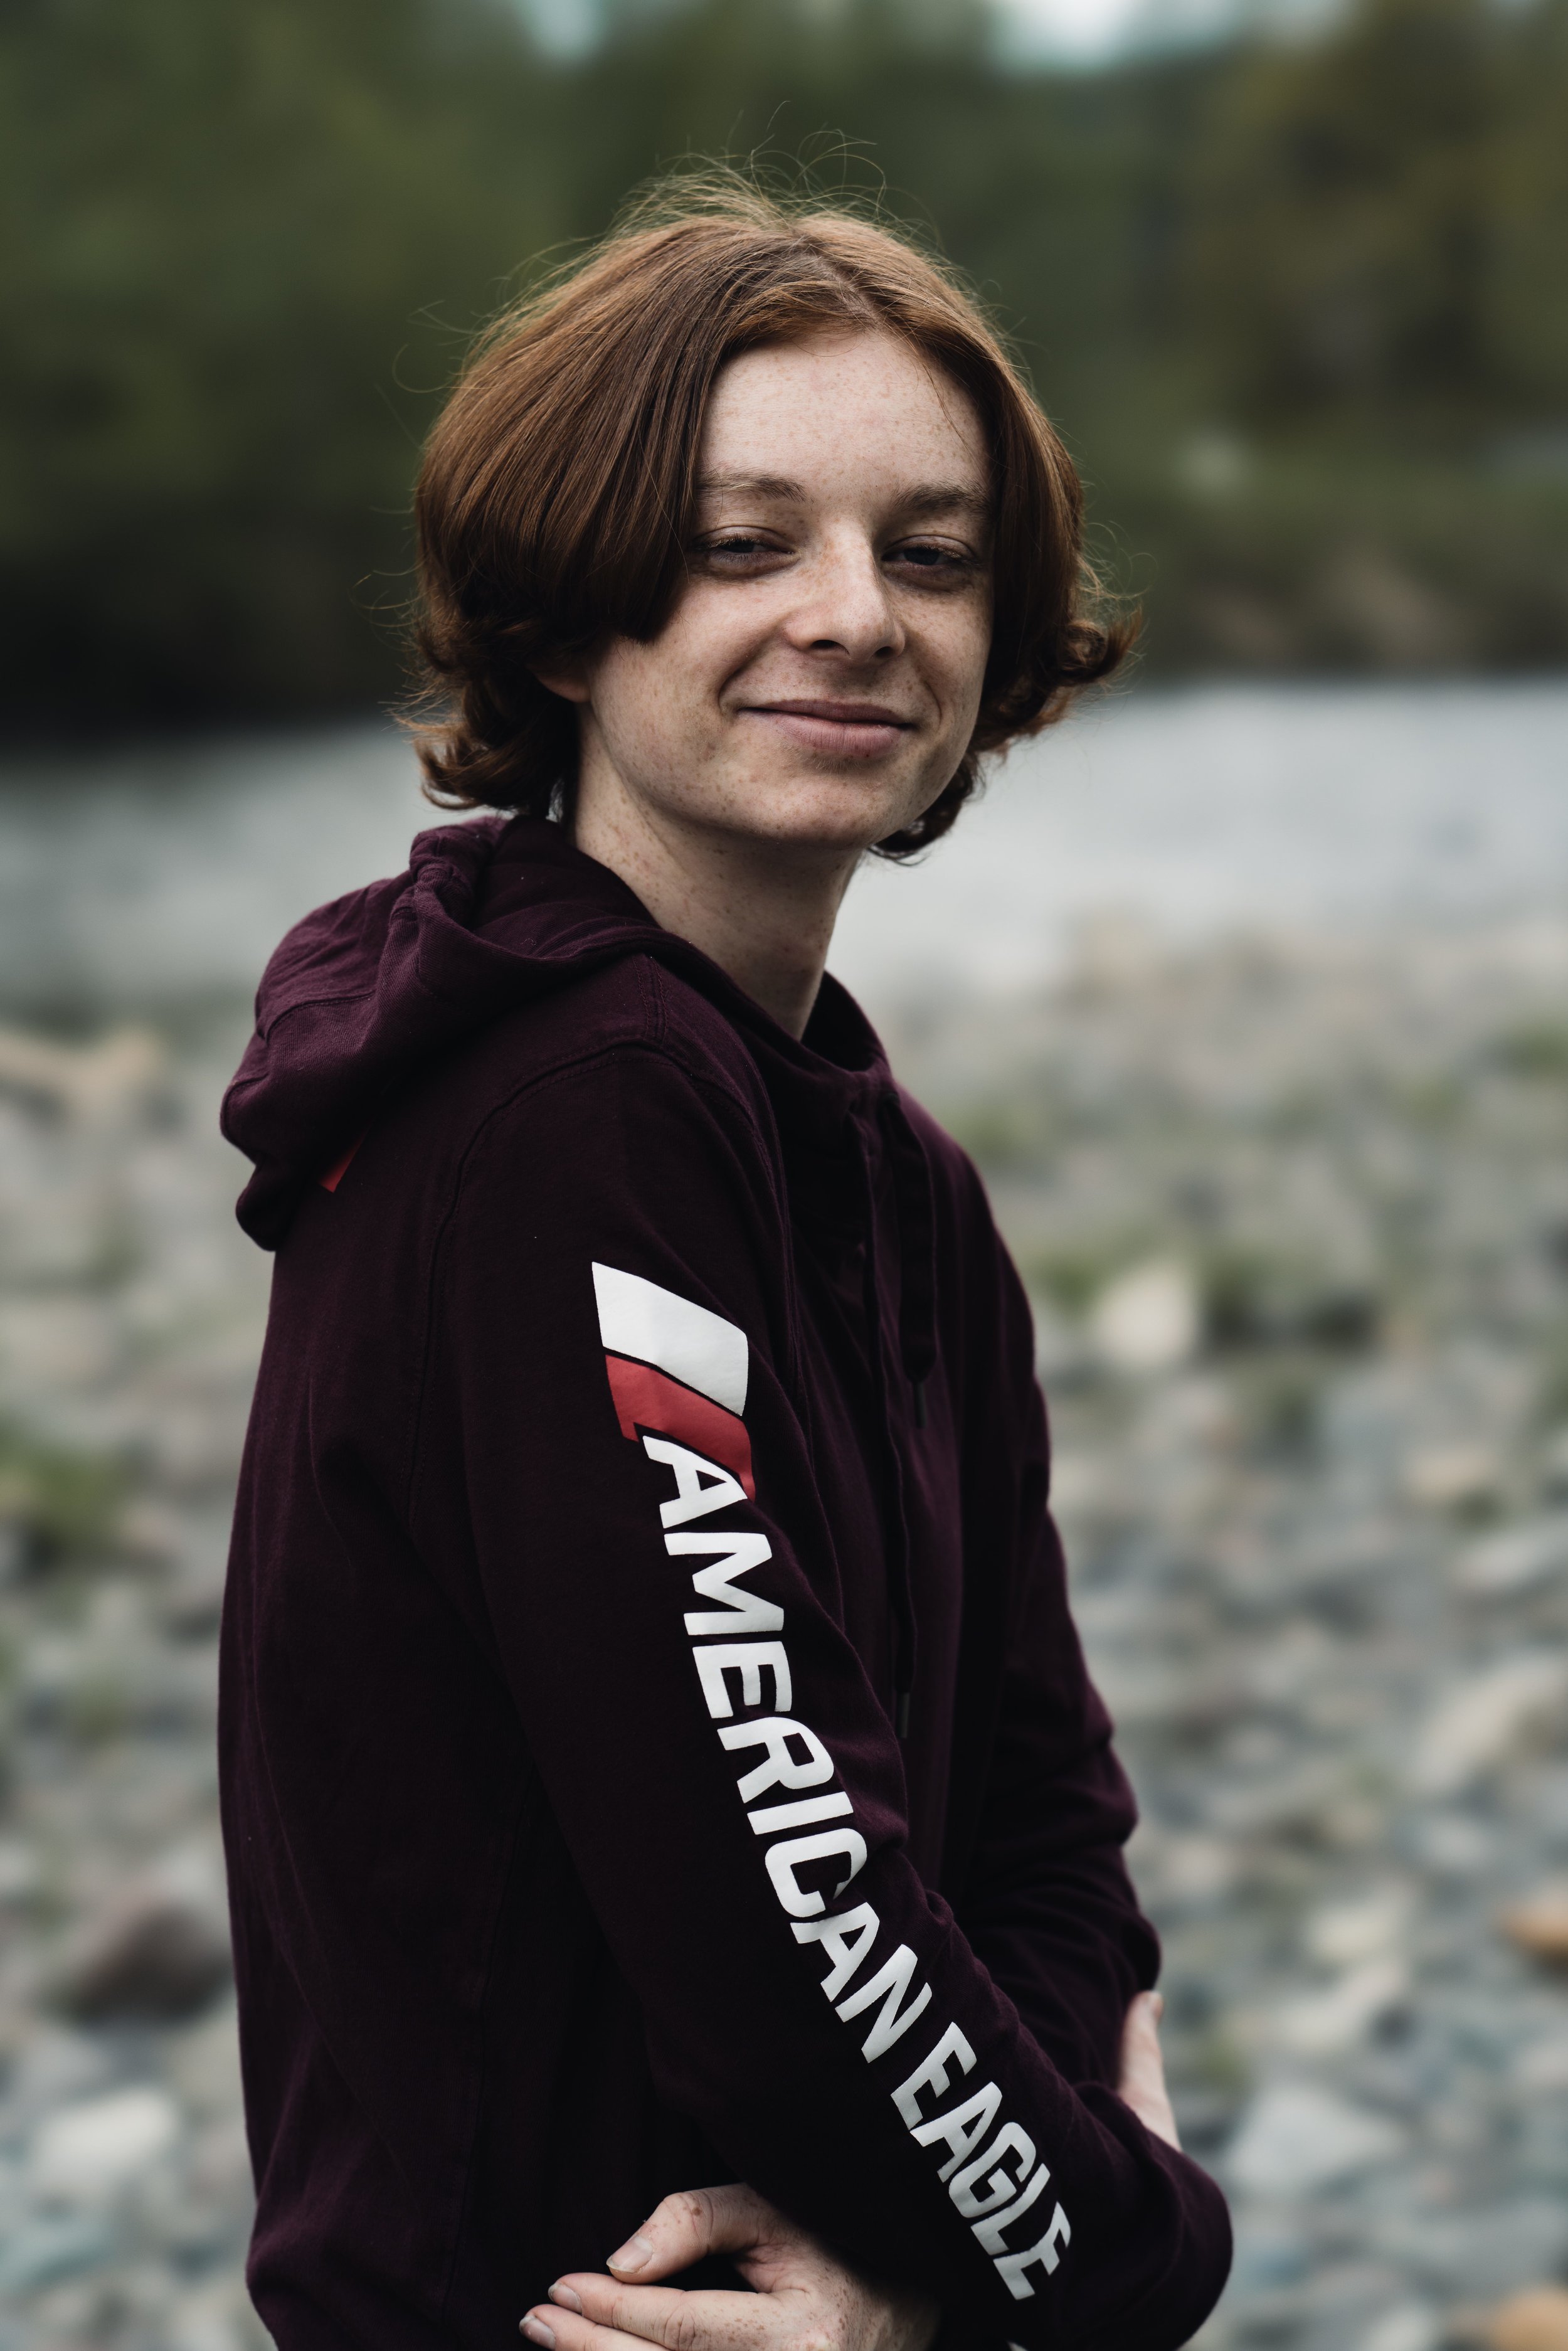
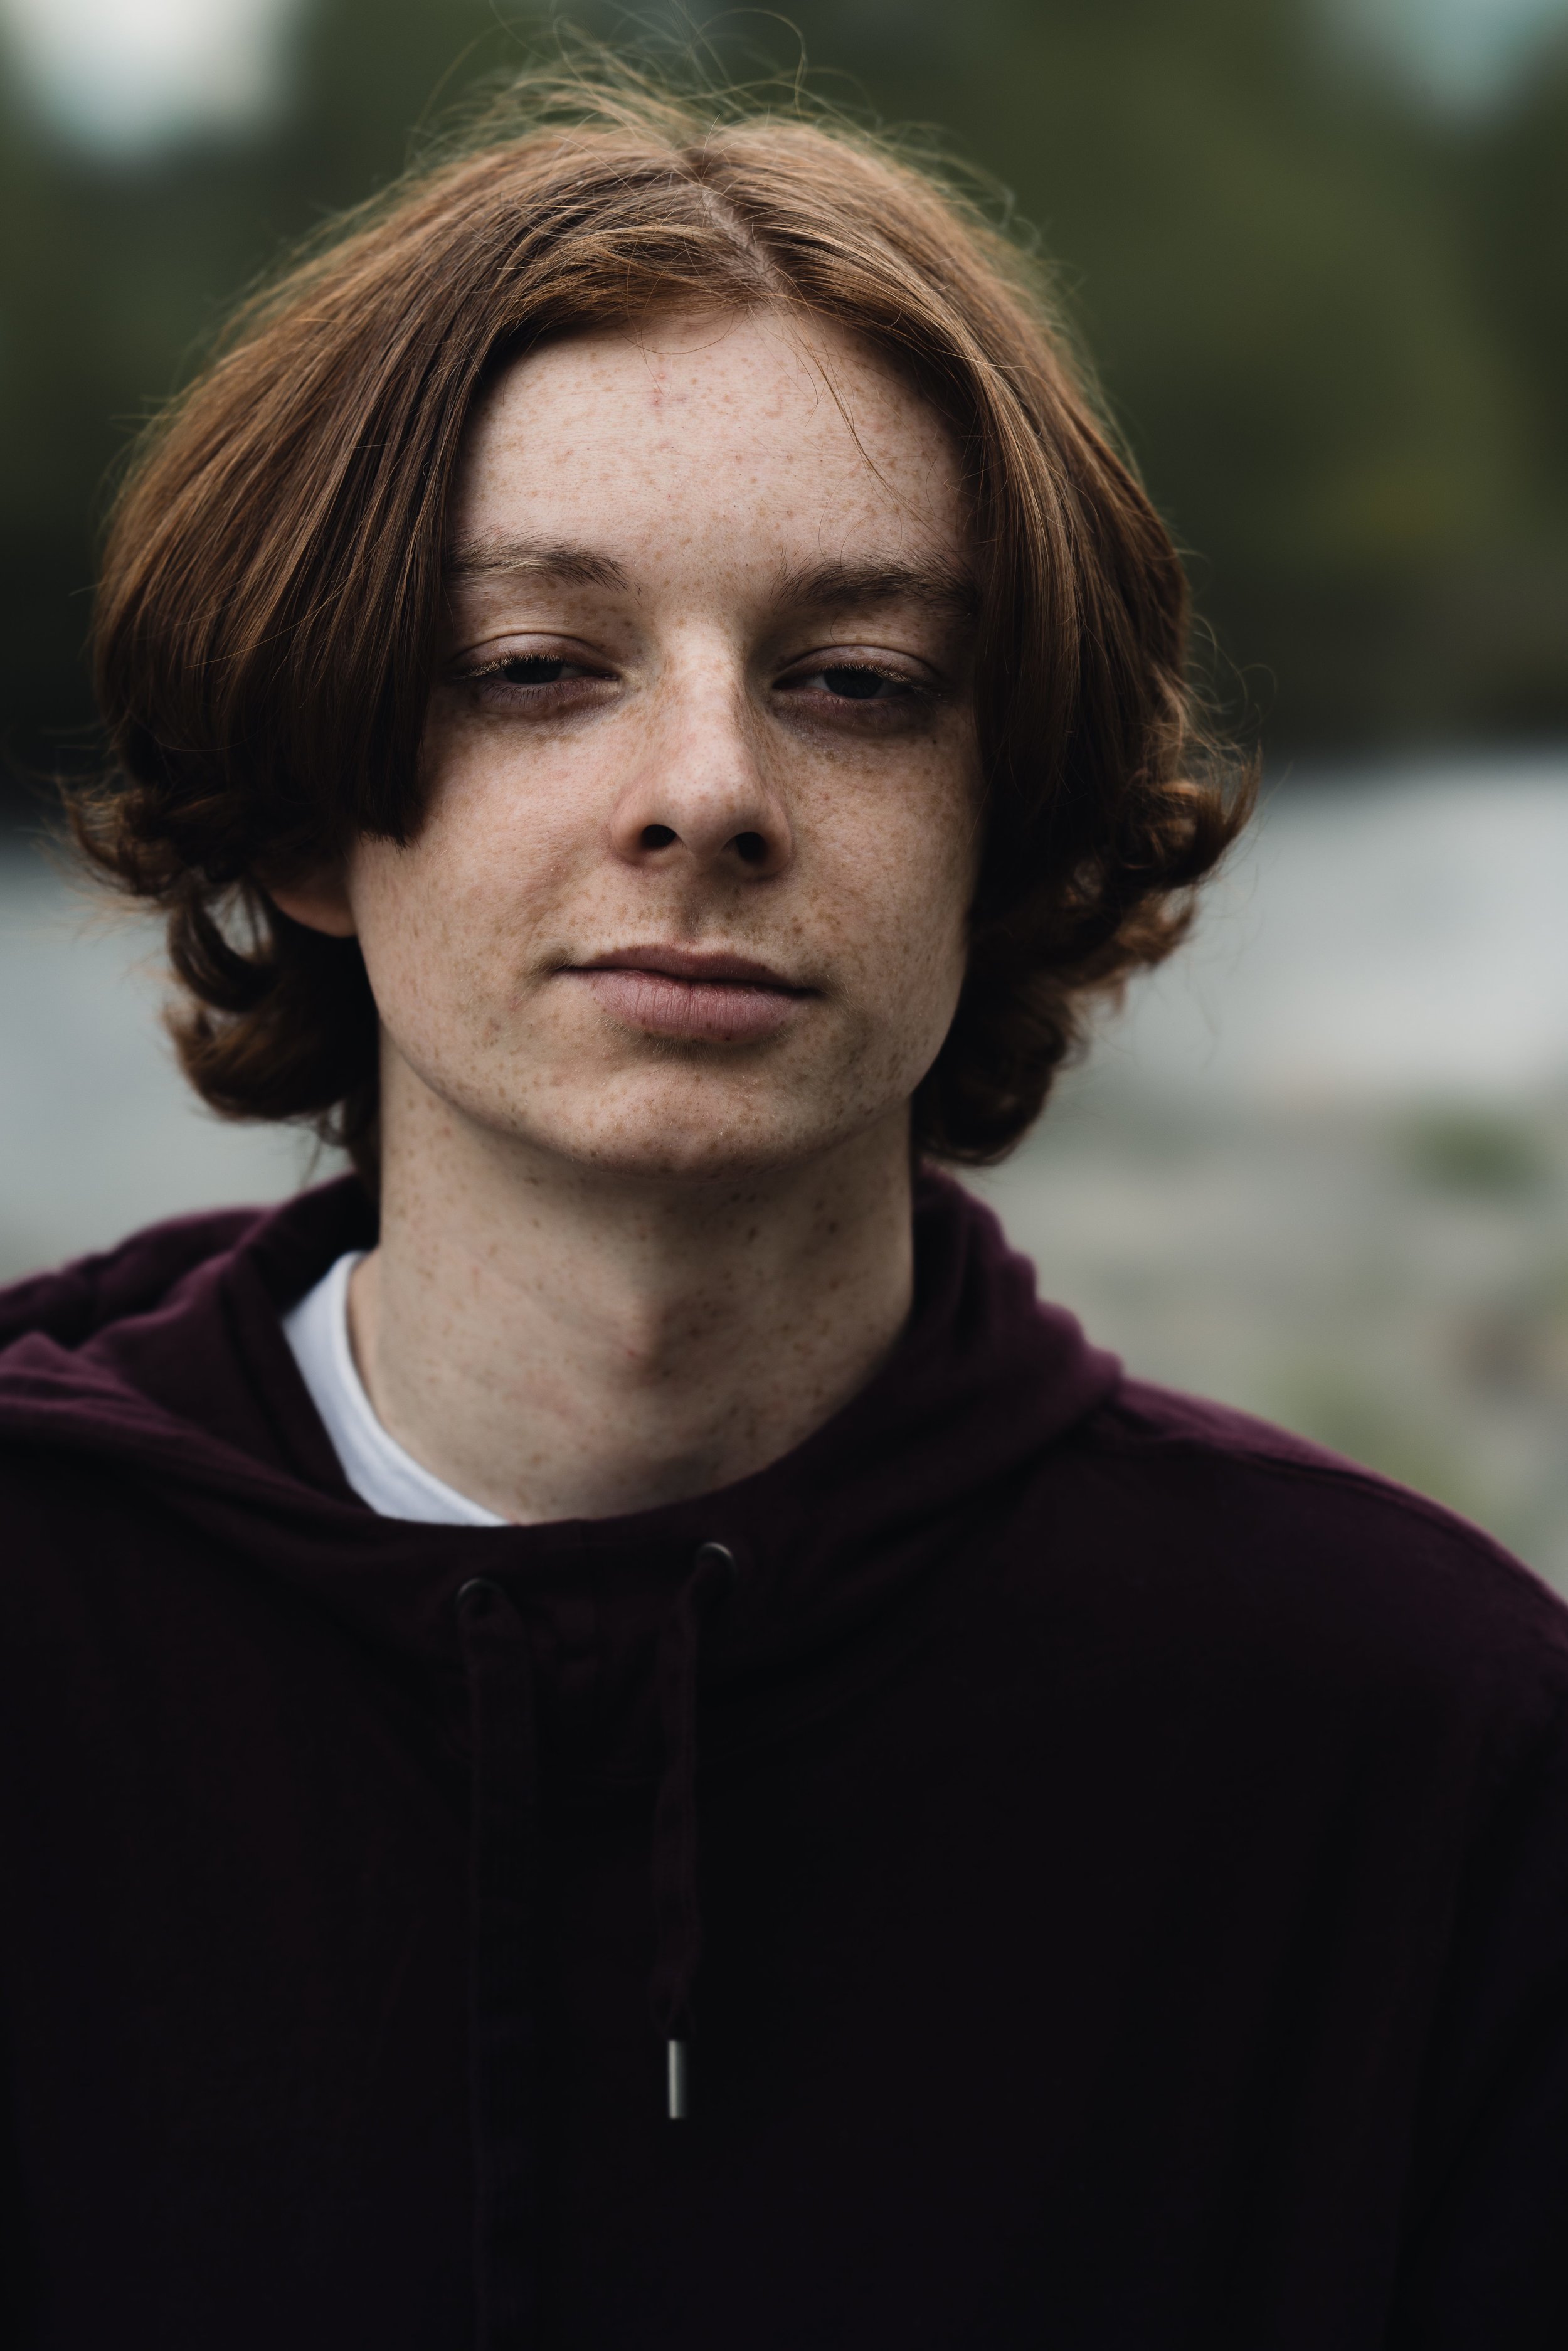
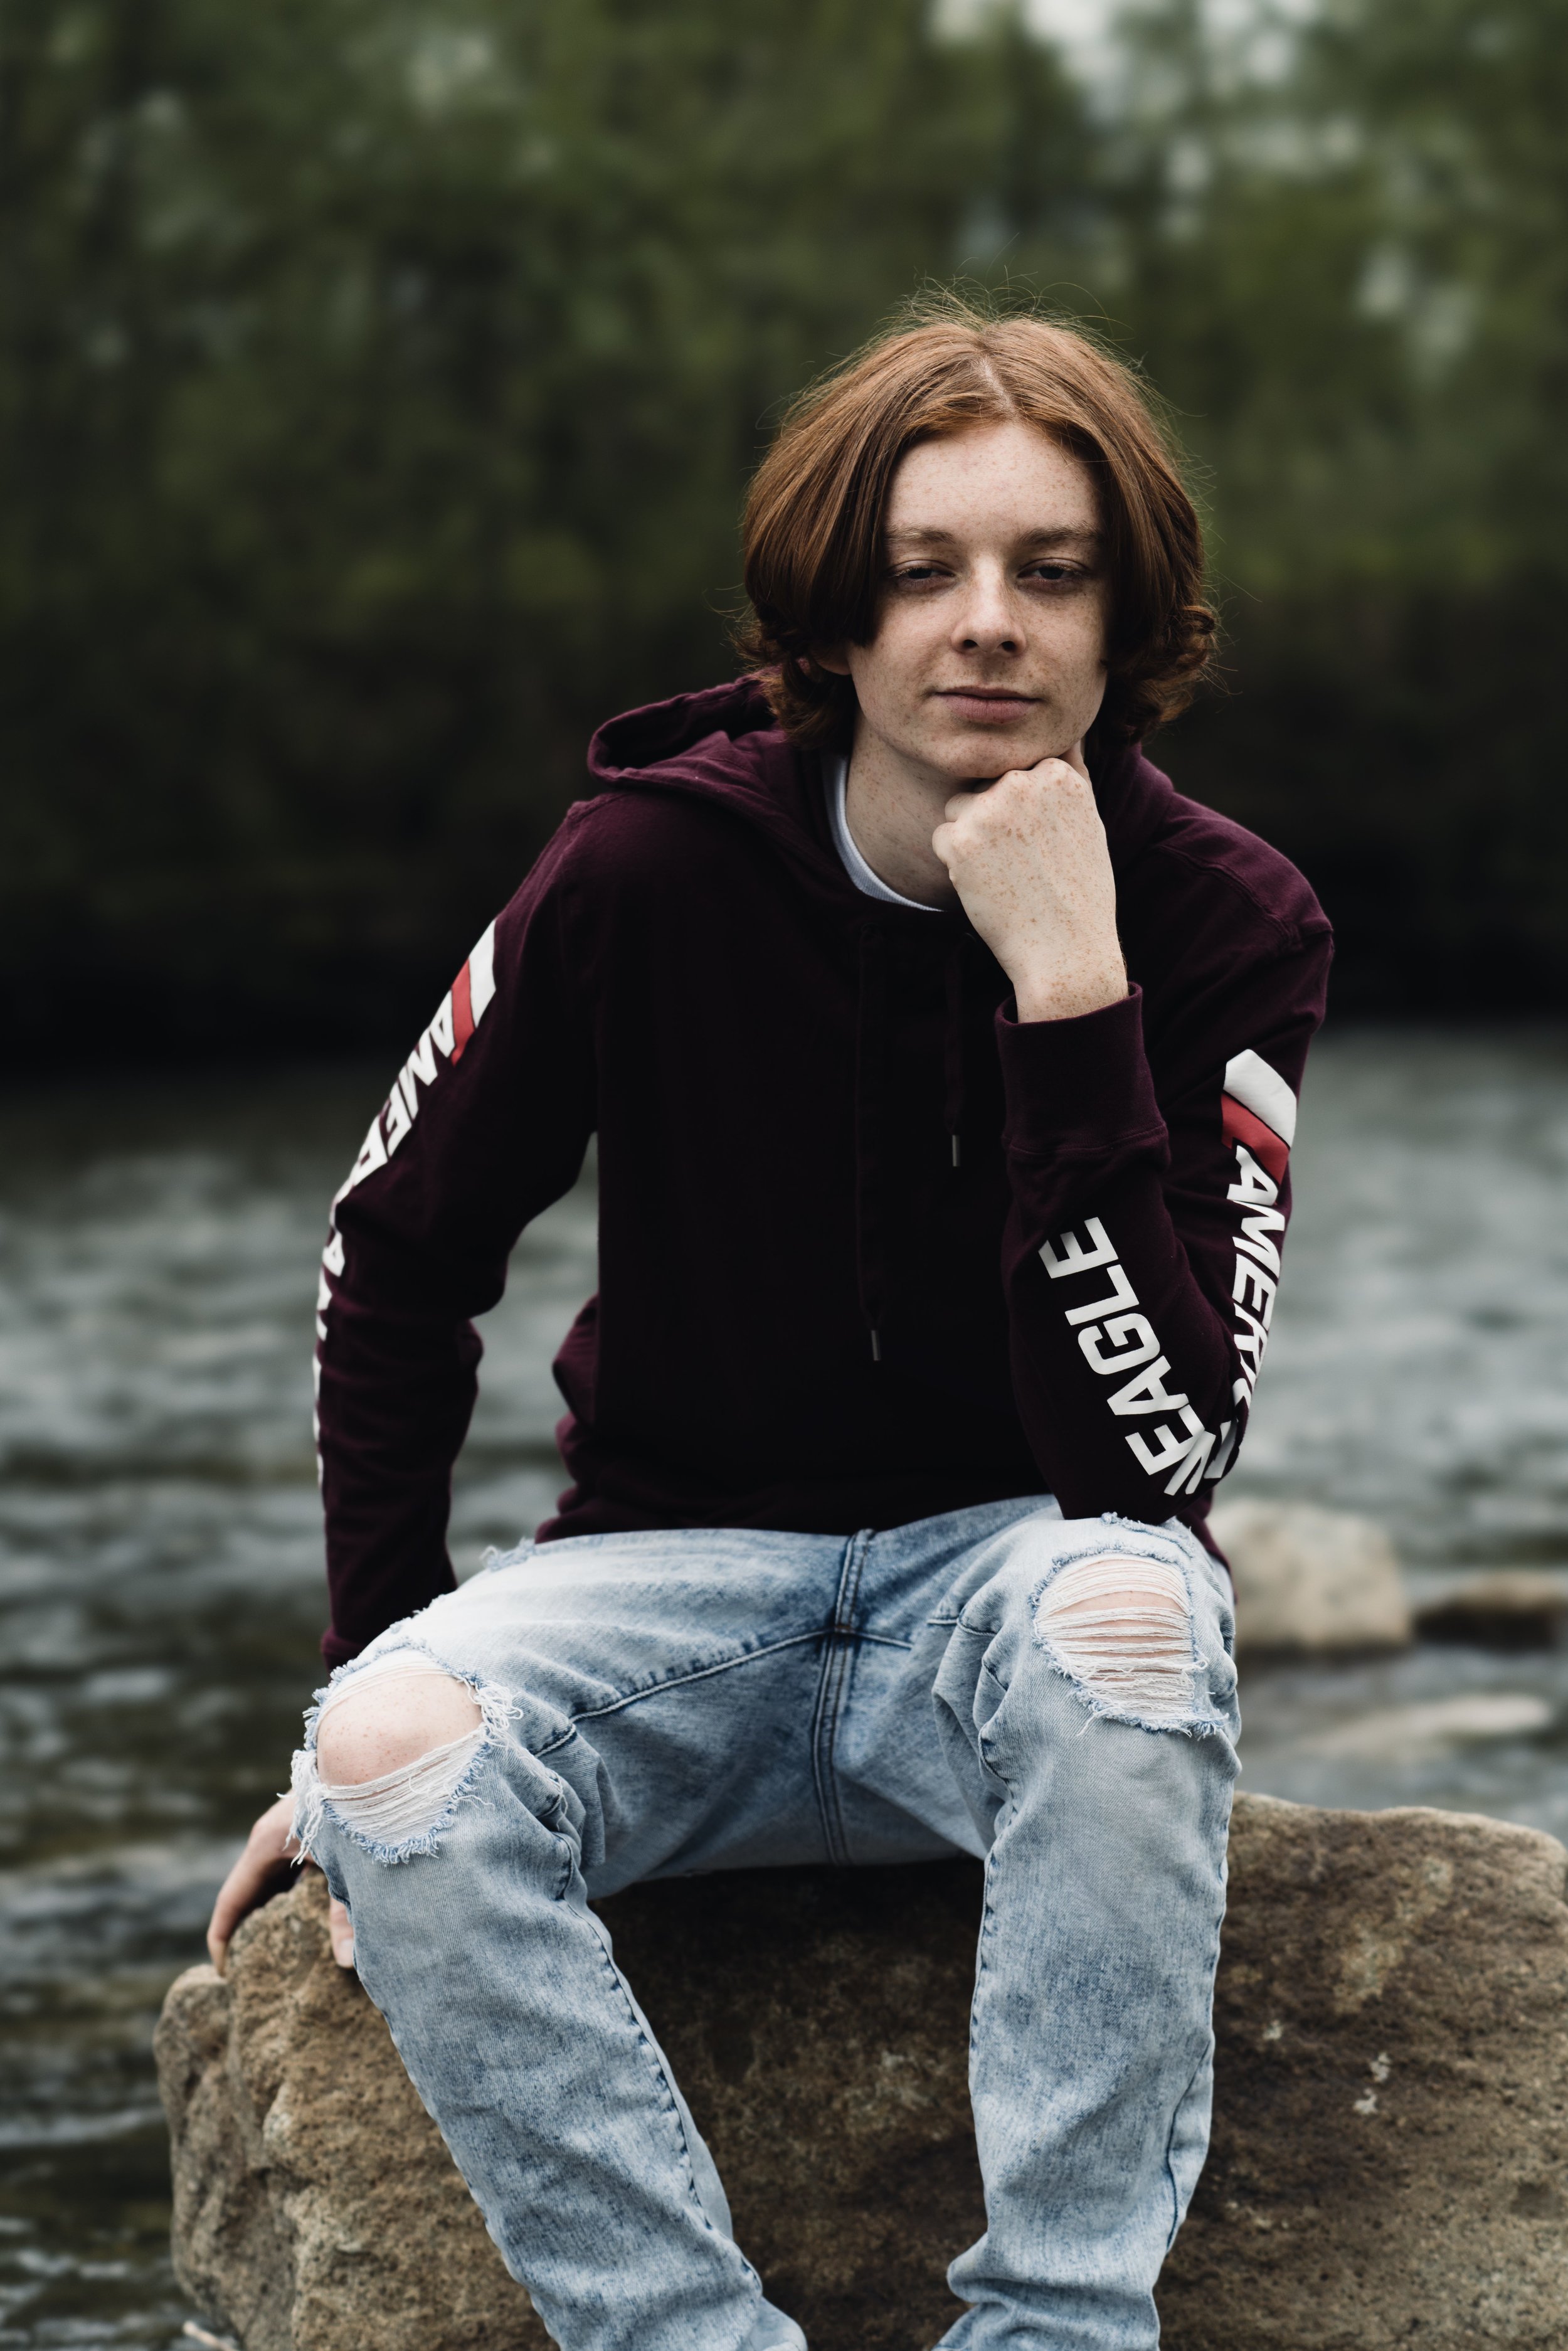
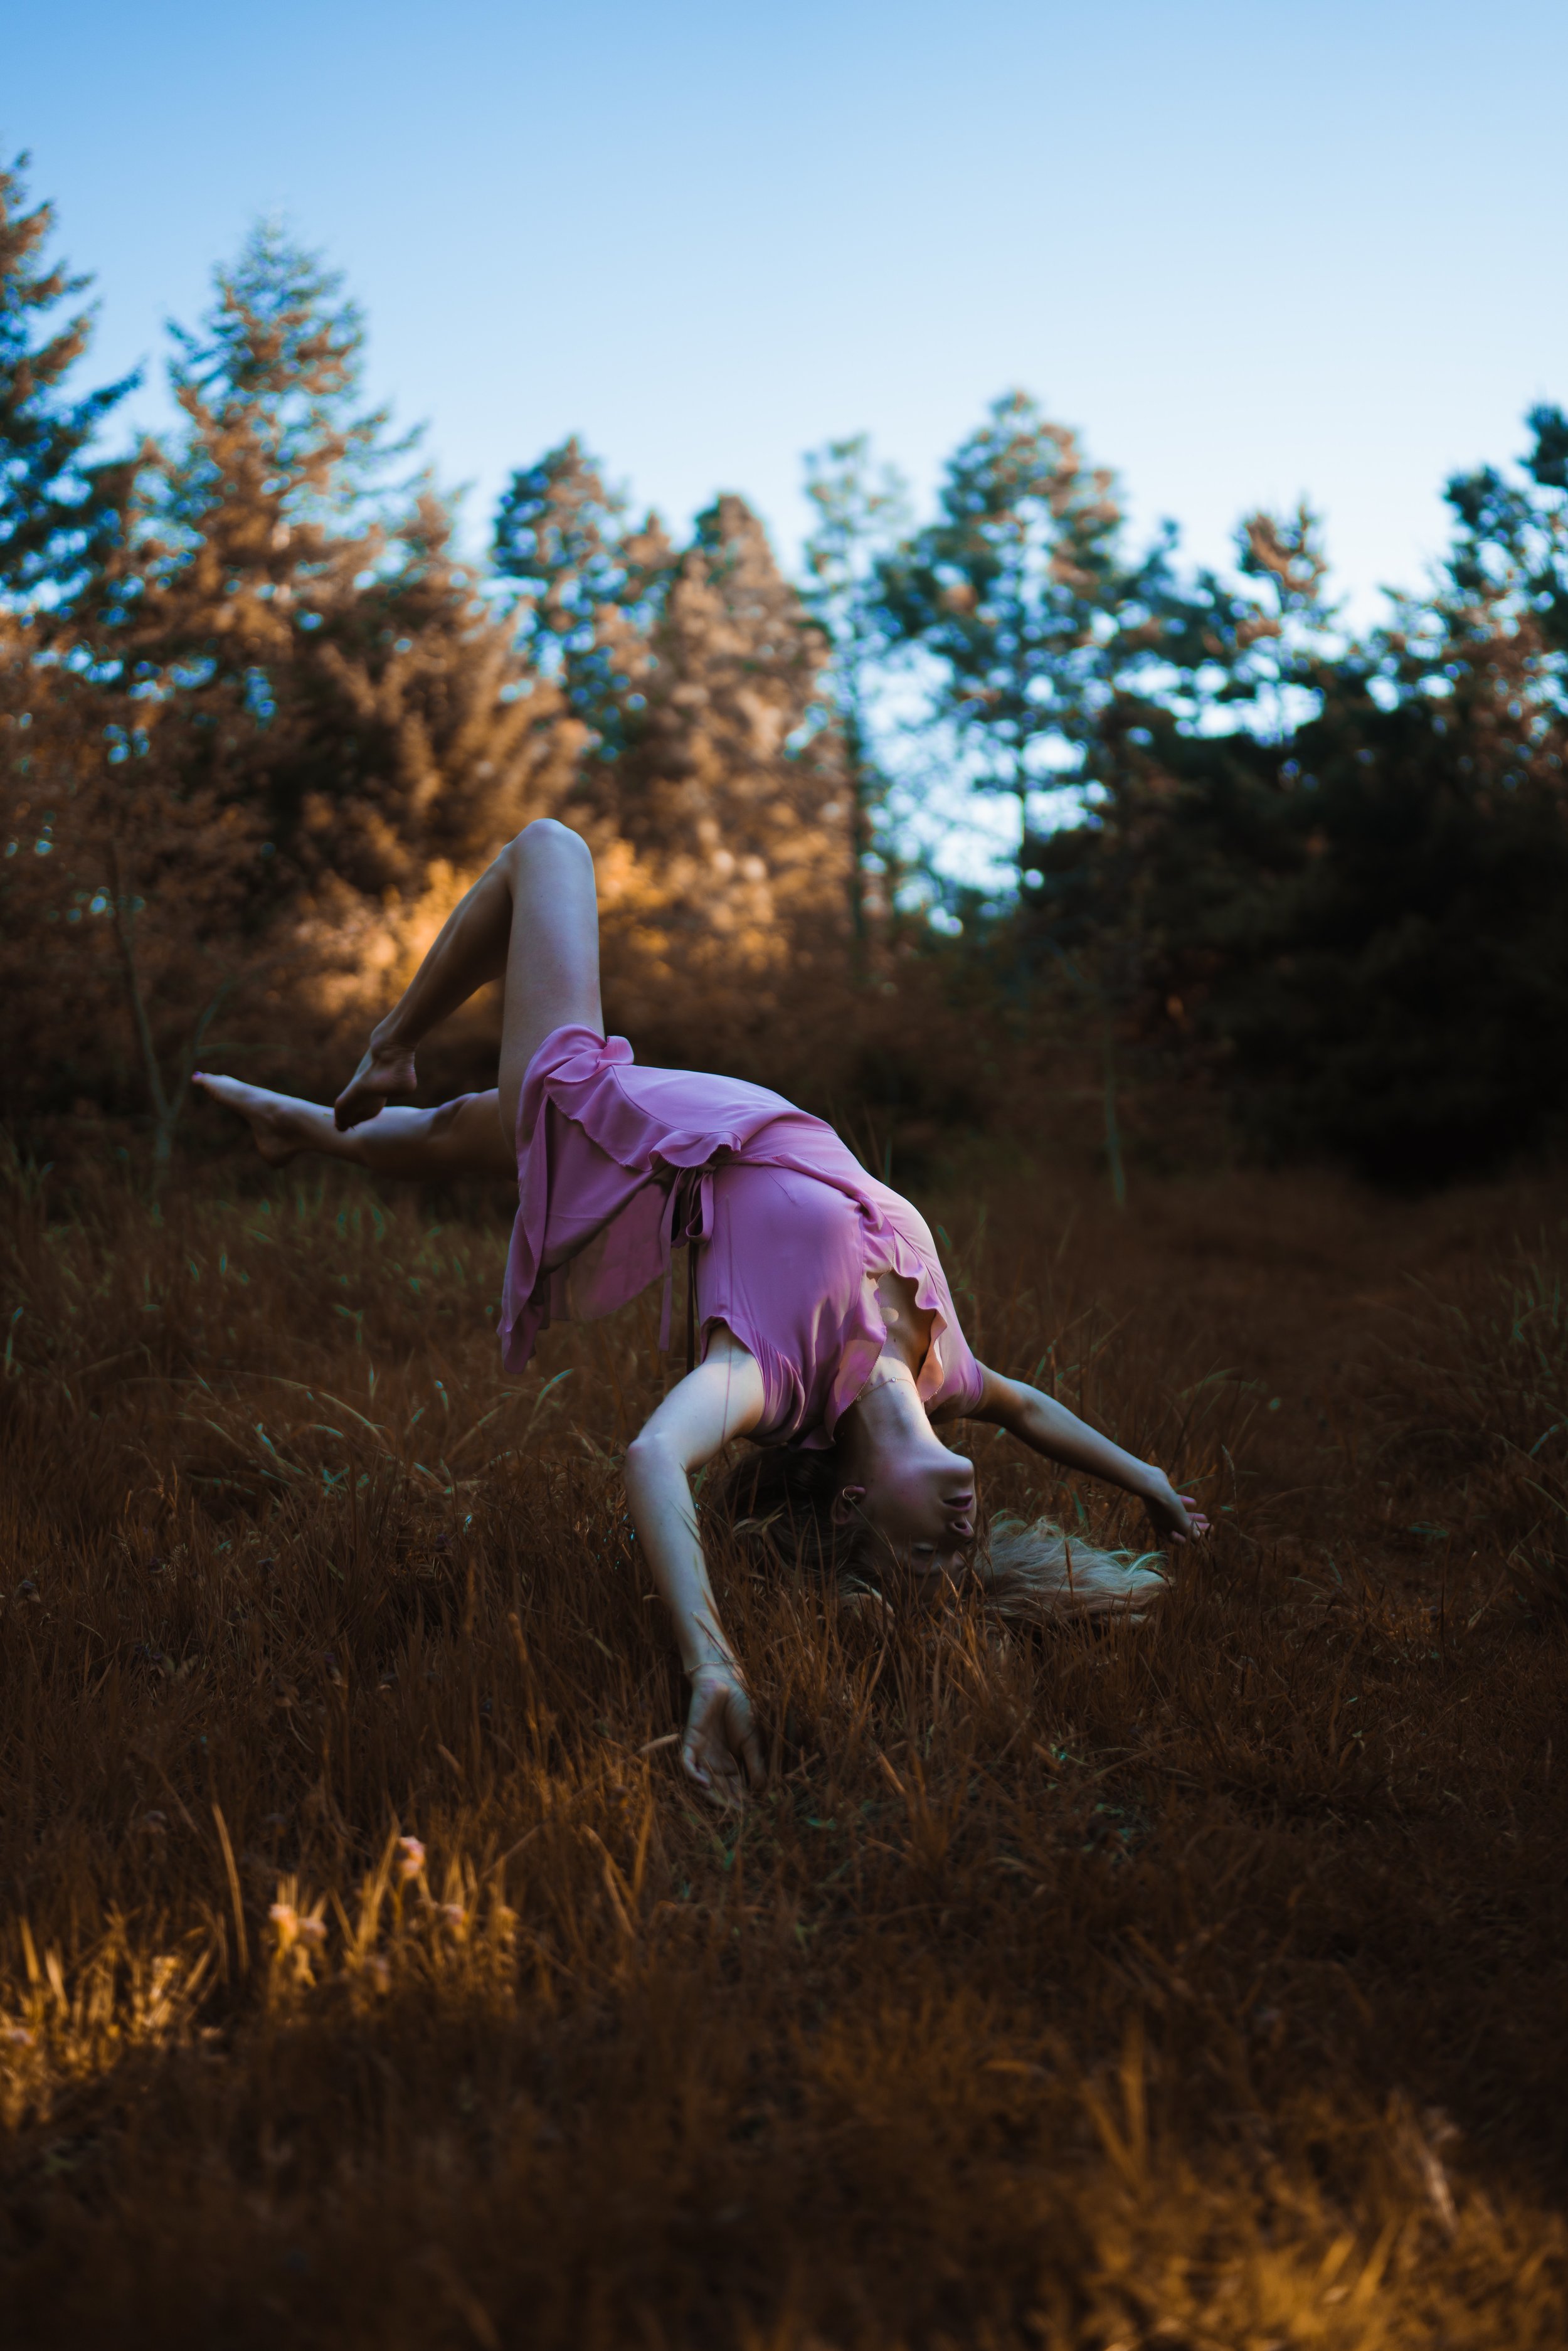
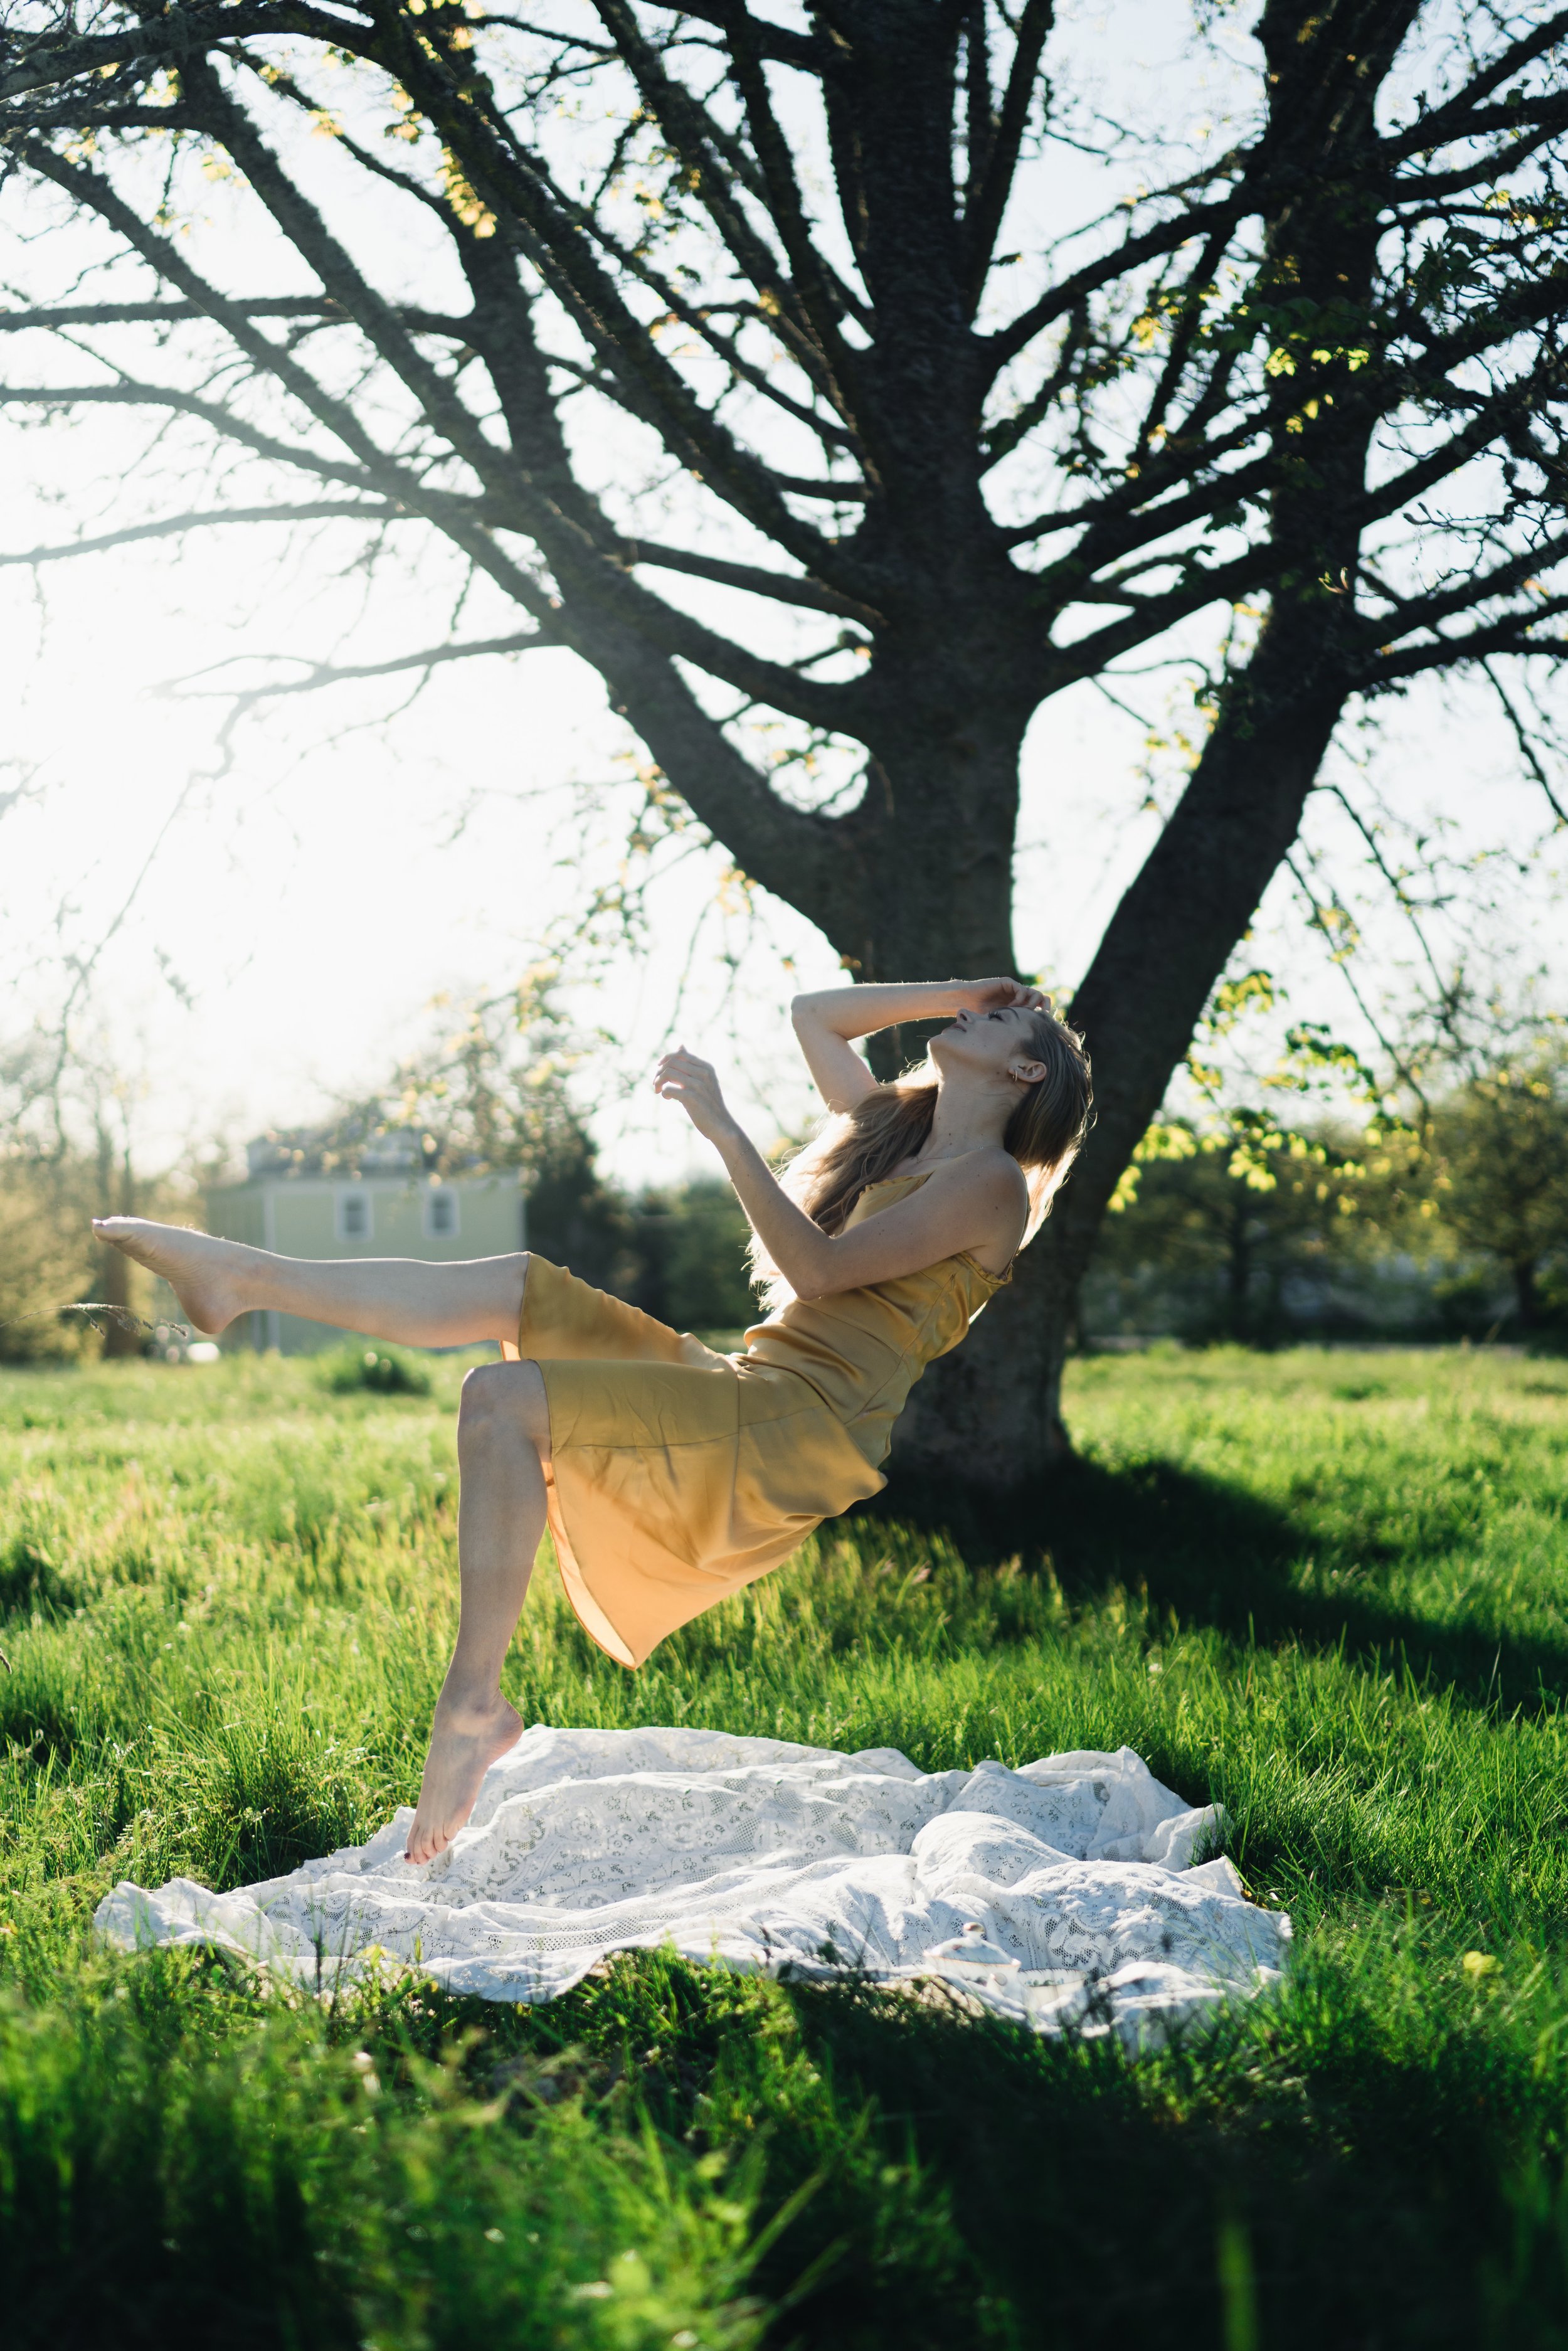
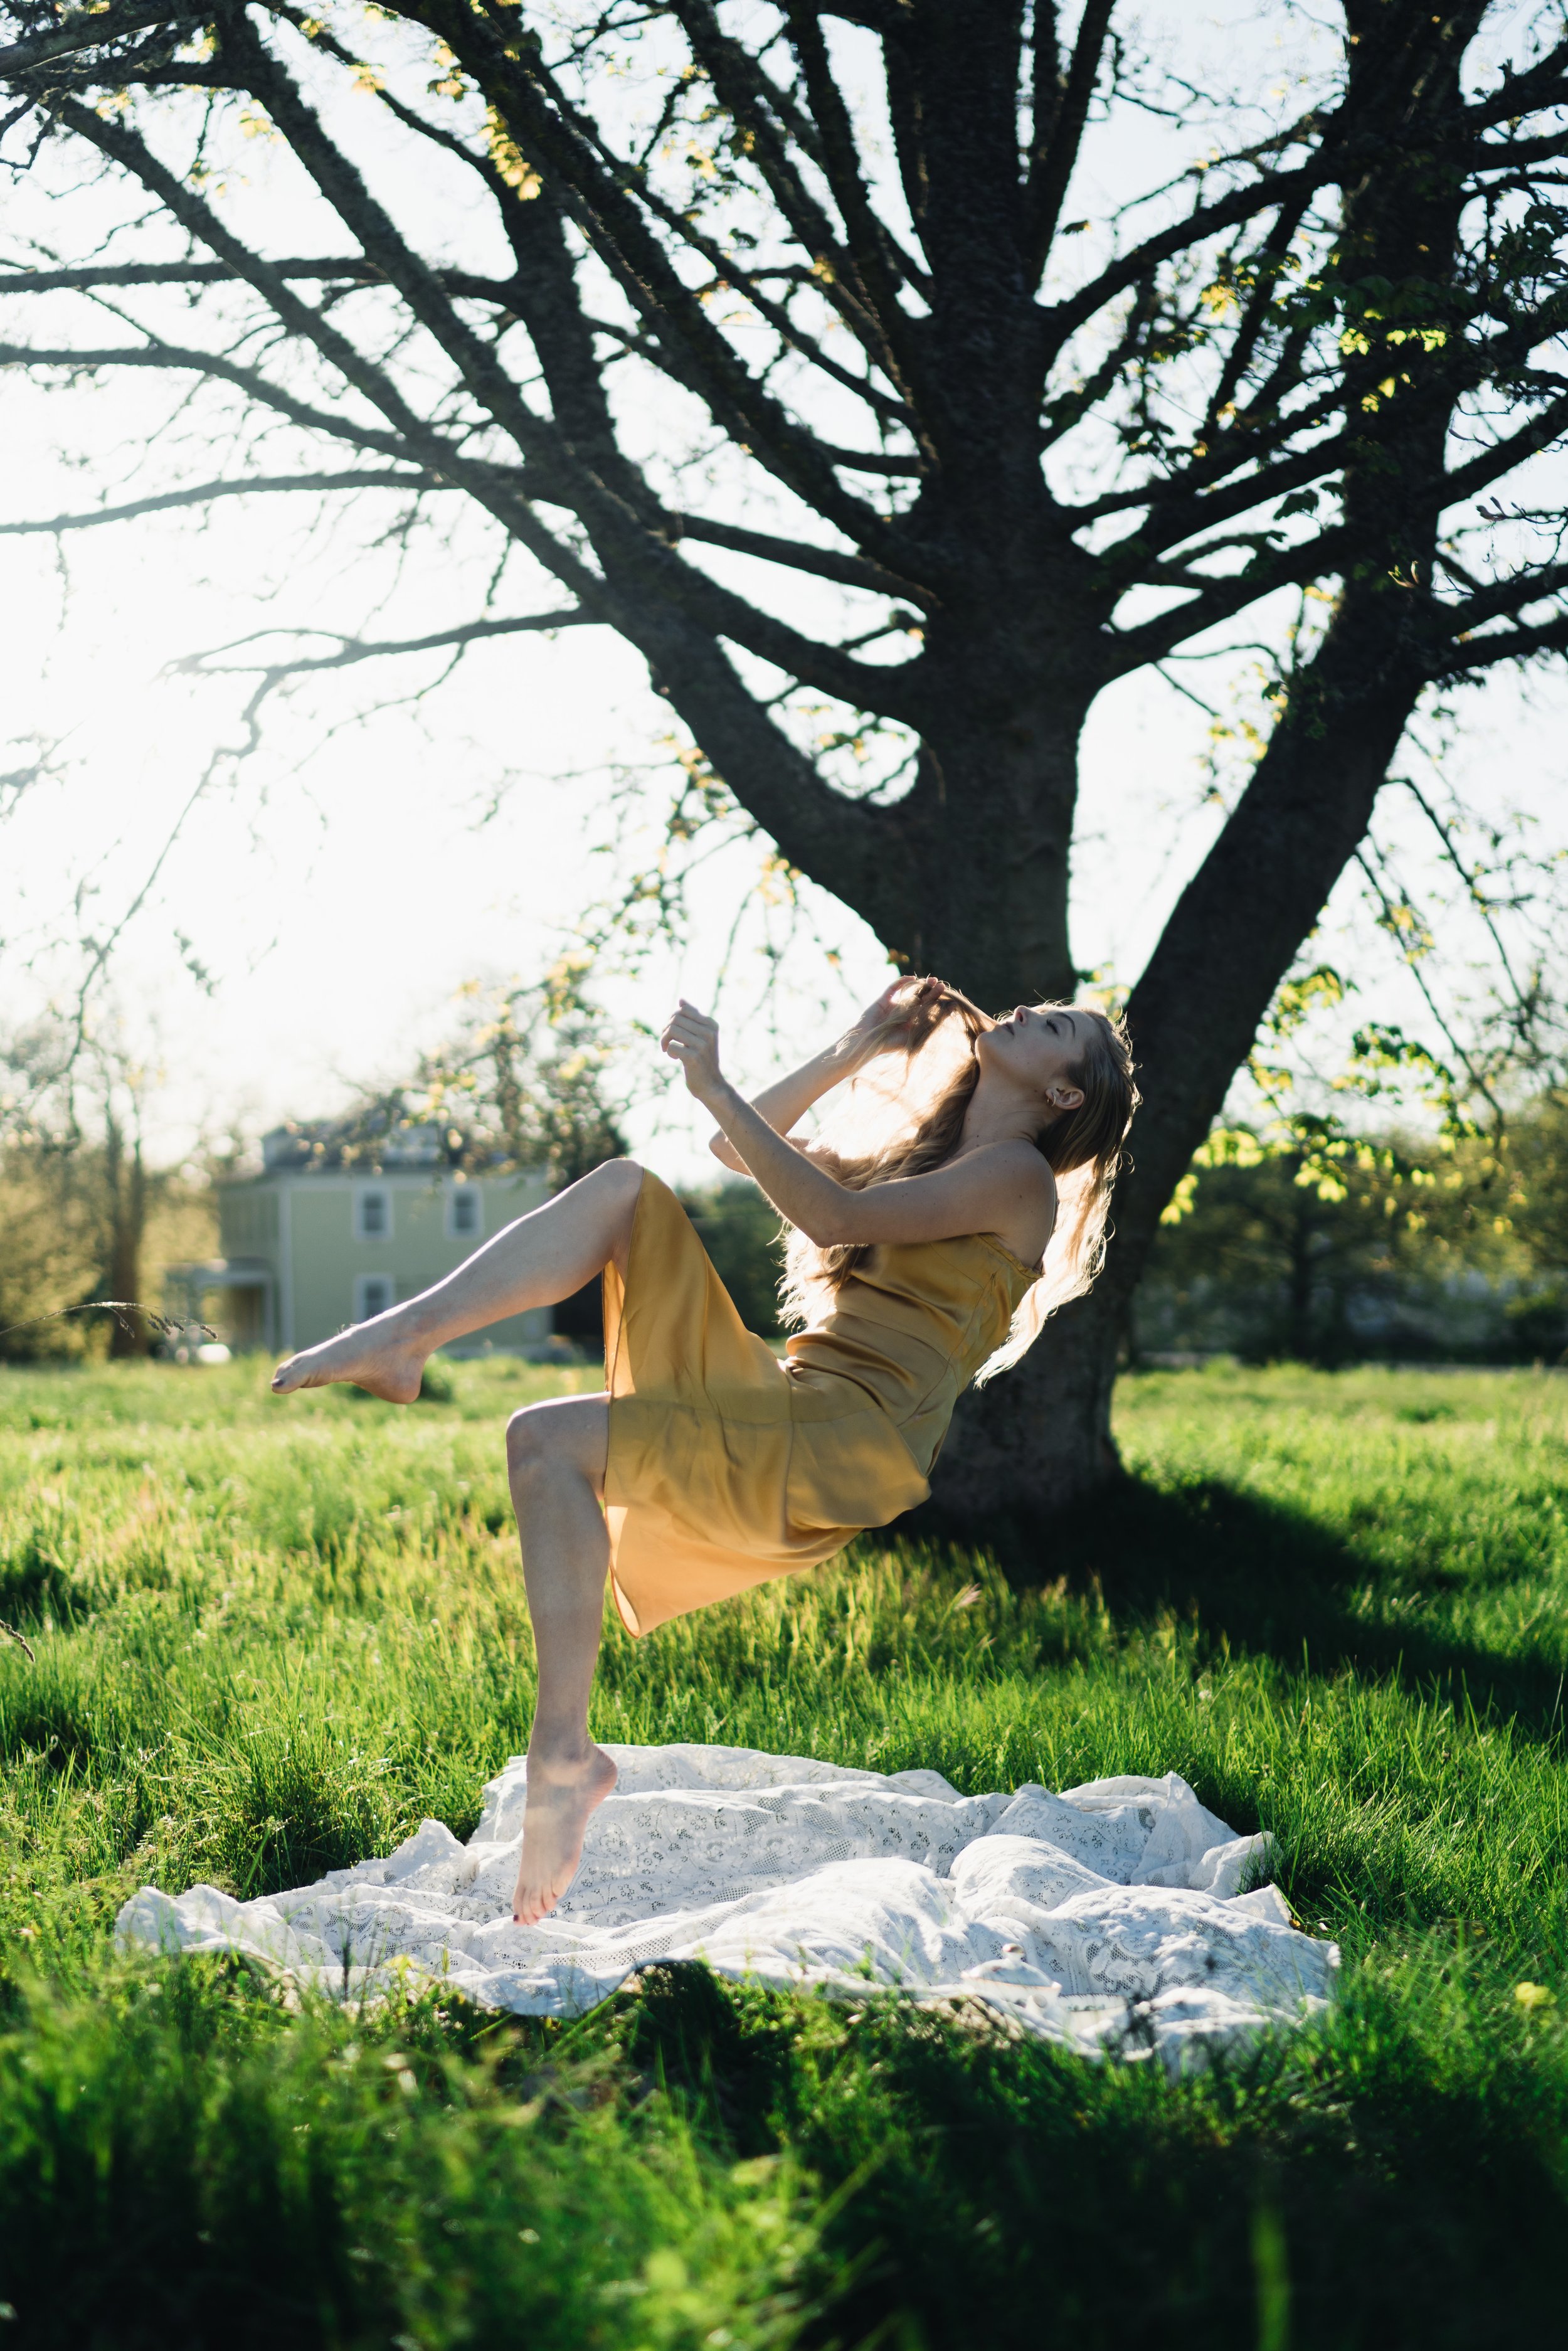
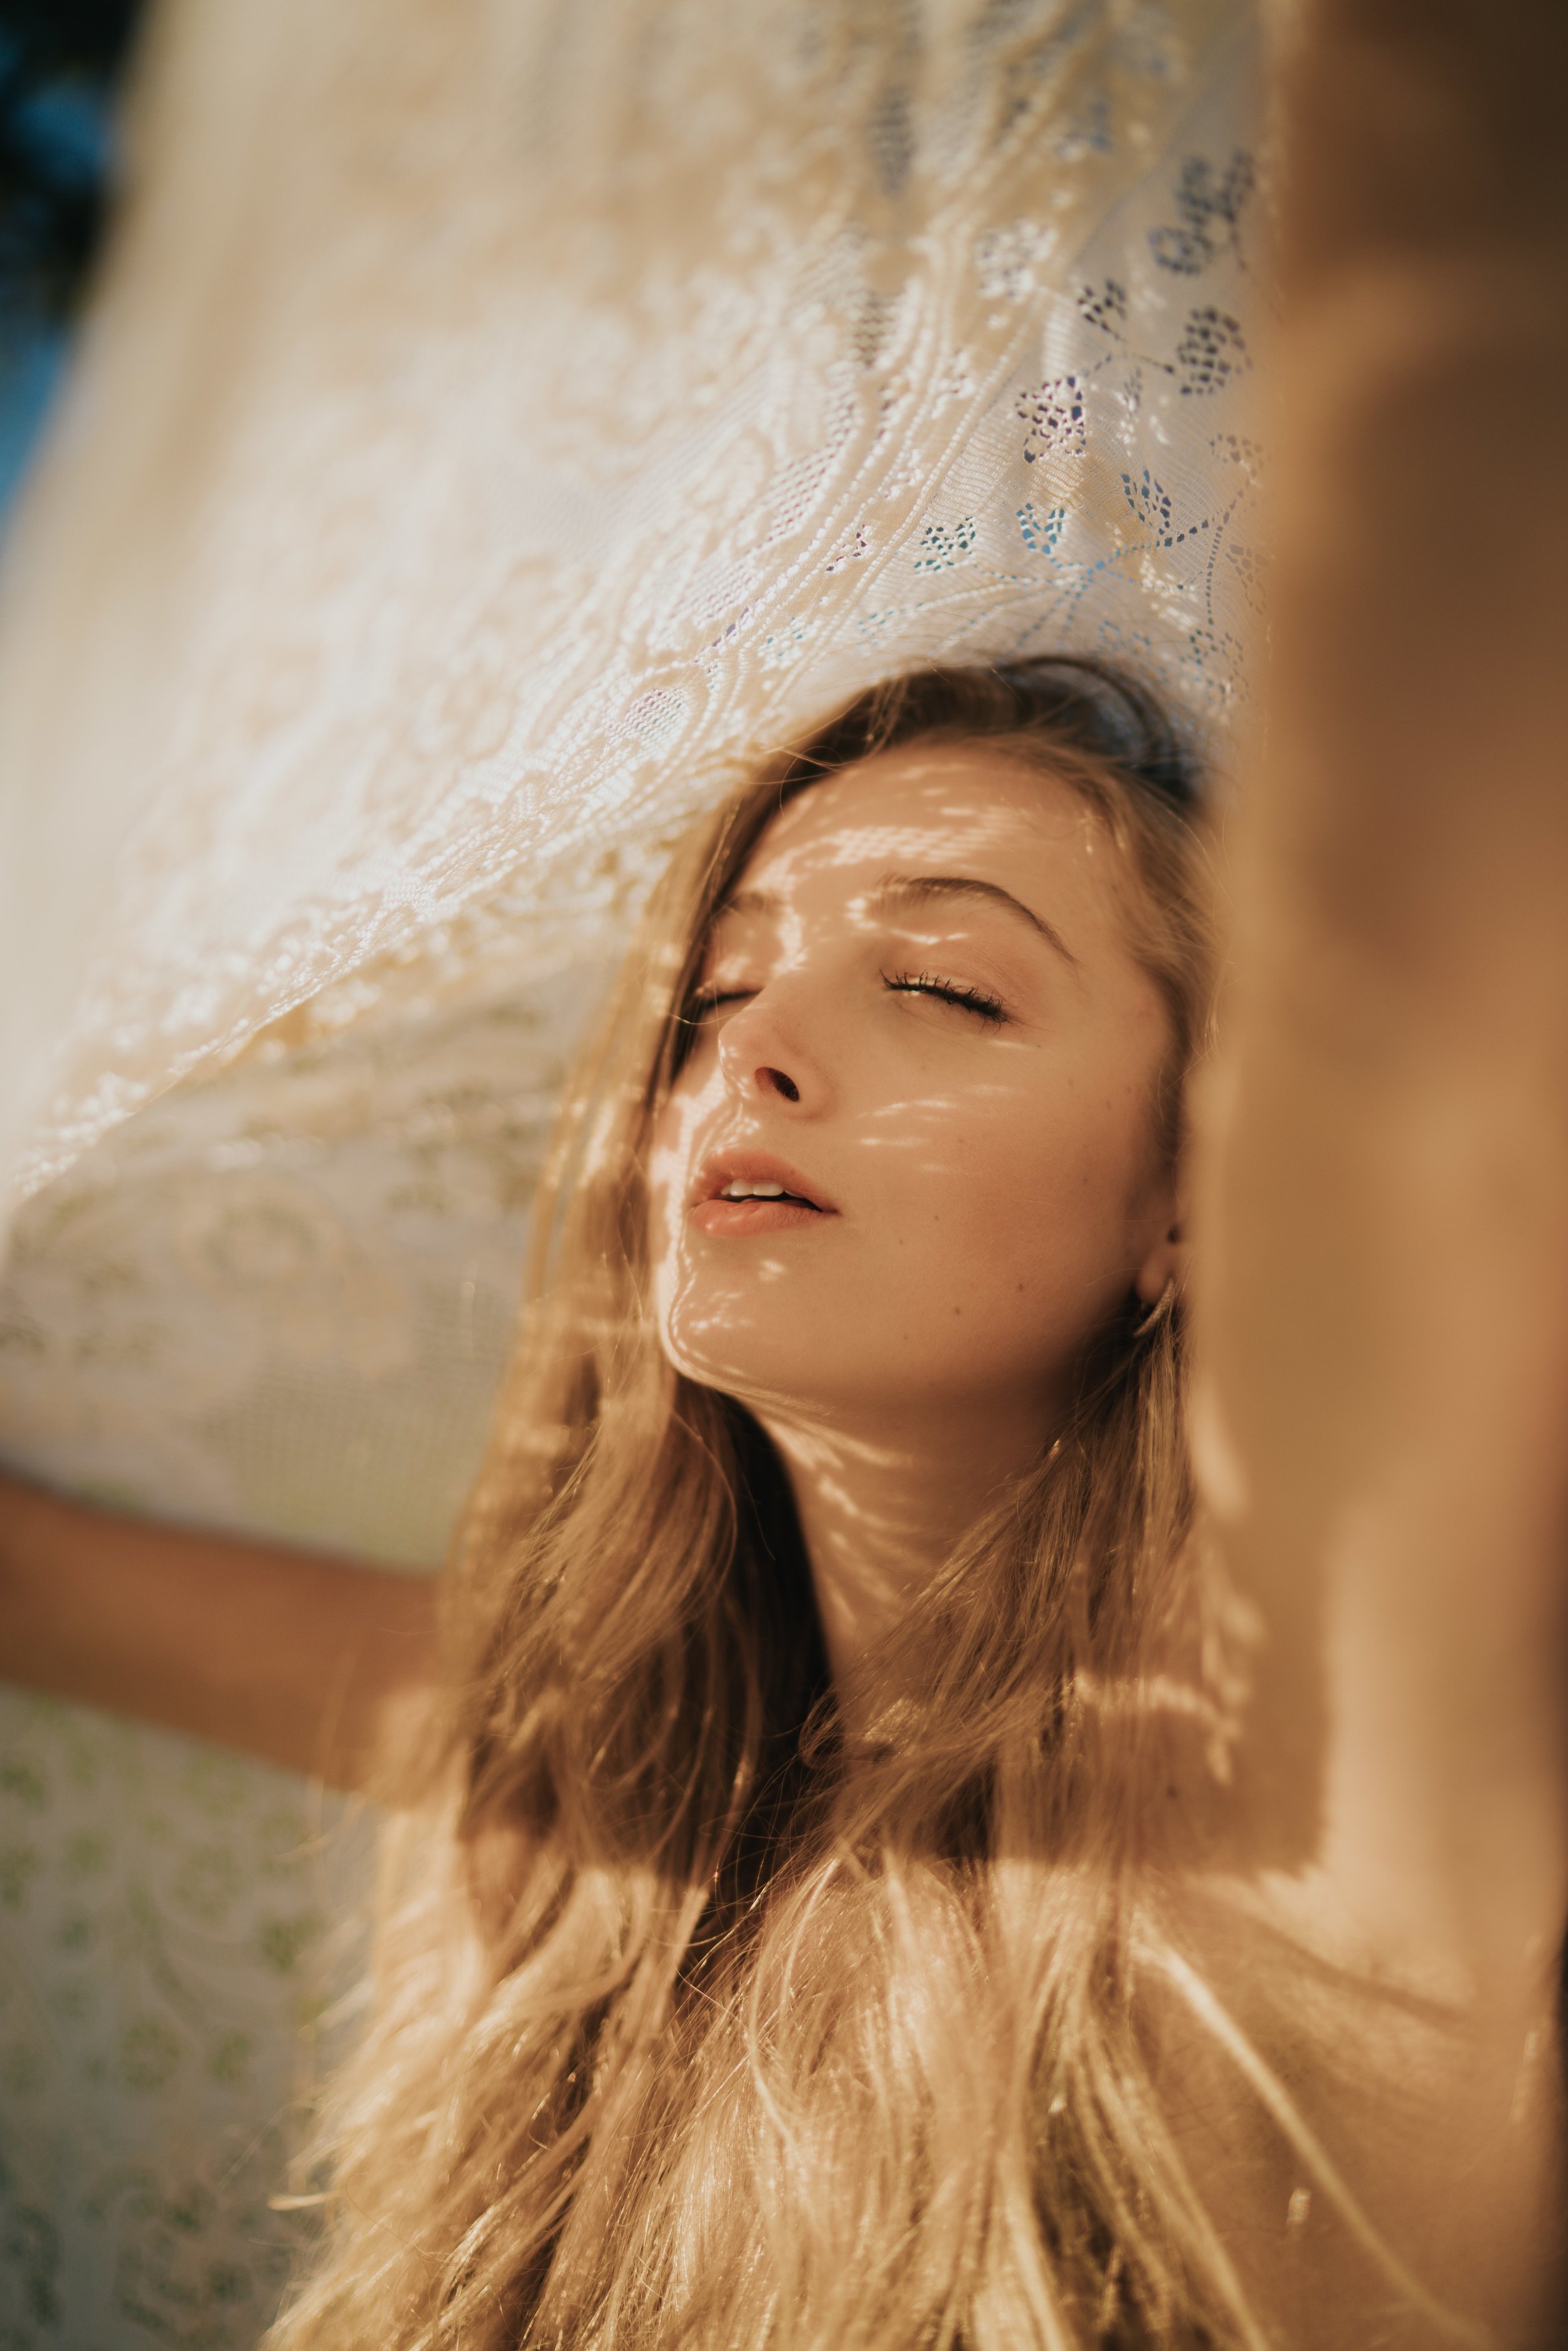
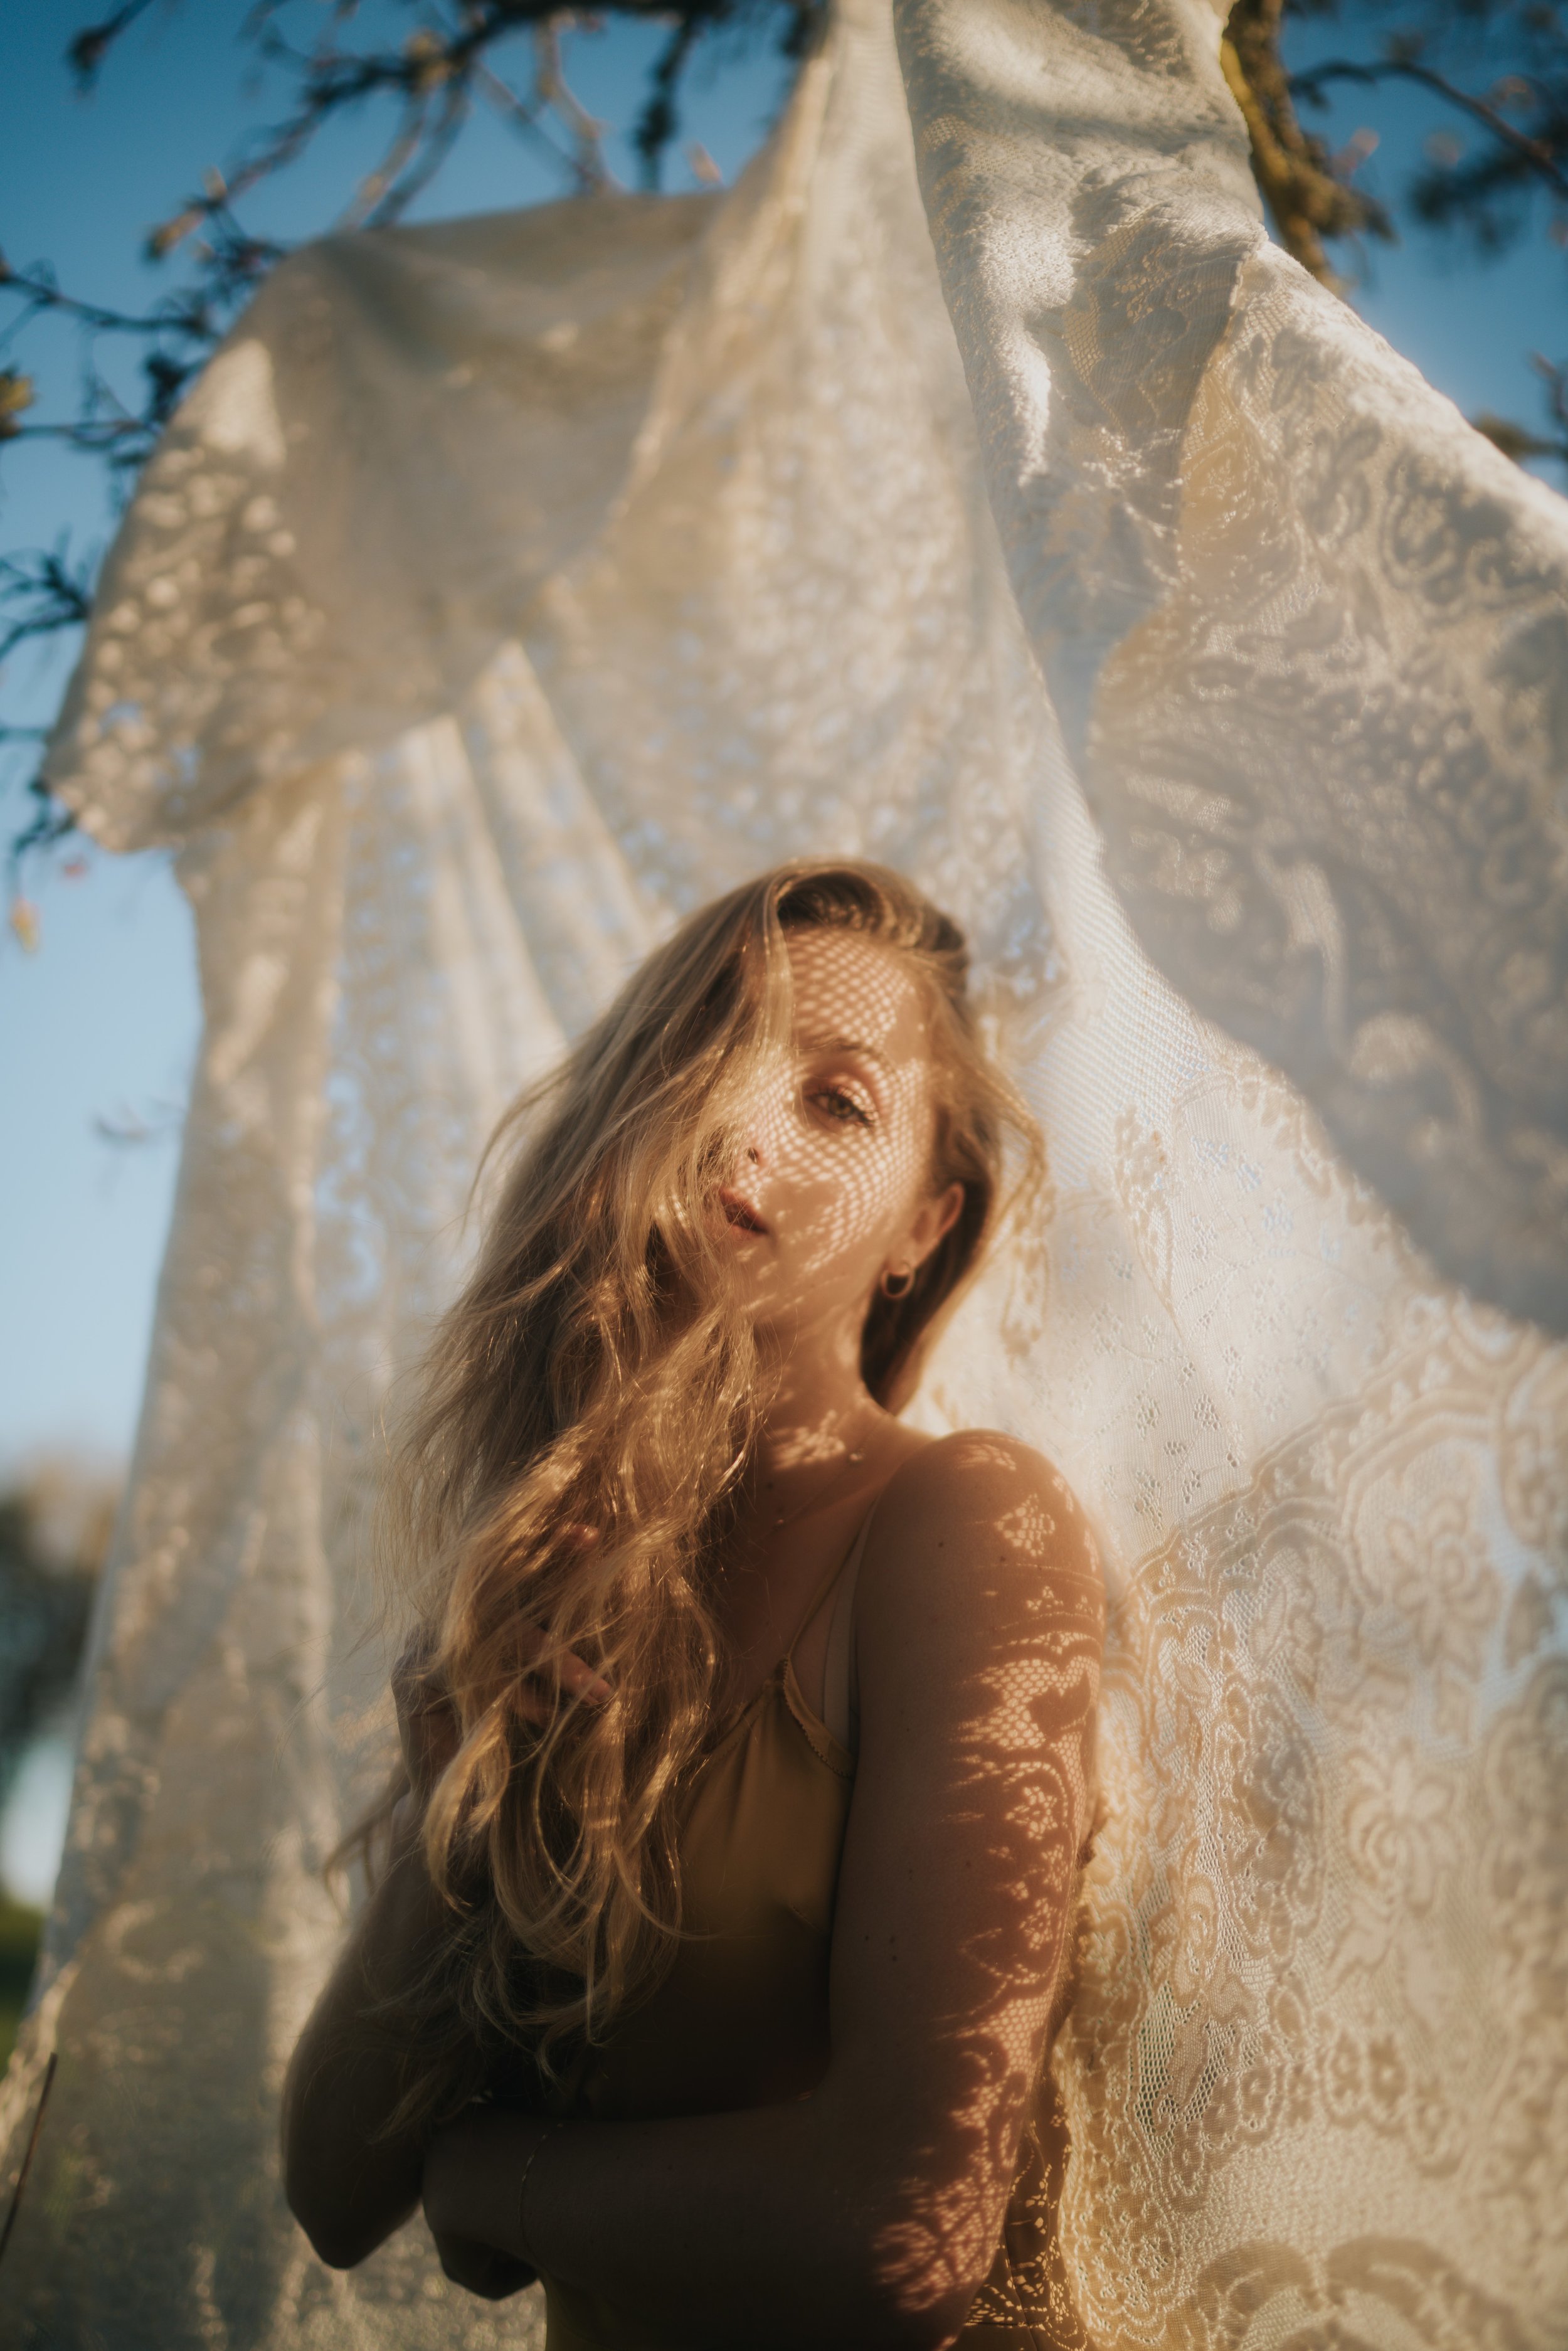
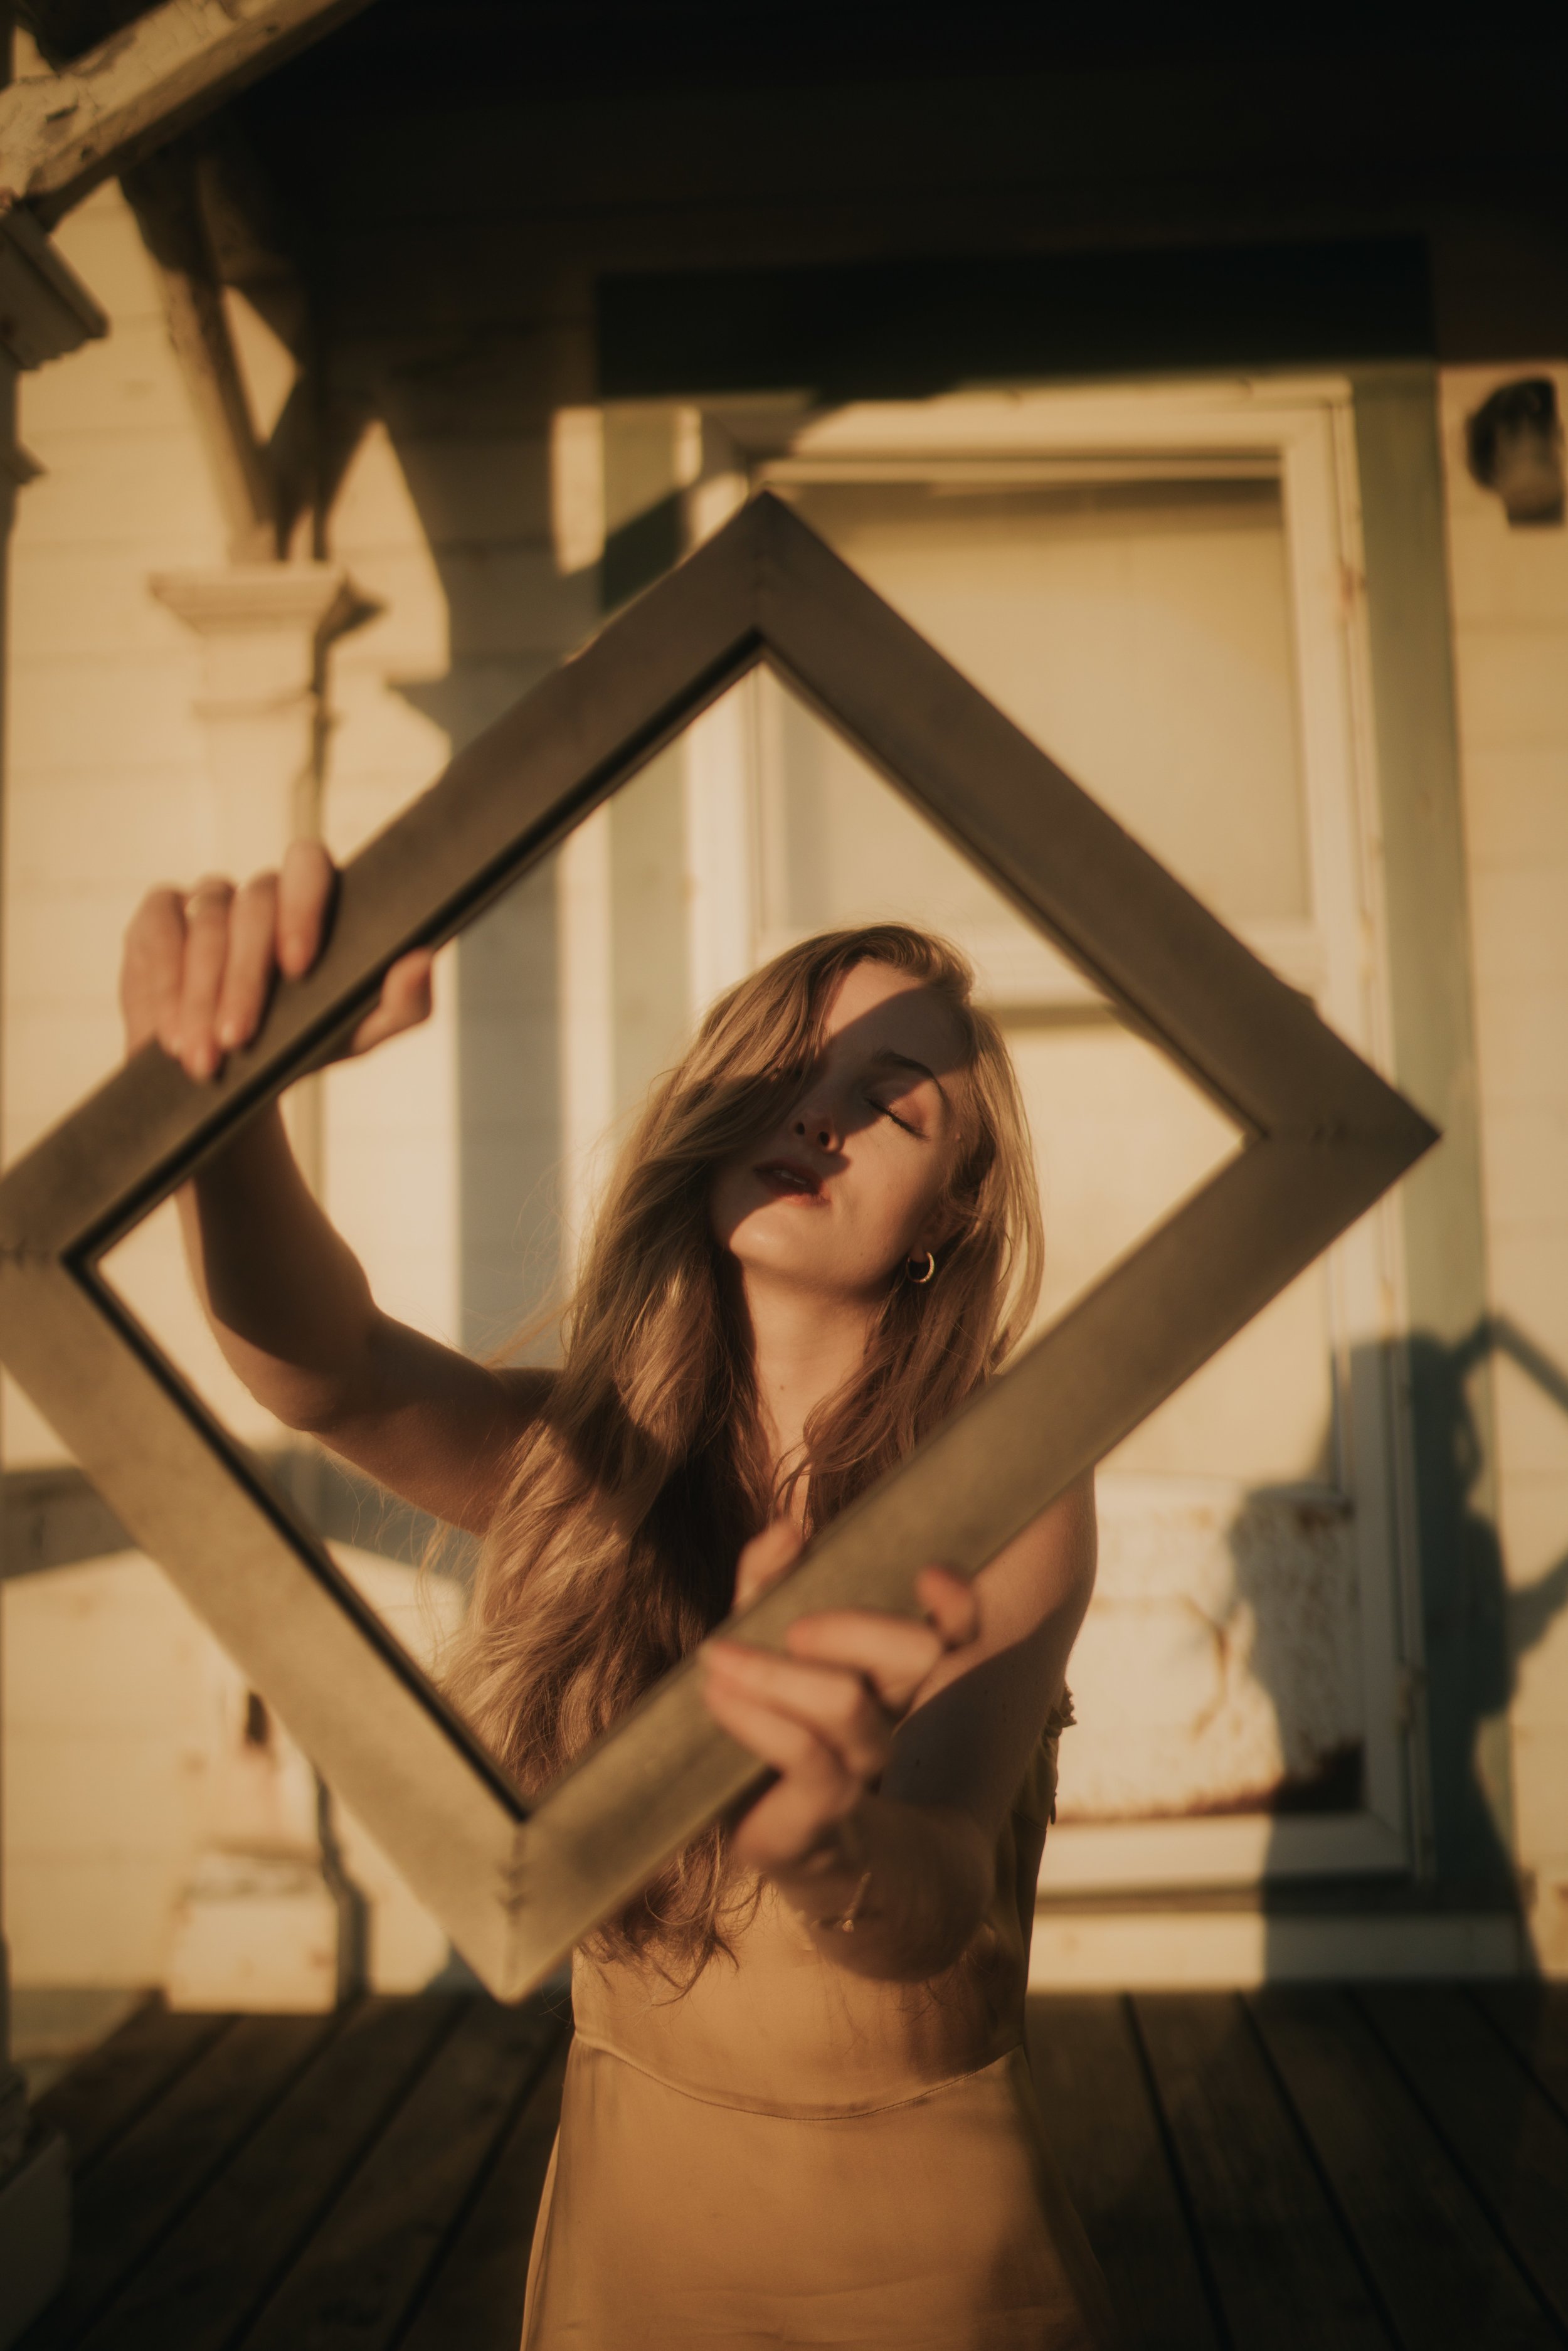
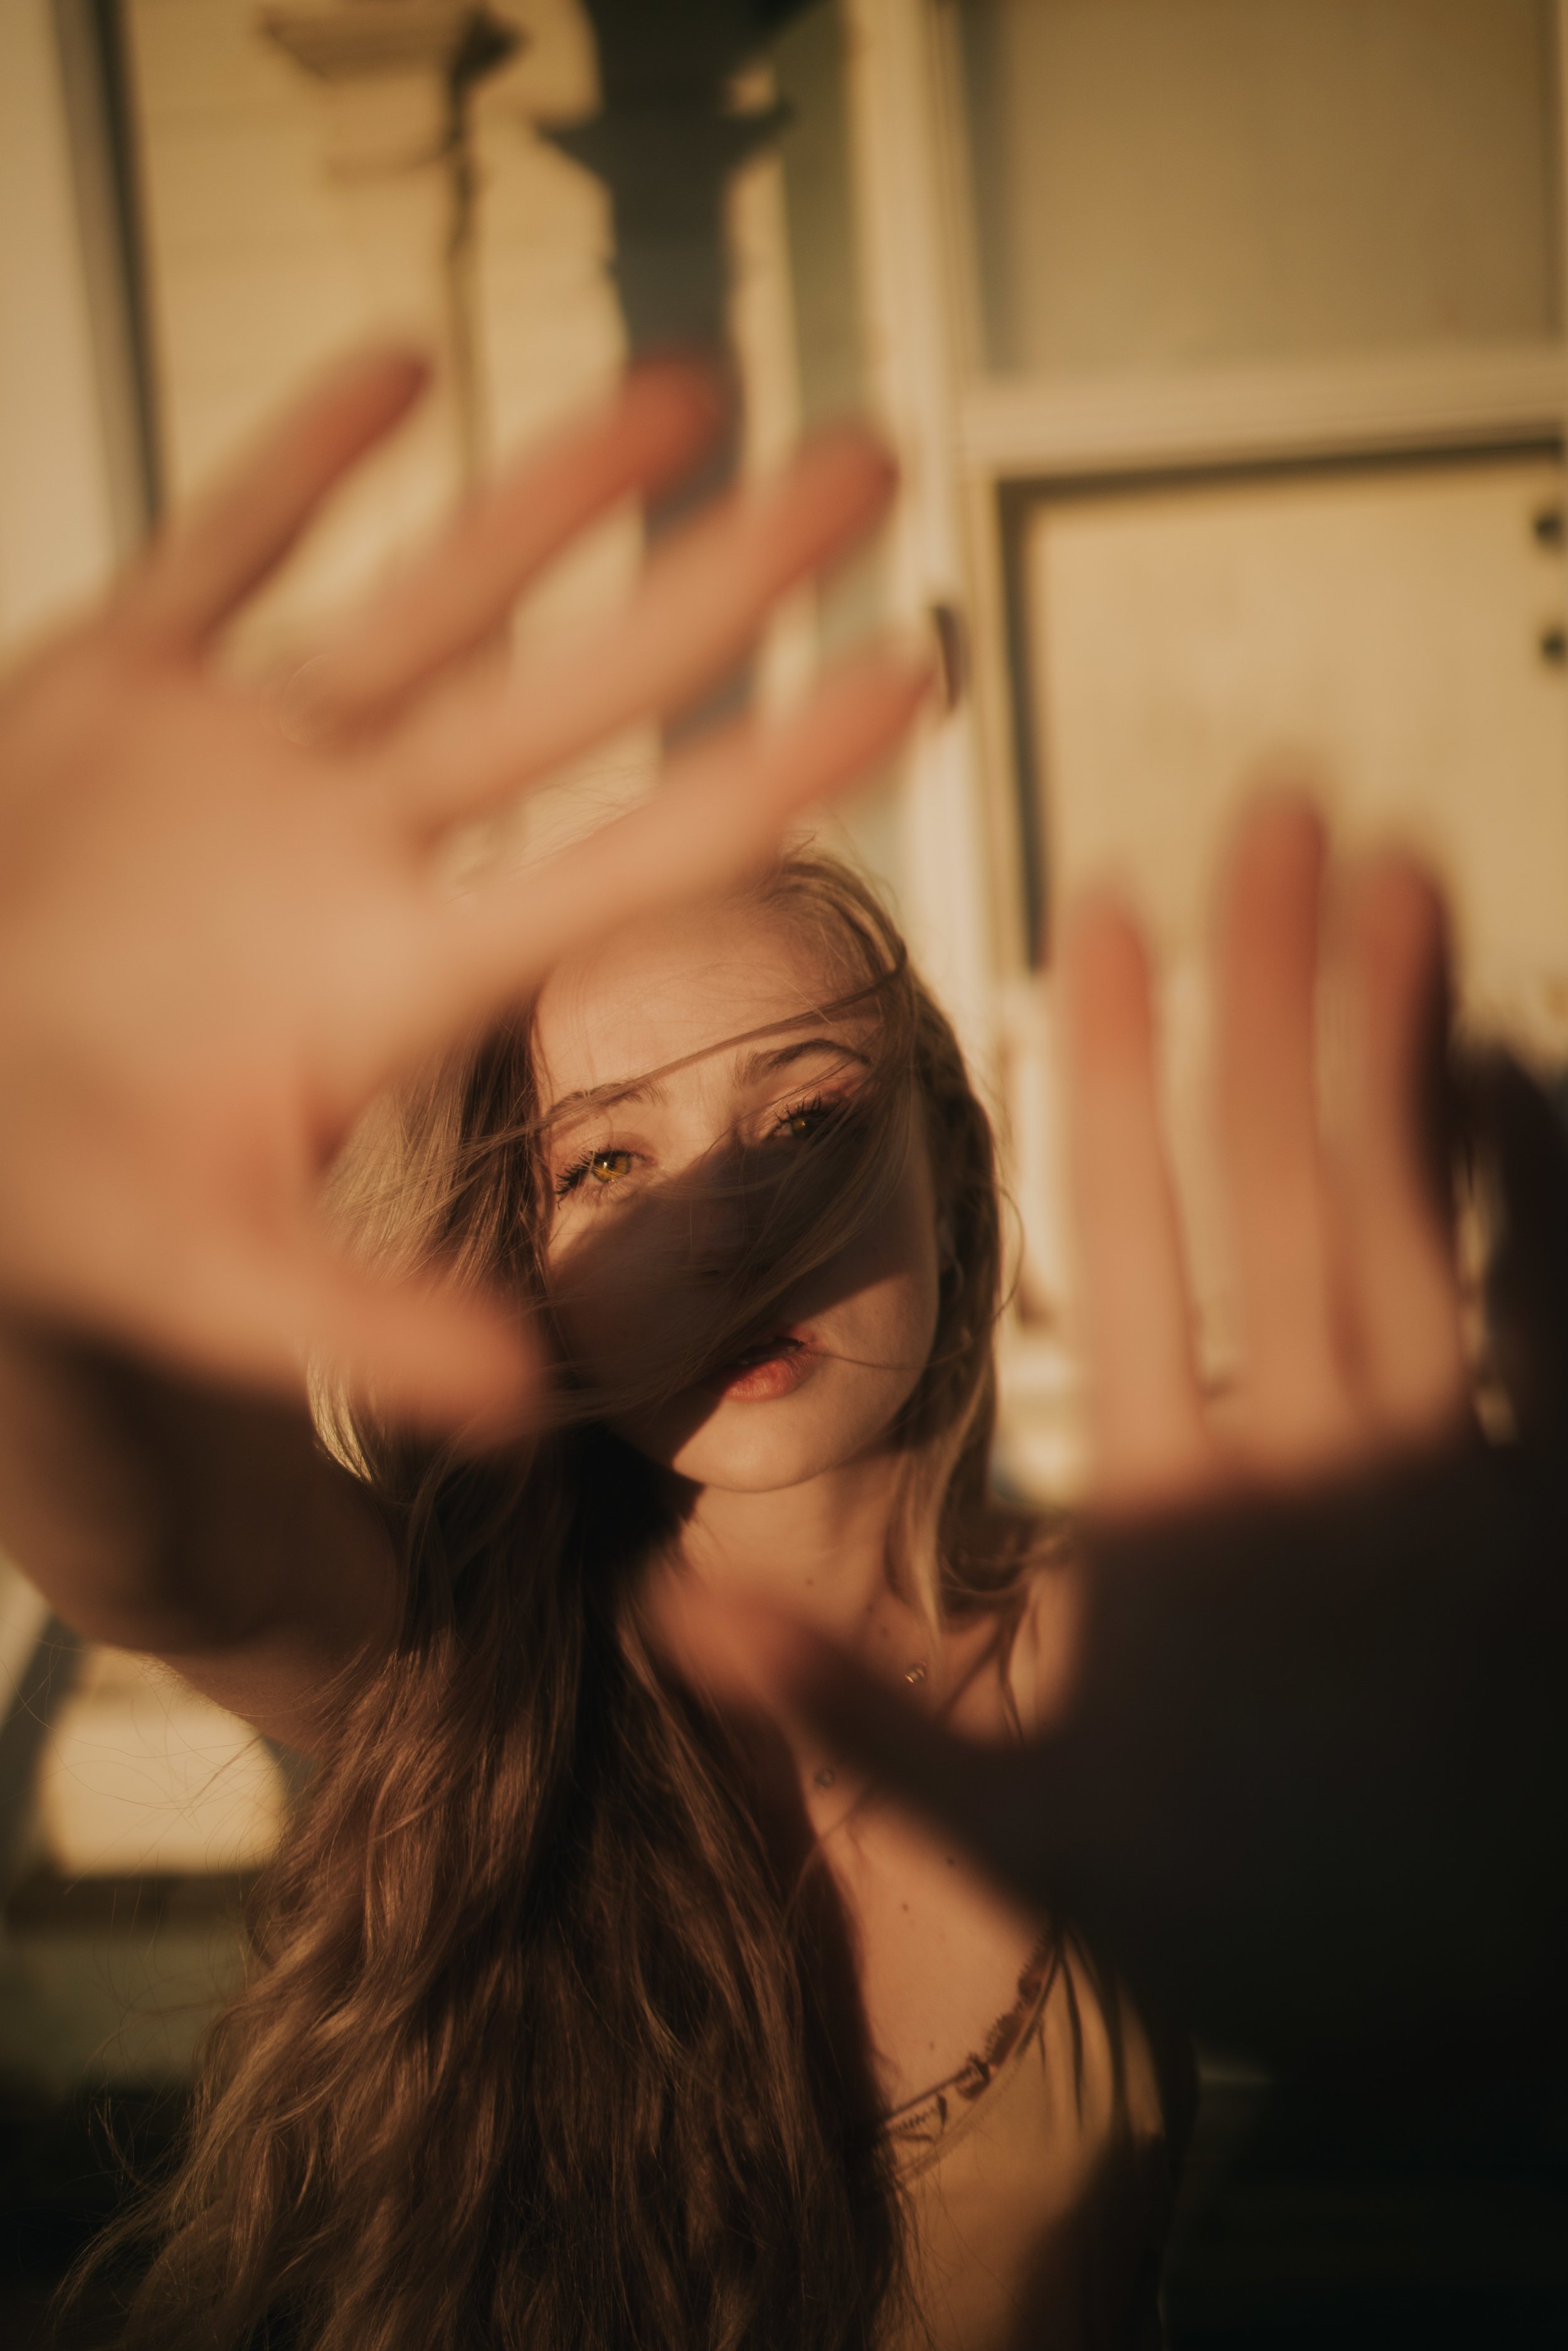
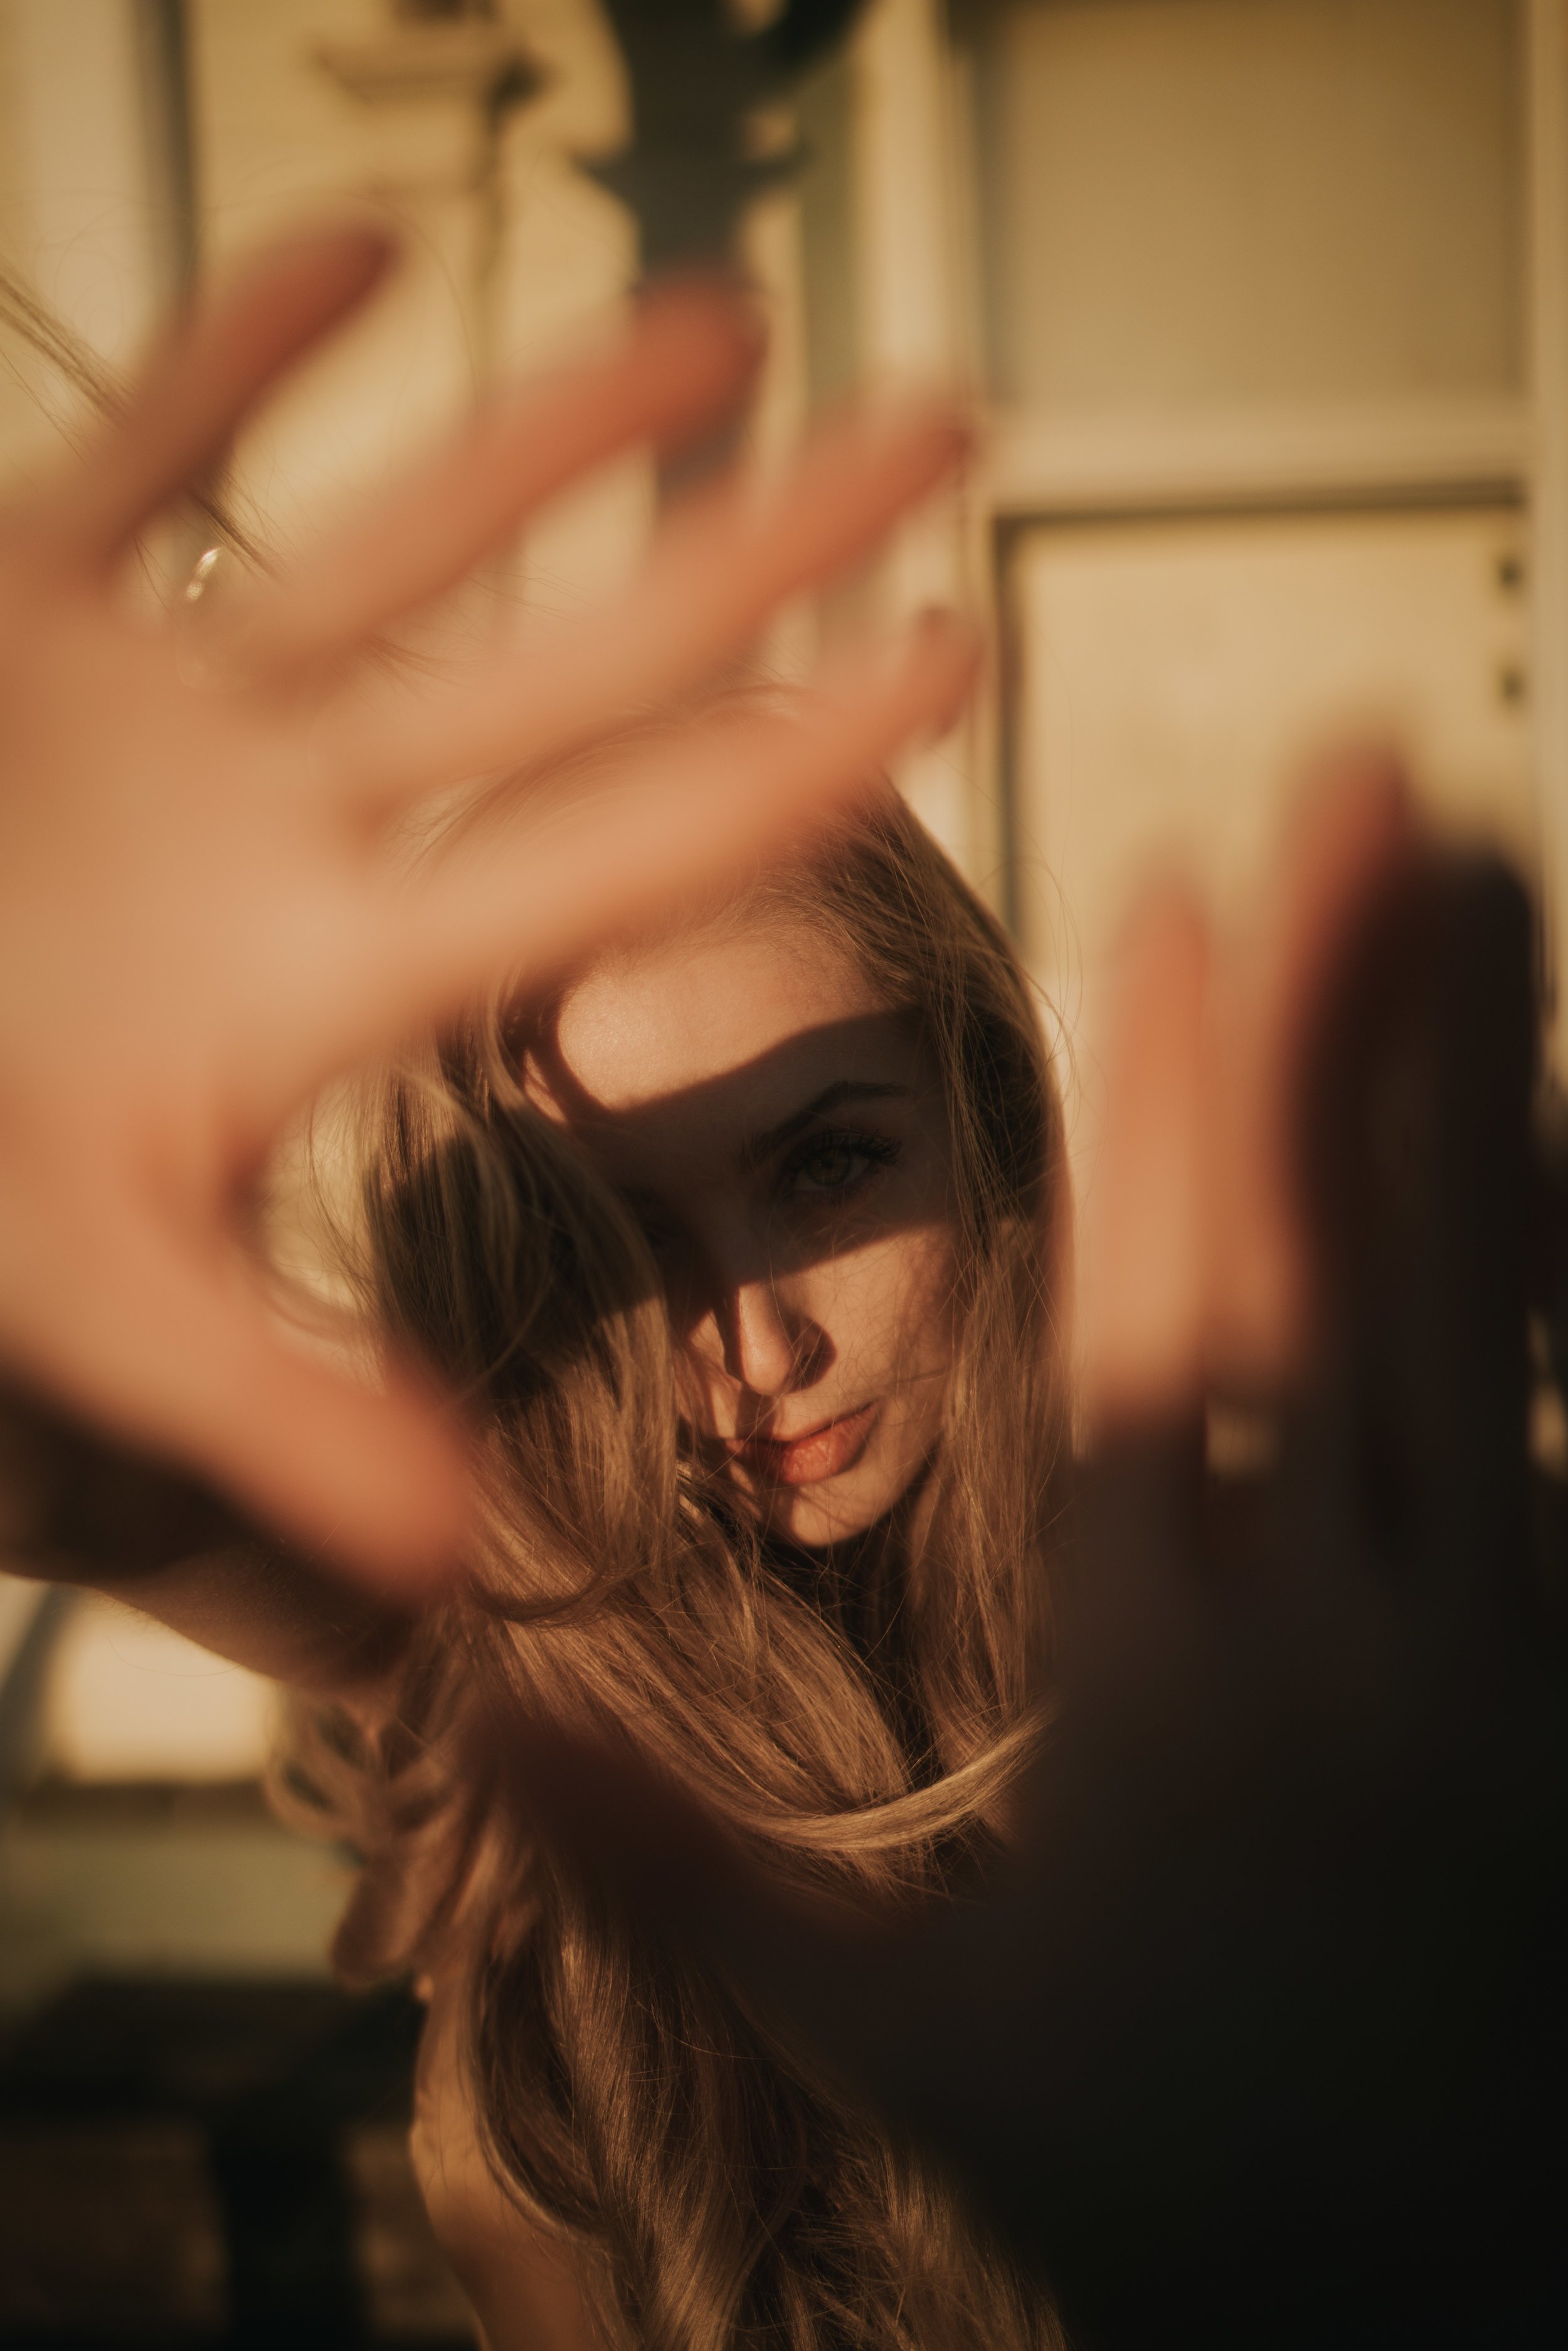
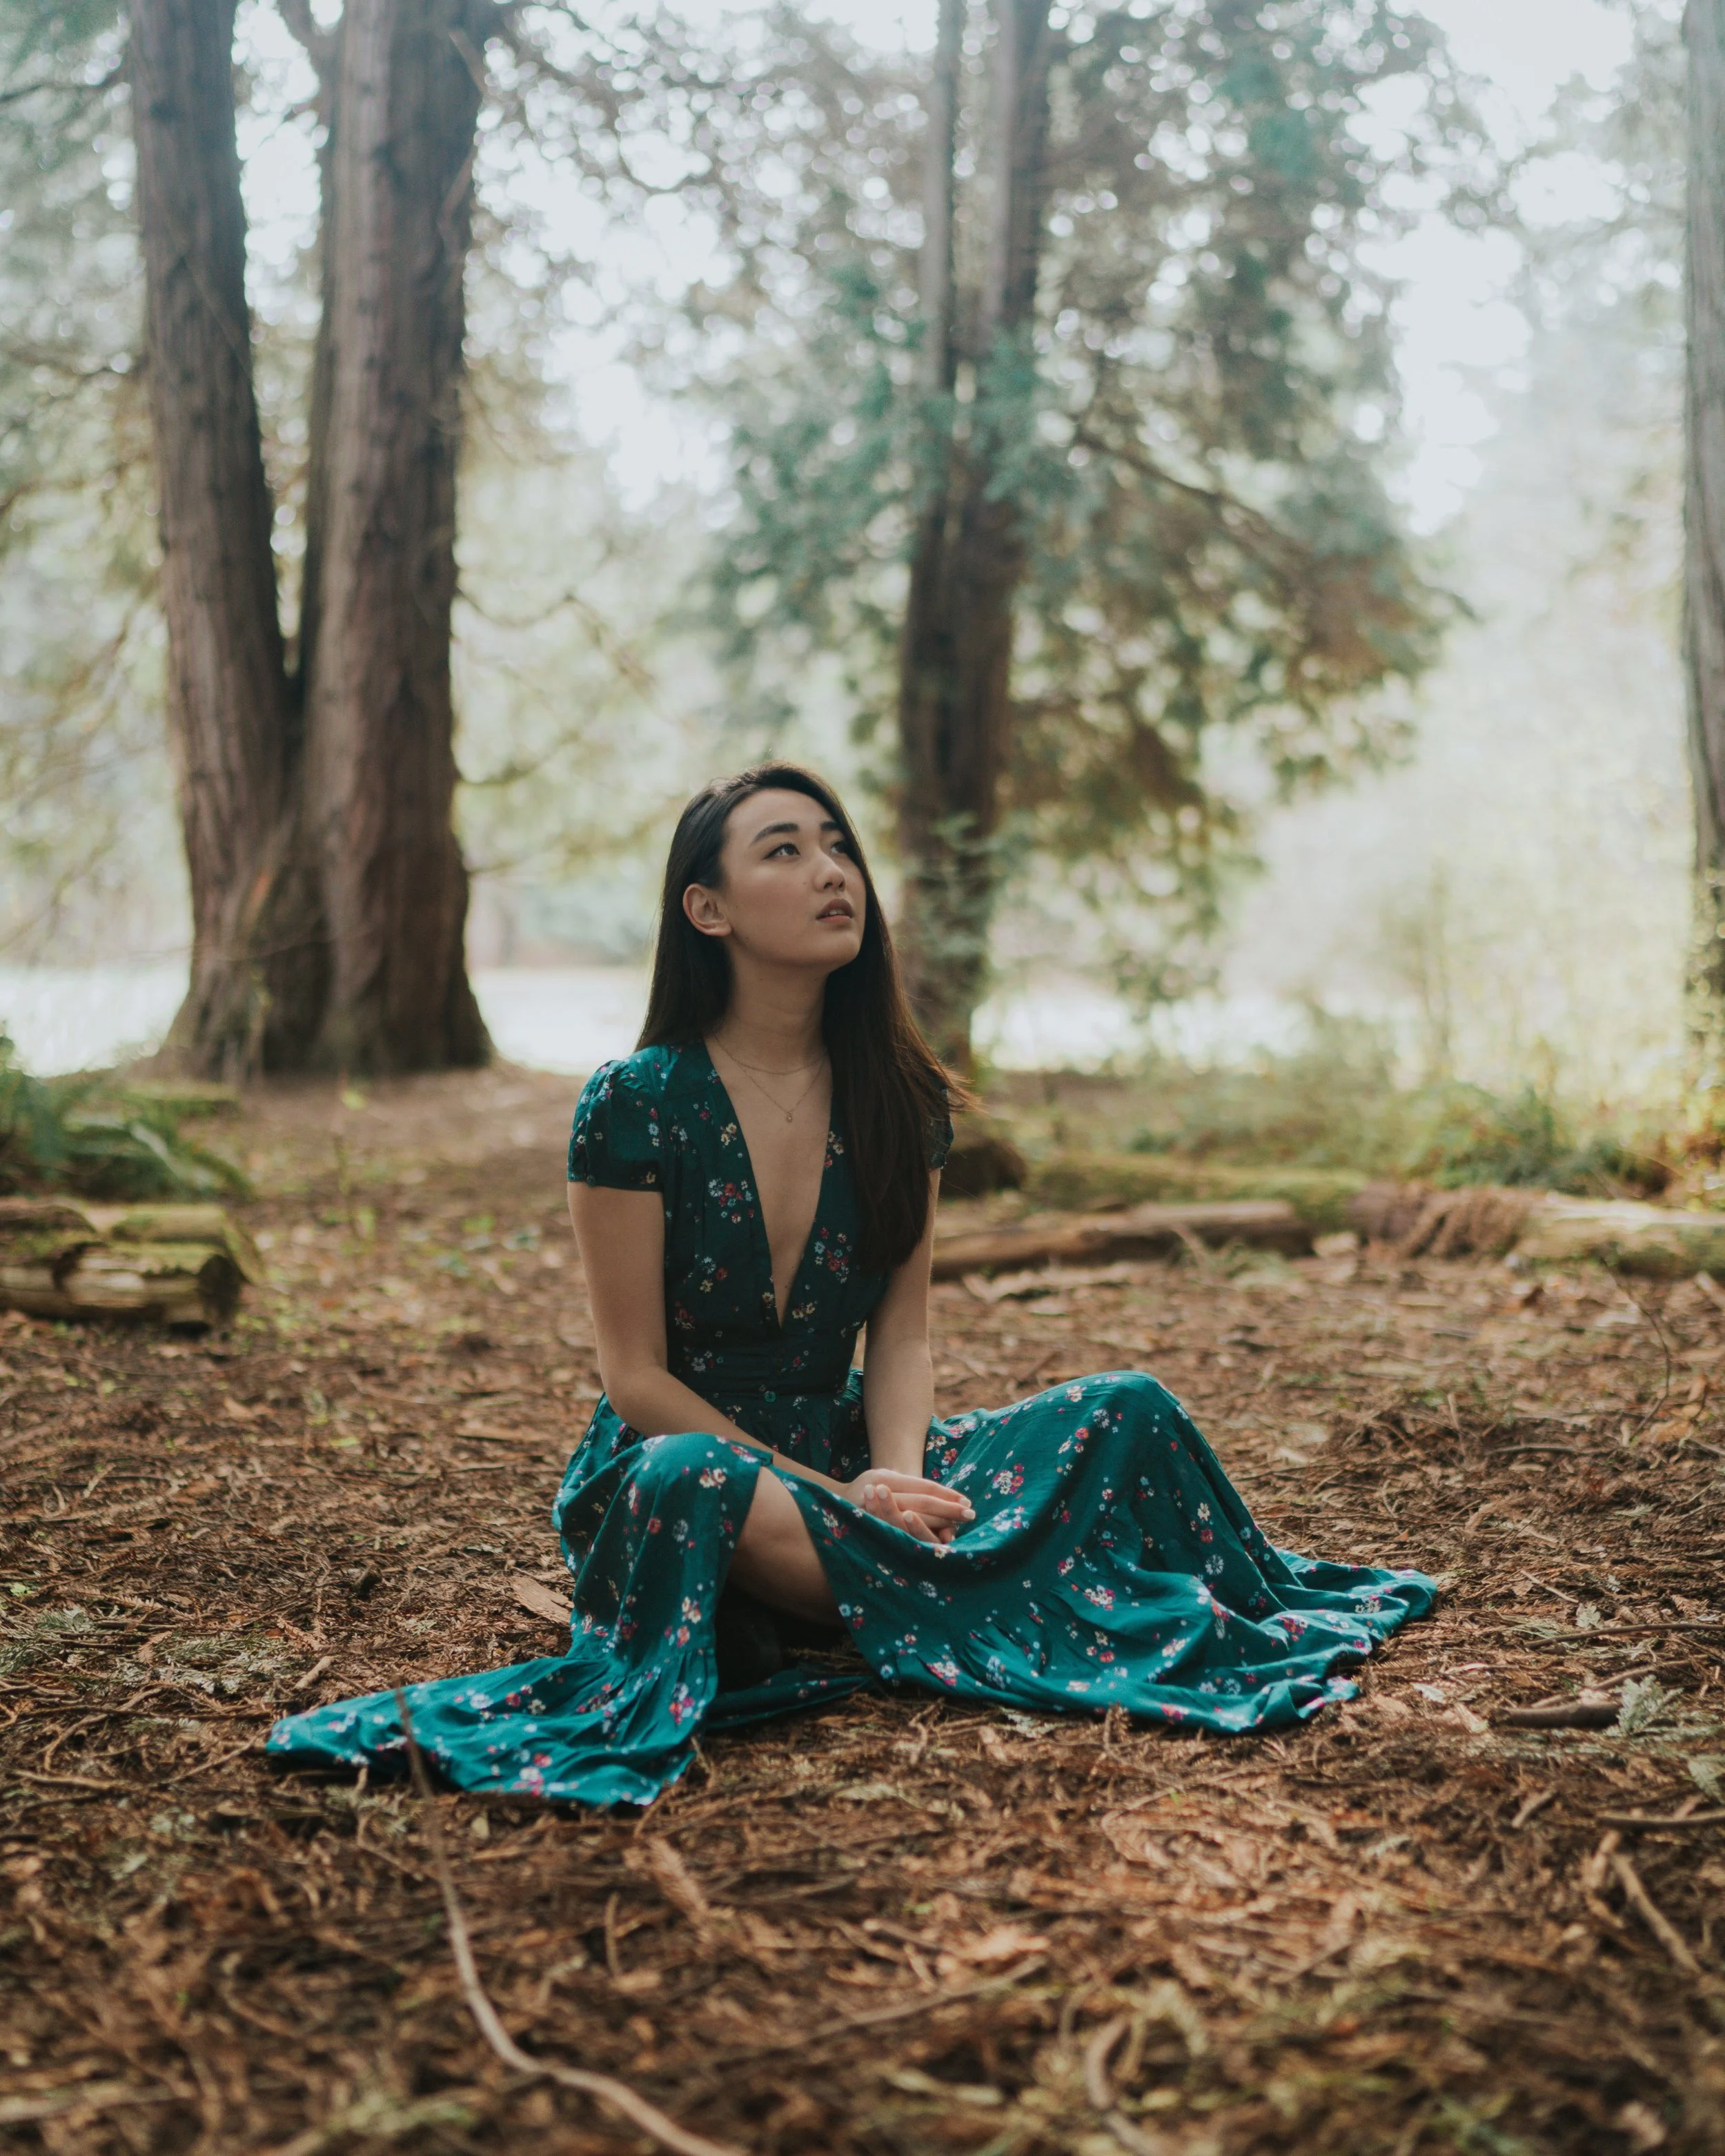
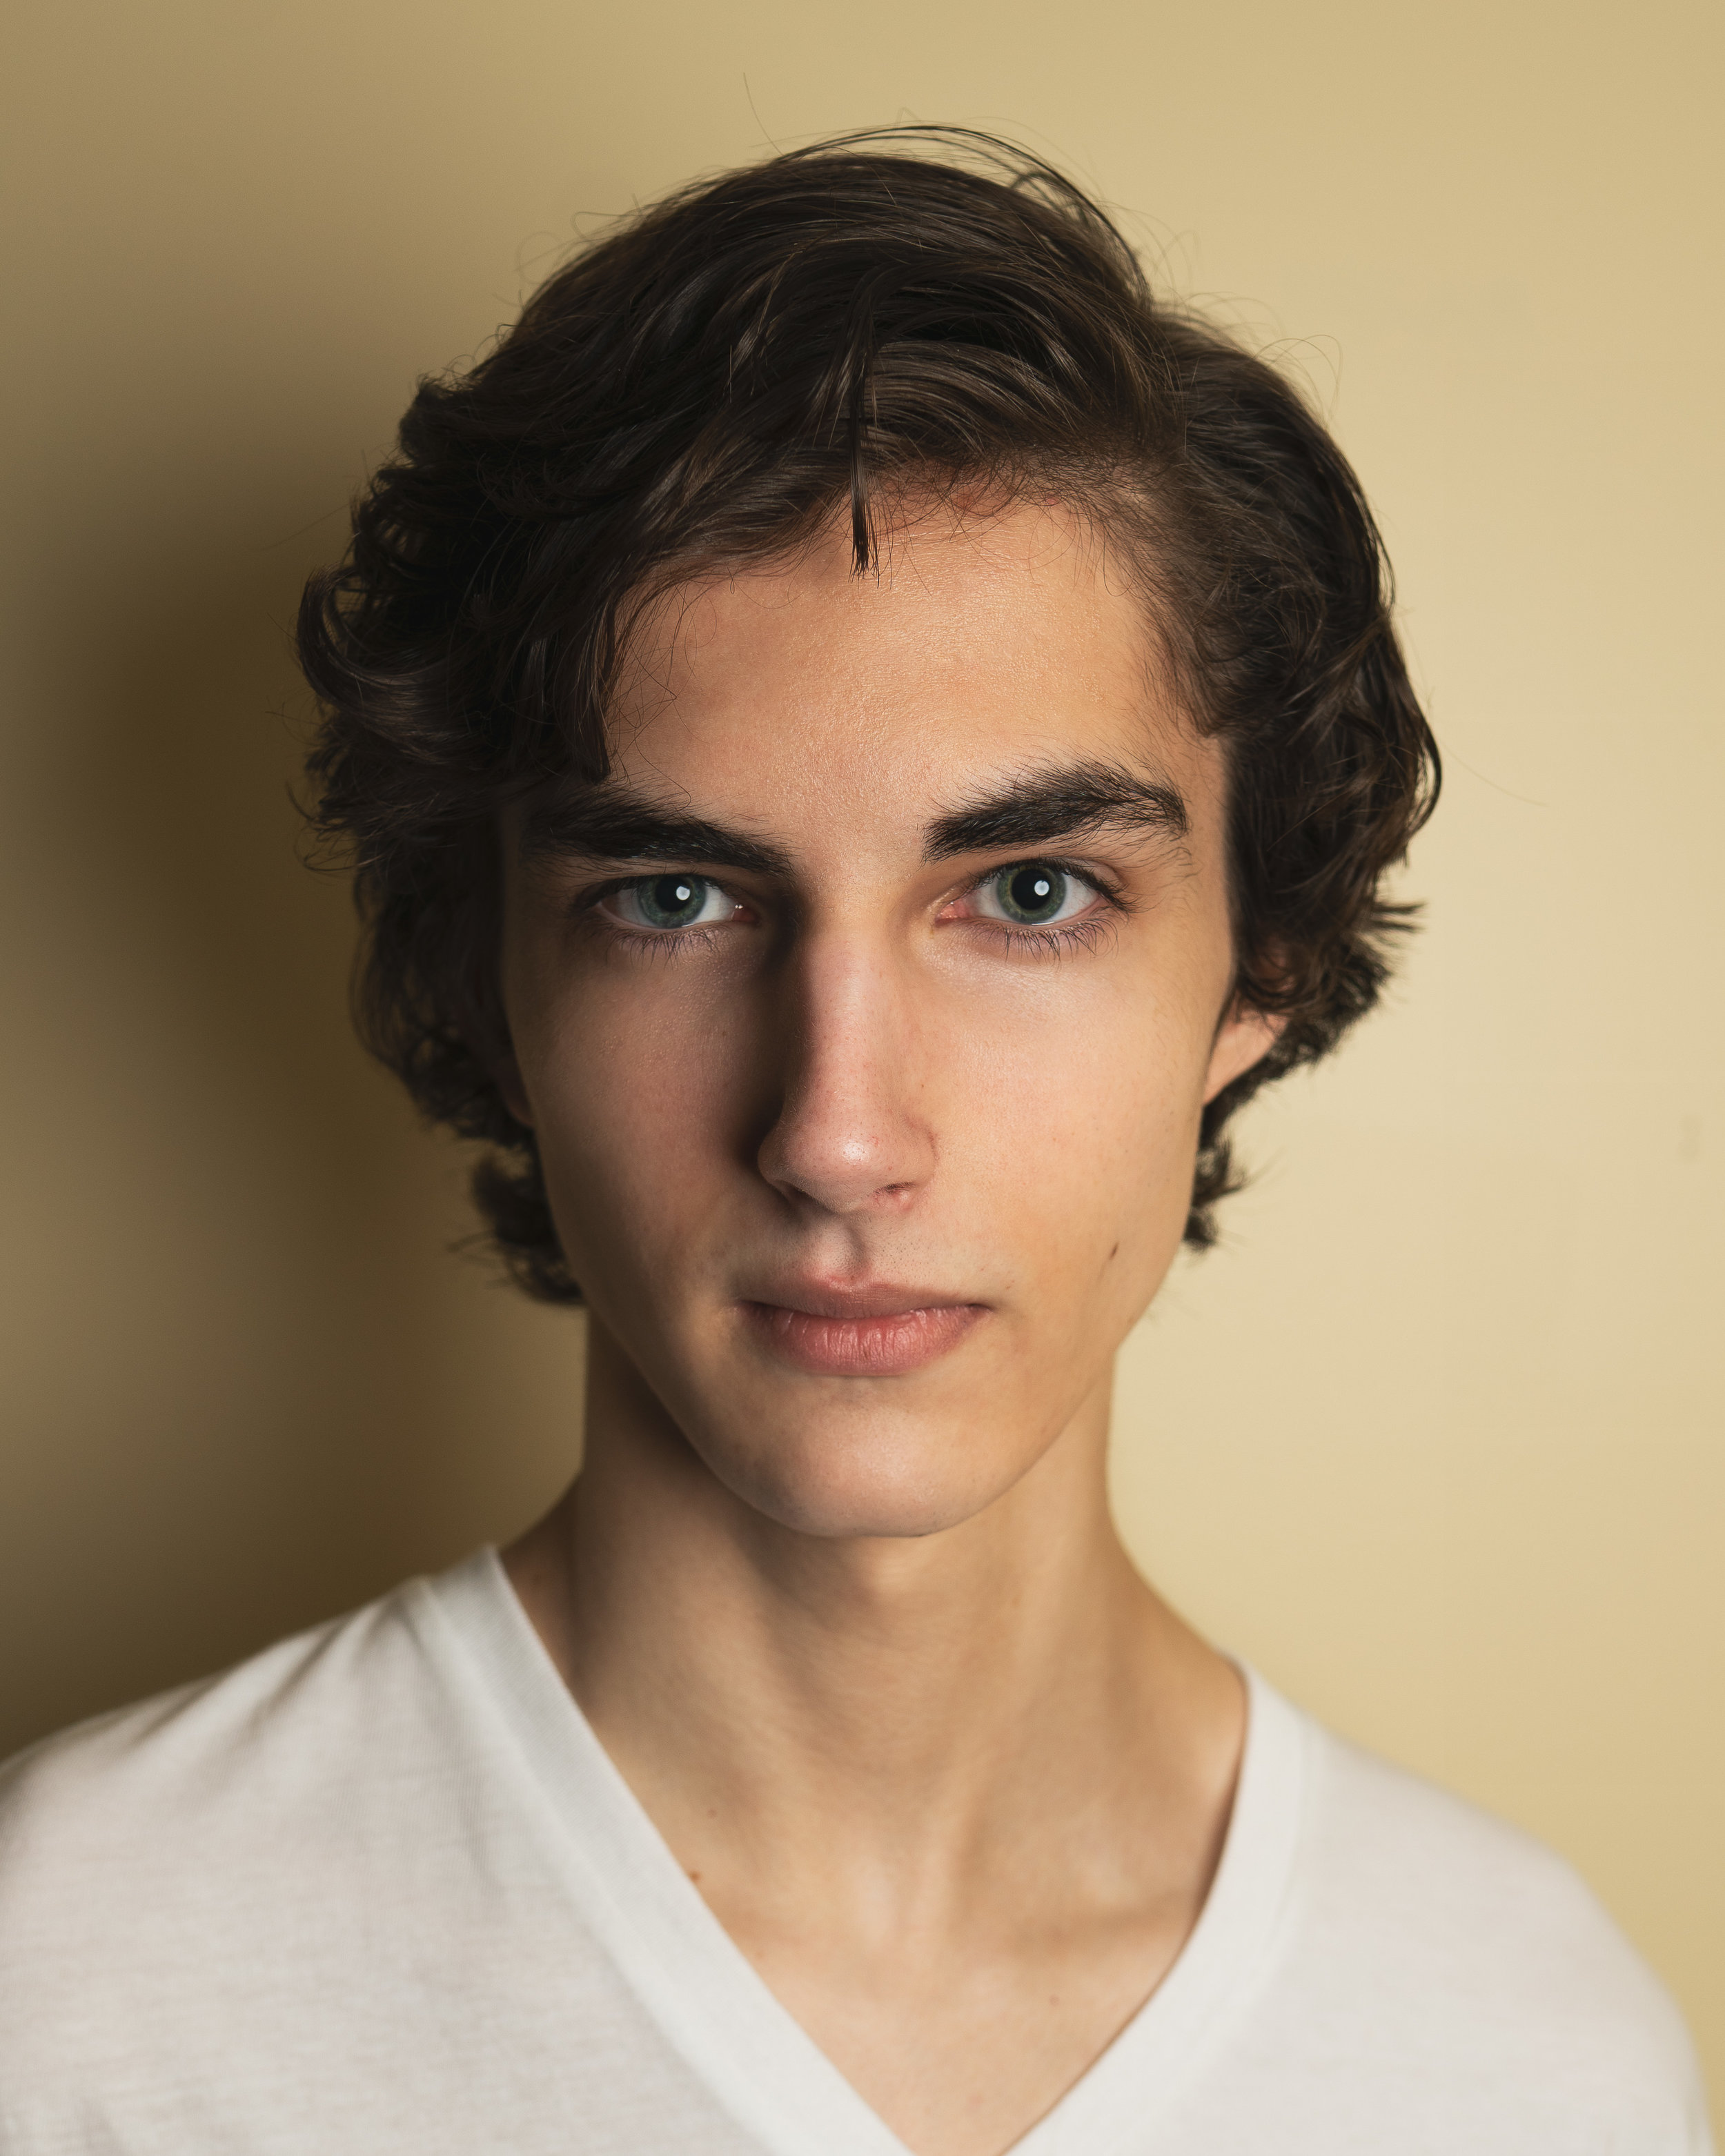
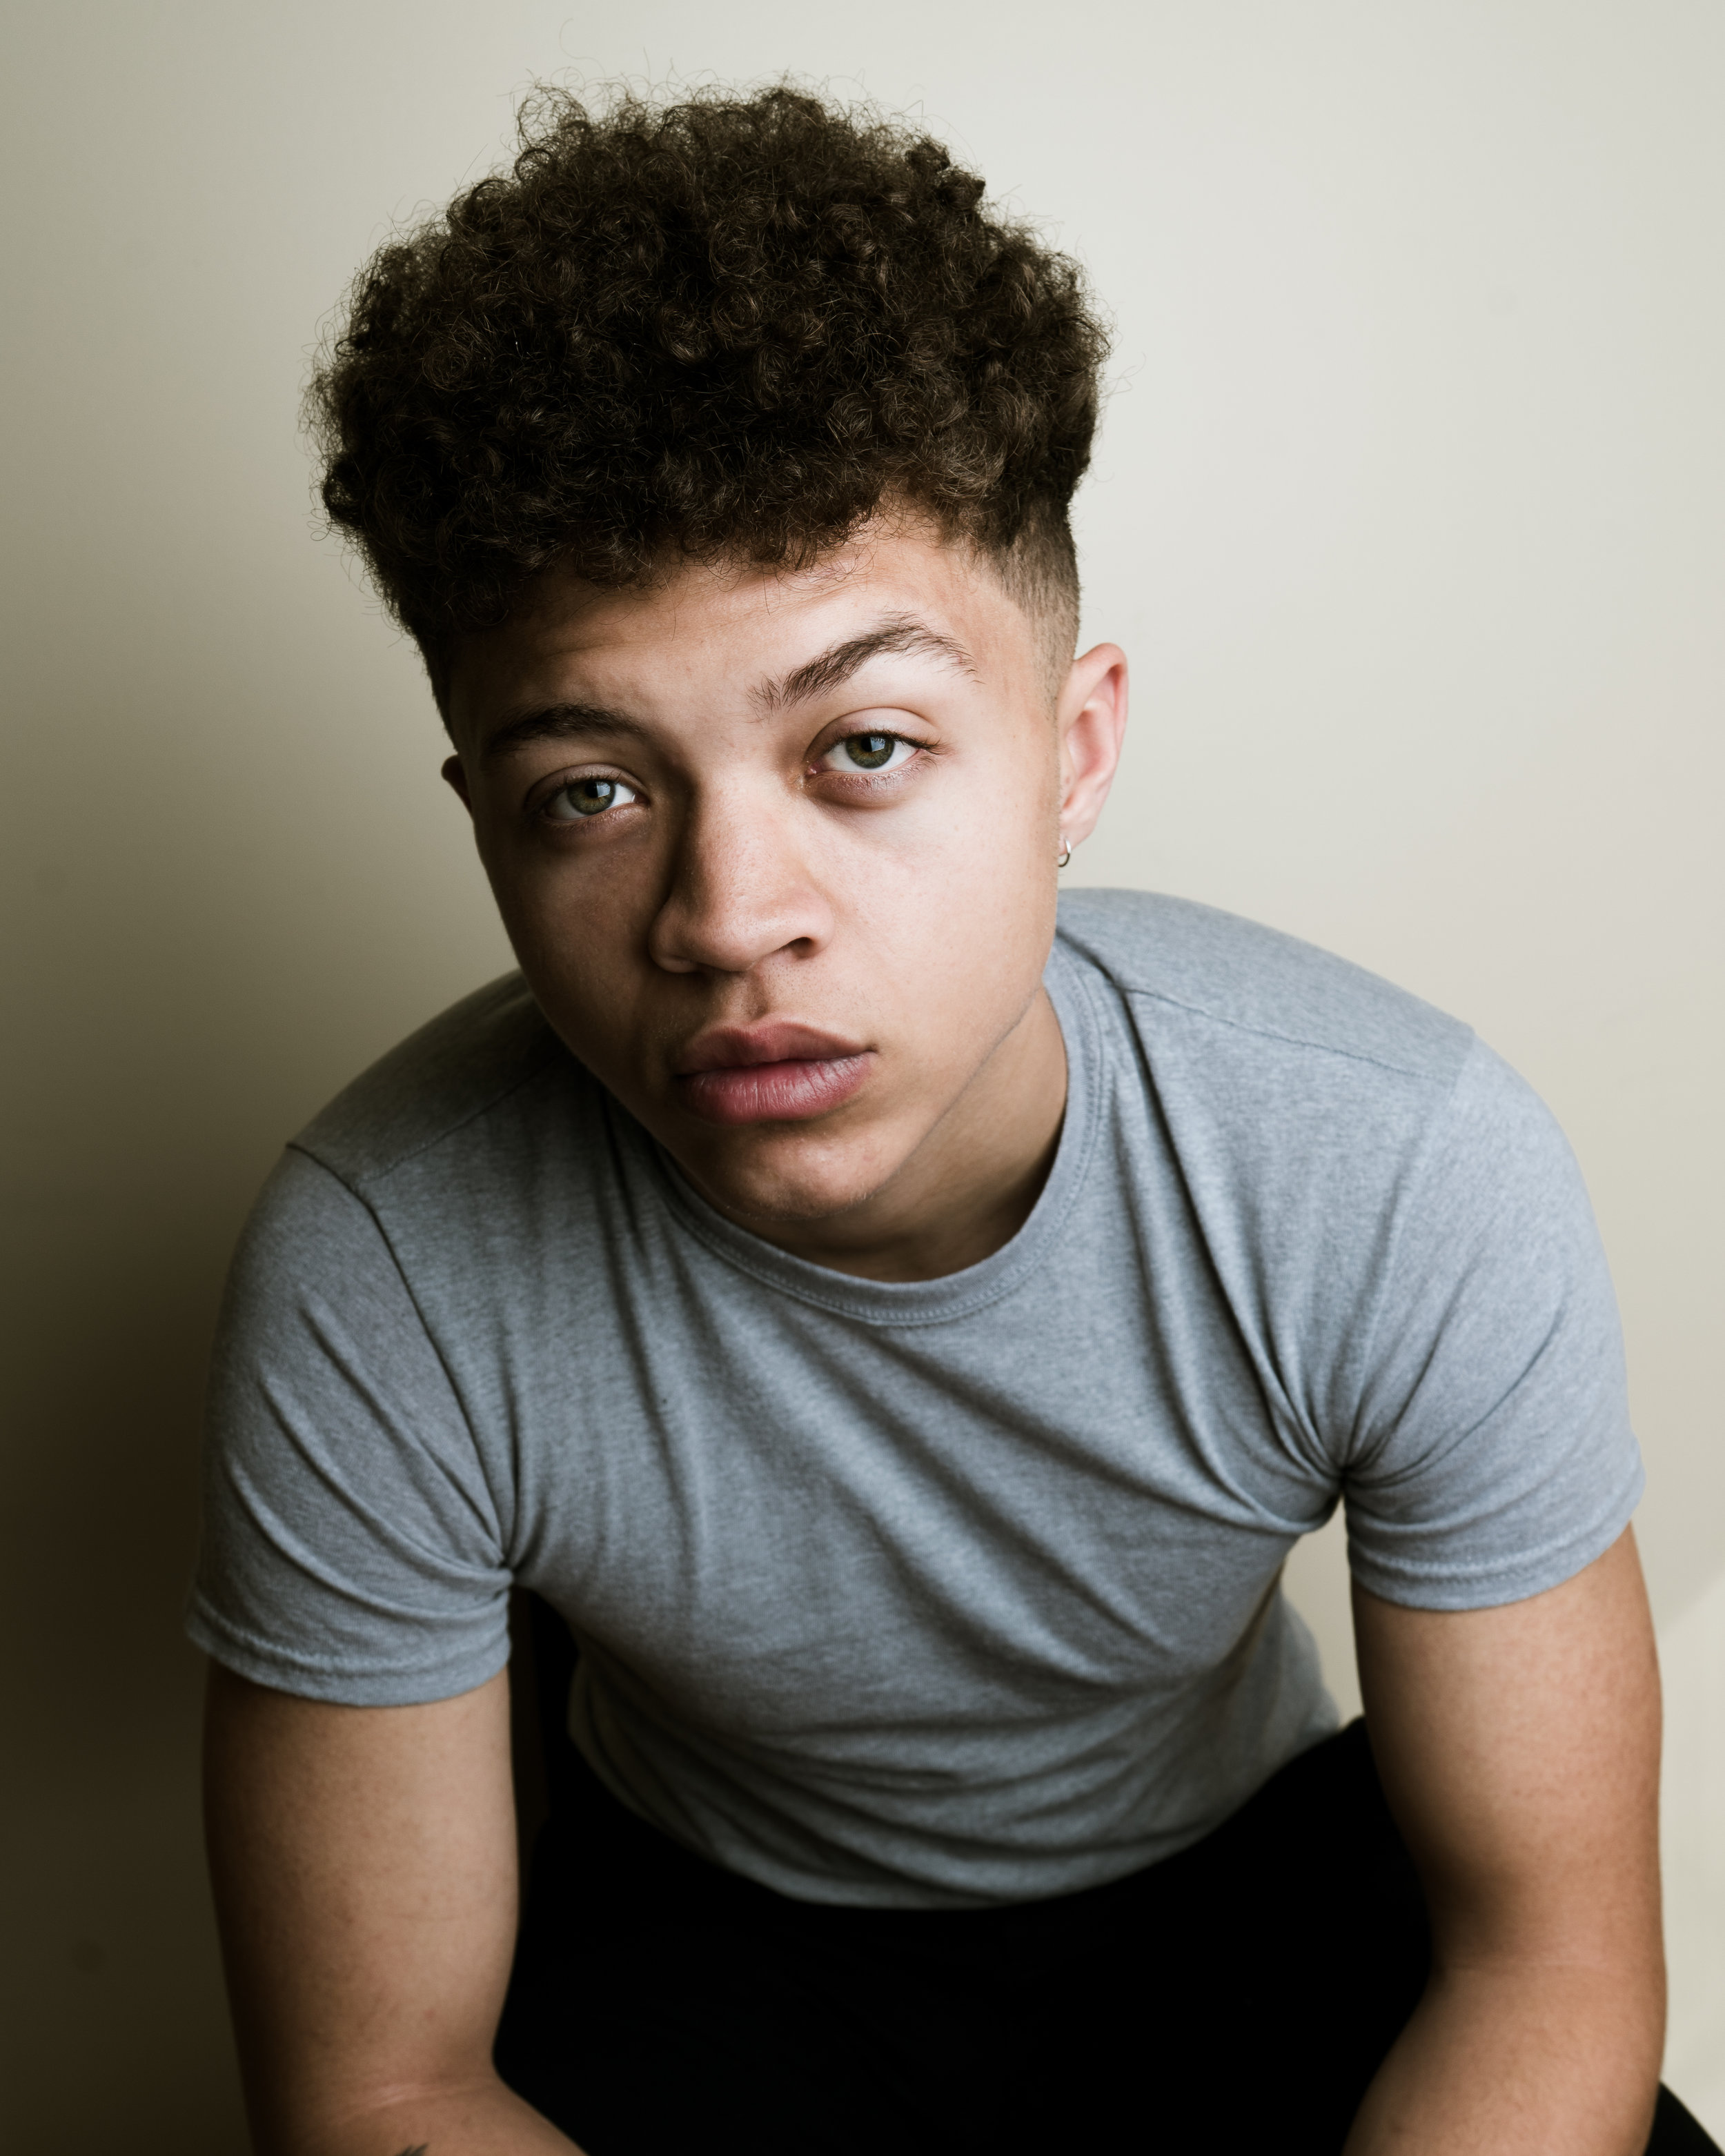
Have you ever found an Instagram profile randomly, and when you scroll through their feed, everything looks consistent? Whether their whole feed look pink or blue or yellow, everything just seems to fit together? Sometimes they take portraits, sometimes they take landscapes, and no matter what it is, it all flows? This is the magic of split toning, and it's something that I highly recommend if you're looking to be more consistent with your work. Just take a look at some of the profiles below, and I'll even throw mine in there for shits and giggles.

1.jpg
2.jpg
3.PNG

As you can see, split toning really helps with consistency when it comes to editing, and it can really define your own personal style. The only thing about split toning is that you need a little background on color theory to see which colors would work well together, and then decide which color you want in the highlights, and which color you want in the shadows. For example, a popular color combination is yellow and blue, however, having the yellow in the highlights and blue in the shadows would look different from having blue in the highlights and yellow in the shadows. You also have to decide which hue of blue you'd want, as well as the hue of yellow, and how intense you want them to appear in the image.

To give you an example on how this looks in Lightroom, let's take my last portrait and mess around with the split toning using the colors blue and yellow. Here is the photo with no split toning:

DSC04056-Edit.jpg

Then, you'll want to go over to the Split Toning tab in Lightroom, and choose which hue of blue and which hue of yellow you want to use. For this example, I'll put blue in the shadows and yellow in the highlights. Hue is basically which shade of blue/yellow you want to use, and saturation is how intense you want that shade to appear. Here are the setting I'm using for this example:

Split Toning Screenshot.png

You can already see how split toning completely changes the mood of the photo! Now I'm going to put blue in the highlights and yellow in the shadows to show you how different the image will look:

DSC04056-Edit.jpg

Obviously there are tons of different color and hue combinations you can use for this technique, but this is just one extremely useful tool that can really help you create your own style!

Until next time,

Tristan